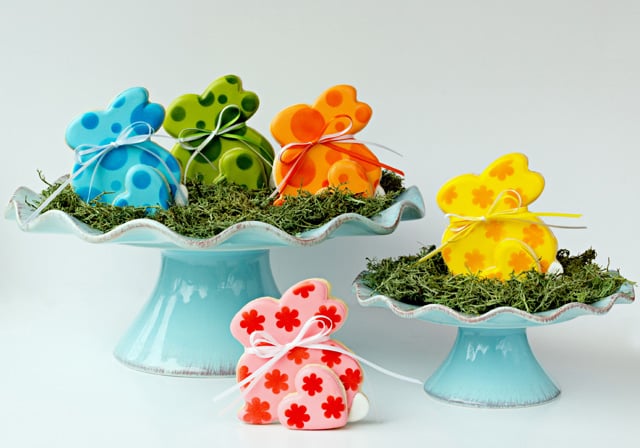
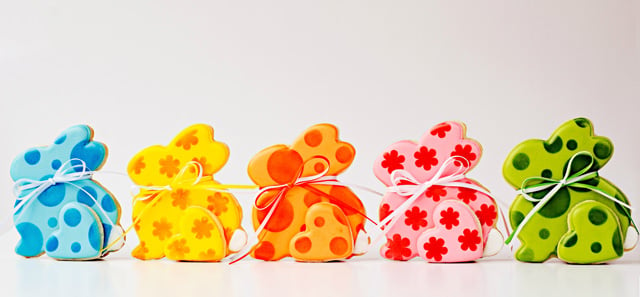
Aren’t these colorful Easter bunny cookies cute? They’re easy to compliment, because I didn’t make them… my friend Lisa, of from The Bearfoot Baker did!
I’ve recently found myself in over my head in a few areas of life (ever feel that way?), but I am so lucky to have some generous and talented friends who will be stopping by to help me out!
Today’s post is from The Bearfoot Baker. I first “met” Lisa online about 3 years ago, but have been lucky enough to also meet her in person and spend some time with her. She is sweet, fun, generous and so down to earth! Not to mention, she has the cutest southern accent, so that’s just a bonus! I’m very blessed to count her as a friend.
Now, let’s talk cookies! Take it away Lisa…
~~~~~~~~~~~~~~~~~~~~~~~~~~~~~~~~~~~~~~~~~~~~~~~~~~~~~~~~~~~
Hi, I’m Lisa, AKA The Bearfoot Baker, and I’m so happy Glory asked me to stop by today to share some Easter cookie with you. I am super excited to be here because Glory is one of my all time favorite bloggers. I had the privileged of meeting her a few years ago and it was like meeting my favorite superstar. She is an incredible decorator and sweet as can be!
Supplies:
Your favorite icing colors
White Icing
Ribbon
I like to make cookies that stand up and as I was looking through my cookie cutters, I saw a heart and decided it was the perfect shape for rabbit legs.
Cut 1 bunny and 2 hearts for every rabbit. Trim a little off the bottom of each heart. To make the bunny stand, the hearts need to be facing the opposite directions so when they are attached, they will be facing the right way.
Outline and flood the bunny body and legs but, not the tail and let it dry completely.
Next, airbrush the pattern onto the cookie. I have a full tutorial on The Bearfoot Baker on how to airbrush on cookies.
The stencils are from a set by Sunny Side Up Bakery I picked up at Hobby Lobby. You can also find food safe stencils in the bakery section of your local craft store.
As you can see, the stencil is smaller than my cookie so I made a cookie guard. I use it every time I airbrush to keep the cookie nice and clean. It works perfectly. Place the stencil on the cookie and gently spray until you reach the desired coverage. Continue to re-position the stencil until the design is complete on the body and legs.
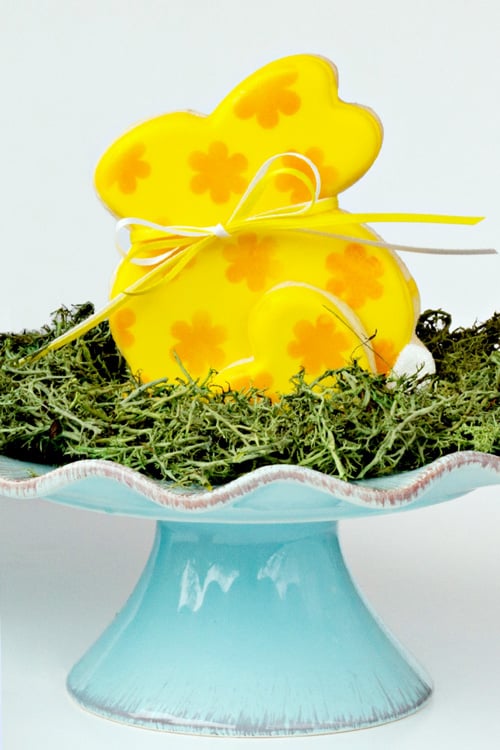
Then, with the white icing, make a tail and immediately cover with Disco Dust. Tap off the excess and use a paint brush to remove any unwanted particles.
Next, line the legs with the bottom edge of the bunny. Attach them with a small amount of icing and let it dry overnight. You can use an extra cookie propped under the bunny head so the body will be flat and dry without sliding.
Add a bow and you have an Easter Centerpiece your guest will love. I think these would be cute name setting for Easter. You can paint the name on it or use a cute tag attached to the bow.
Don’t worry if you don’t have an airbrush gun. Sweet Sugar Belle just did this tutorial on how to stencil with icing and it would work great on this project.
Happy Creating,
Lisa
Thank you so much Lisa for sharing your beautiful work with us! Here’s all the places you’ll find Lisa and her “sweet” ideas…
The Bearfoot Baker (blog)
~~~~~~~~~~~~~~~~~~~~~~~~~~~~~~~~~~~~~~~~~~~~~~~~~~~~~~~~~~~
An extra little side note… Glorious Treats has been nominated in a local contest for “Best Local Blogger” and the winner is chosen by popular vote, so I need your help to win! I’d really appreciate if you have a minute to vote for me! Here’s the link. Thanks so much!


Lovely… Bunnies are so cute . I really love your work
Im sure they are all yummy:)