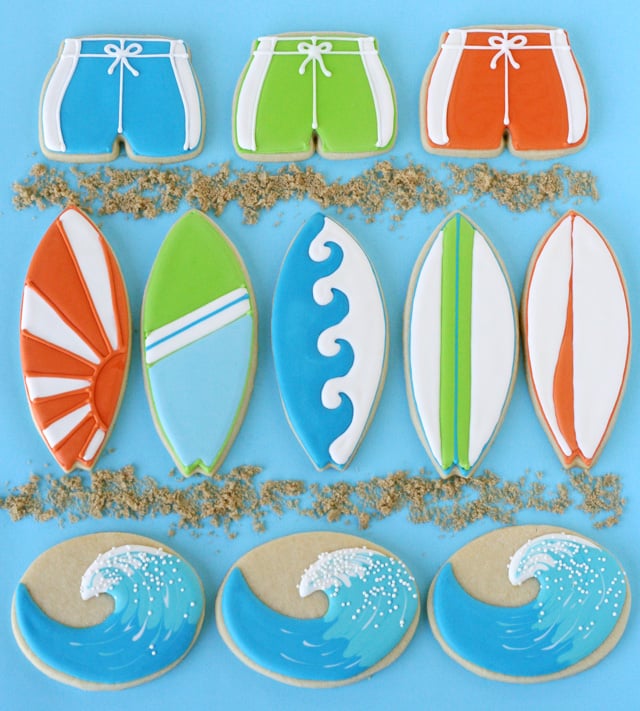
A good friend recently asked if I’d make some fun Surfboard and Wave Cookies for a baby (boy) shower she was hosting. I love making special treats for friends, and I rarely get to make things for boy parties so this was a perfect request!
My friend got to work on lots of “beachy” decorations for the party, including 8 foot tall (Styrofoam) surfboards, and I started planning the cookies!
I’ve made lots of beach and luau themed cookies before (shell, sunshine, beach scene, flip flops and grass skirts), but I was looking forward to trying a few new designs!
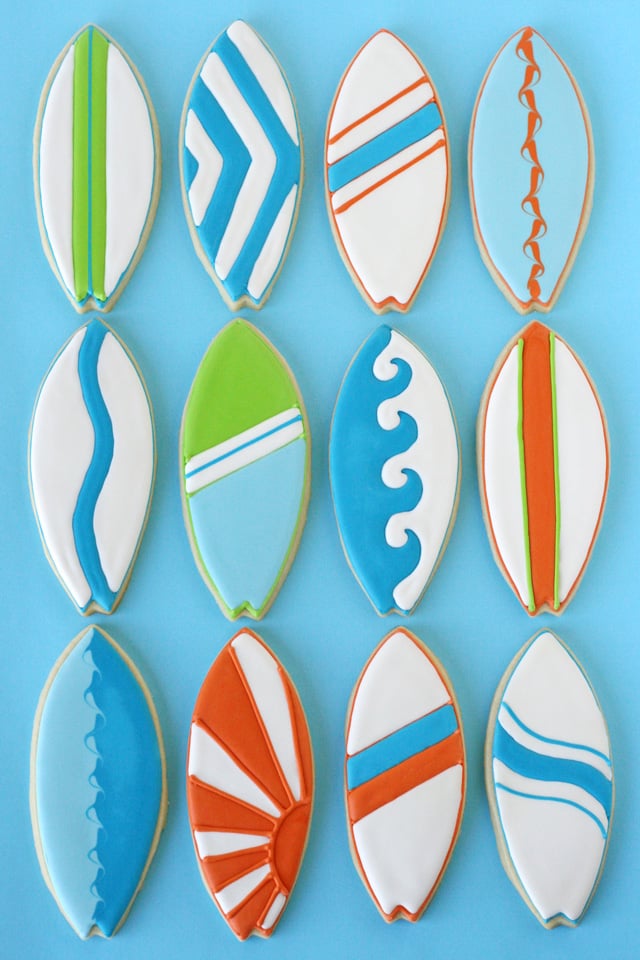
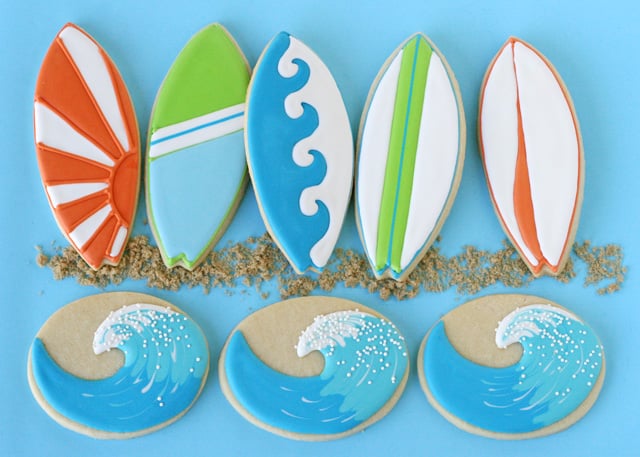
For the surfboards I did a little looking on-line at photos of vintage style longboards, and sketched out a few ideas. Then I just played around with different variations, trying to make each cookie a bit unique. They were really a lot of fun!
I knew I wanted to include some water or wave cookies and I remembered the most amazing and perfect wave design I had seen by Kelley Hart Custom Cookies. I contacted Kelley and asked if I could recreate her design and she graciously agreed! As a side note, Kelley does take order for her beautiful cookies, so be sure to bookmark her blog and facebook page.
This wave design is so fun and quite simple for the great effect!
Let’s decorate!
You’ll need a batch of cookies made with my Perfect Sugar Cookie Recipe, and a batch of Royal Icing.
Prepare three colors of icing, blue (I used Americolor sky blue and royal blue), blue-turquoise (I used some of the blue icing and a drop of Americolor turquoise), and white.
Thin each color to a medium/flood consistency, something similar to the consistency of shampoo (about a 15-20 second icing).
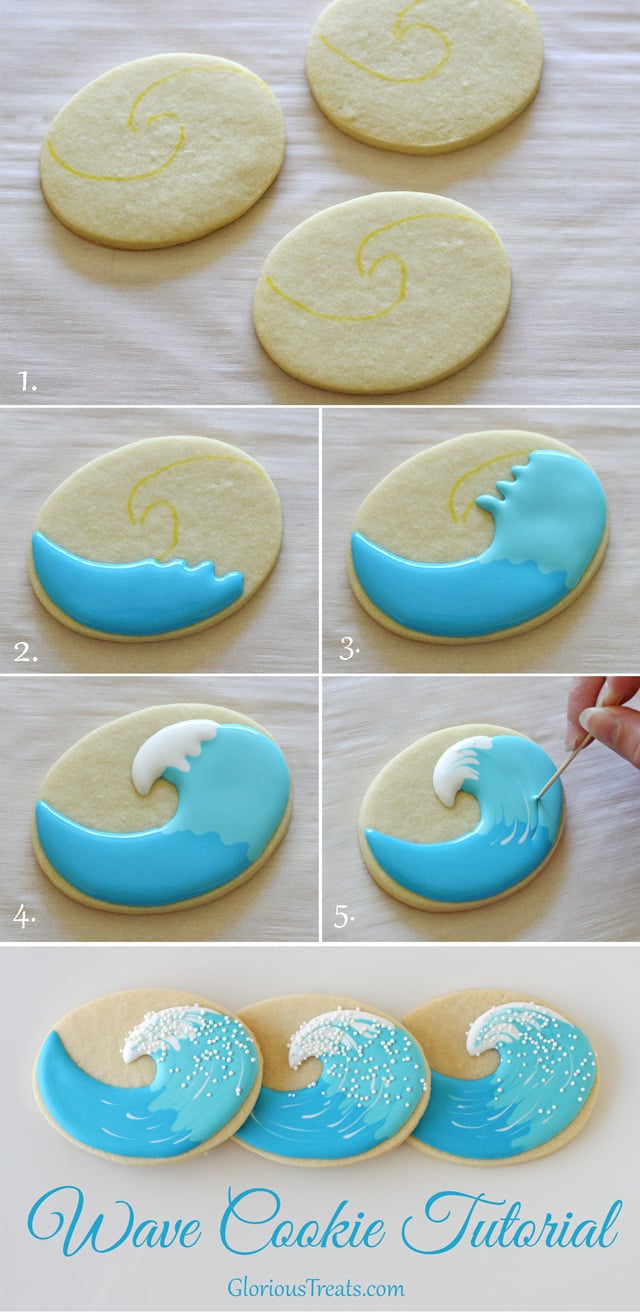
Directions as pictured above…
1. Use a food color marker (such as Foodoodler) in a light color (I used yellow) to draw a wave shape (I just eyeballed it, but feel free to make a paper template if you like).
2. Start with the blue icing and fill in a section of the wave (as shown), leaving a jagged edge where the next color will meet up.
3. Fill in with the blue-turquoise icing, again, leaving a jagged edge (as shown).
4. Fill in the top of the wave with white icing.
5. Drag a toothpick from the blue section all the way to the white, then repeat several times (without cleaning off the toothpick). Blend the colors as much as desired.
To complete cookie, sprinkle some white non-pareils sprinkles mostly onto the white section (while the icing is still wet).
Allow icing to dry (6-8 hours) before packaging.
Shopping notes – The surfboard cookie cutter is available from Country Kitchen Sweet Art, and the swim shorts cutter is available from Country Kitchen Sweet Art or Karen’s Cookies. The oval cutter for the wave cookies was a simple circle cutter that I smashed until it was the shape I wanted.
I hope you get to spend some time near a beach this summer… but if not, you can bring the beach to you!
Happy Decorating!
Aww, love these! Can I just pay you to make me some?? Would be so cute with the Mermaid party I planning for my niece!