These adorable Jelly Belly Cookie Boxes are made with our famous sugar cookies and decorated with a simple royal icing. Colorful jelly beans turn these cookie boxes into works of art that are perfect for Spring and Easter!
Looking for more adorable Easter treats? Check out these favorites: Carrot Cake, Chocolate Malt Cake and this adorable Jelly Belly Flower Cake!
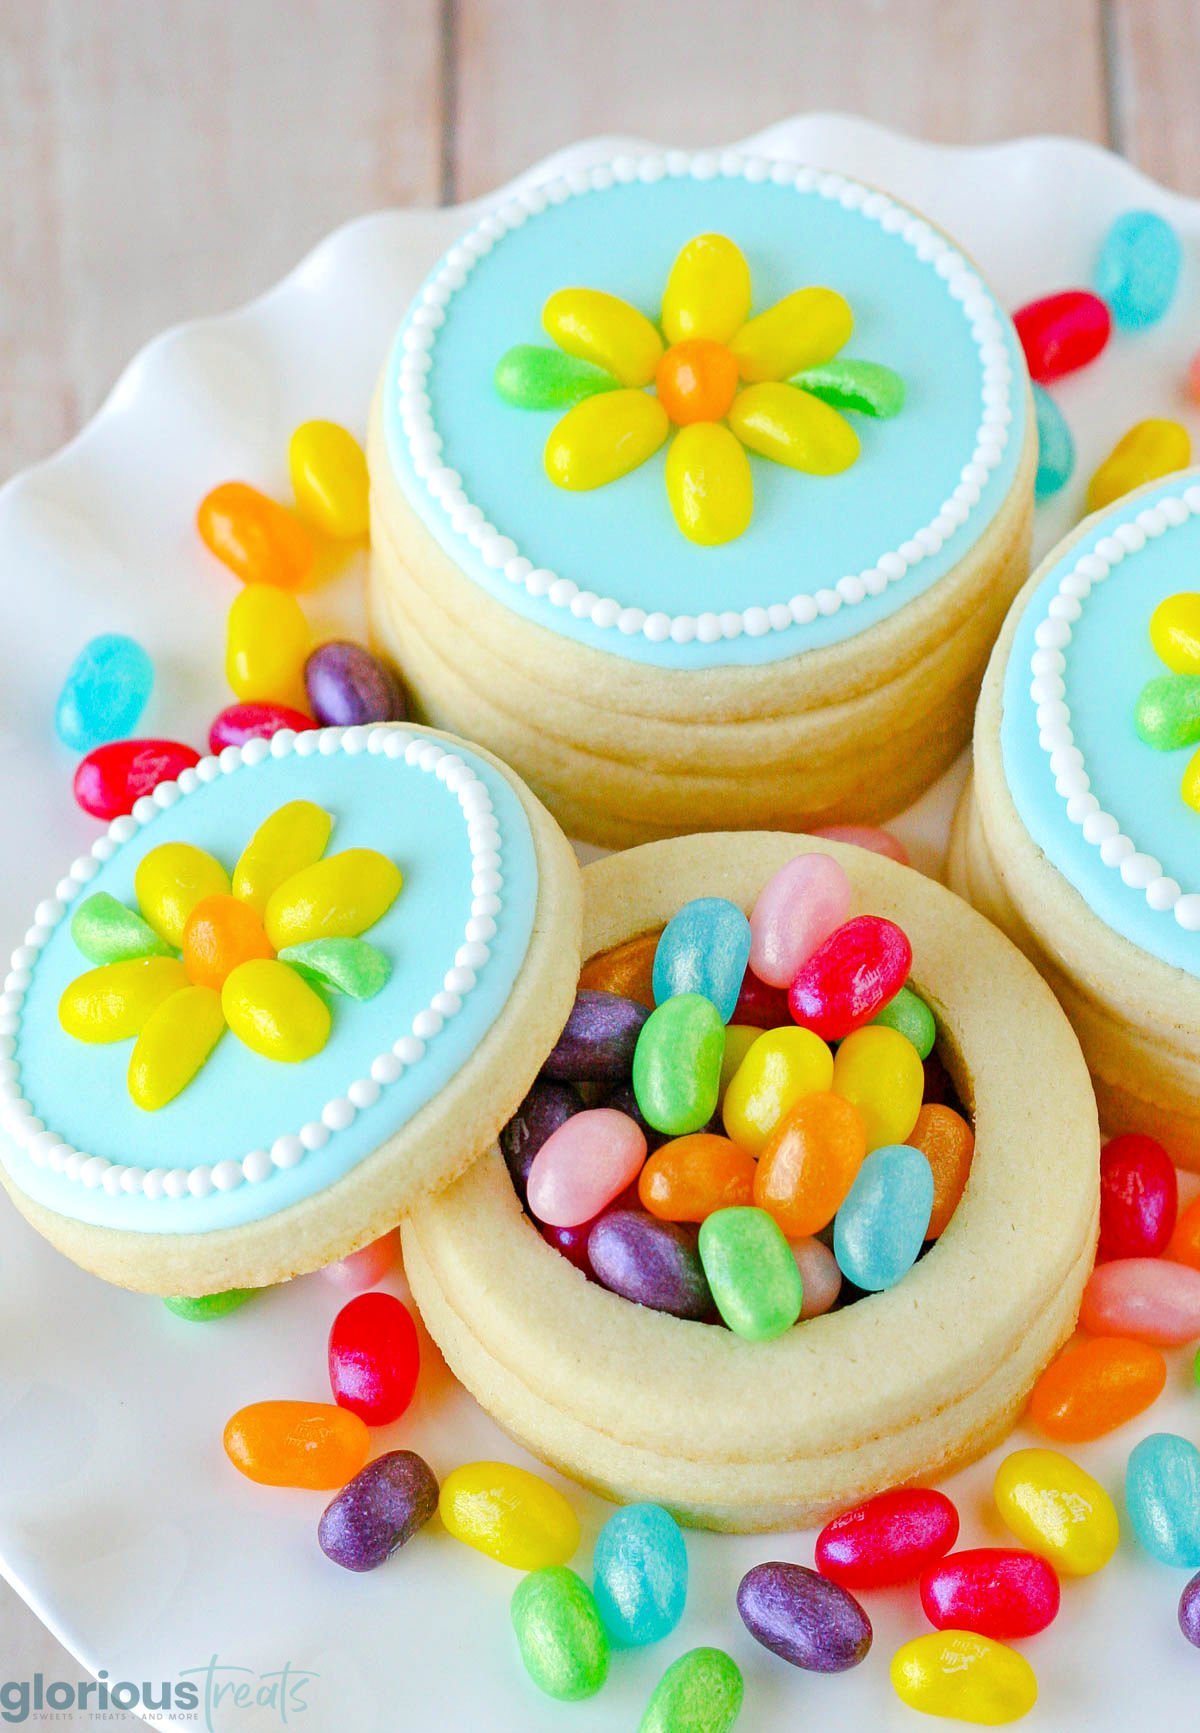
Easter Cookie Boxes
Flowers and jelly beans… two sure signs that spring is here!
Of course these aren’t just any flowers, or just any jelly beans… I created these “sweet” flowers with Jelly Belly jelly beans!
And what’s better than a cookie topped with Jelly Belly beans? How about cookies topped AND filled with Jelly Belly jelly beans!
These Jelly Belly Cookie Boxes are so colorful and fun, they’d be perfect for Easter, a ladies tea, or any spring celebration!
If you’ve been reading my blog for any length of time, you already know I love making cookie boxes! I’ve created different designs for most every holiday, and these are my new favorite! The colorful Spring Jewel mix from Jelly Belly created the perfect inspiration for these spring cookie boxes!
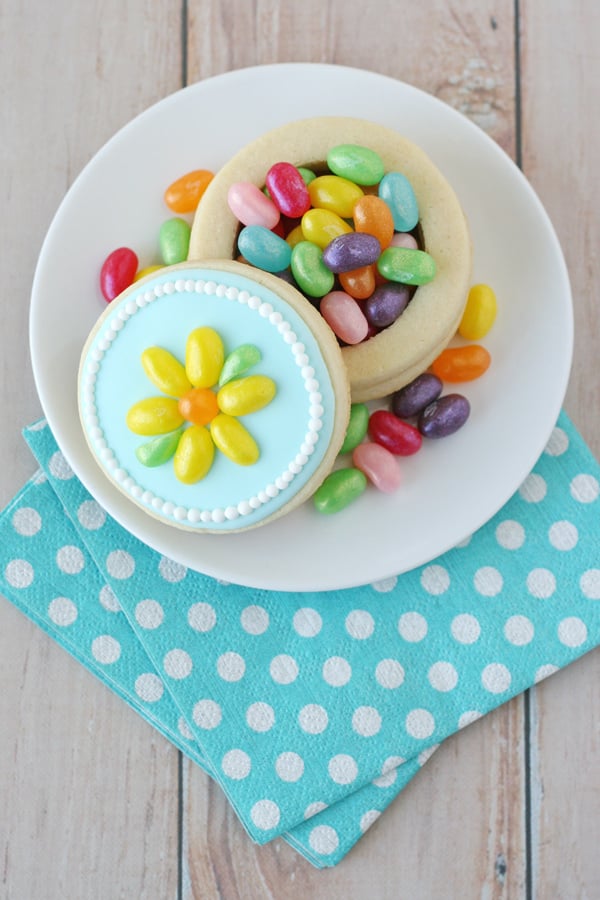
What You’ll Need
Ready to make some pretty cookies? Let’s get started! You’ll need…
- A batch of cookies made with my Sugar Cookie Recipe.
- Two circle cookie cutters, one about 3/4″ smaller in diameter than the other. I used cutters that were 2.5″ and 1.75″ in diameter. For each finished cookie box you’ll need 4 cookies. One batch of dough will make about 5 finished cookie boxes using the same dimensions I’ve used.
- A batch of Royal Icing.
- Jelly Belly jelly beans to decorate the tops of the cookie boxes, and fill them. For the flowers shown, I used Jewel Sour Lemon, Jewel Sour Apple and Jewel Orange Jelly Belly jelly beans.
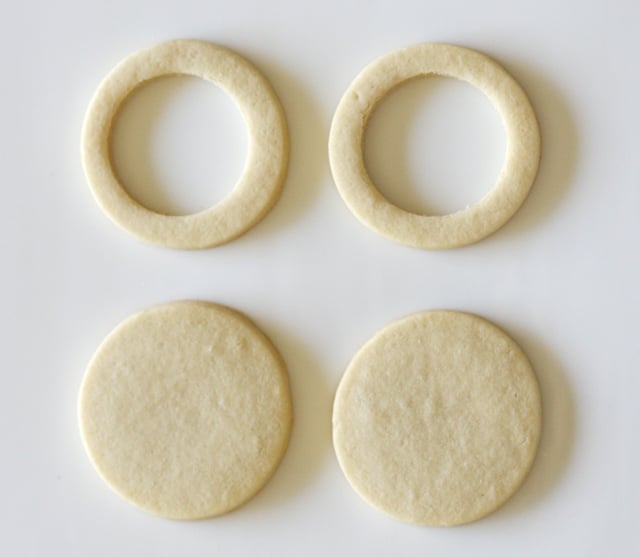
How To Make The Cookie Boxes
Bake The Cookies
- Prepare cookie dough, then cut out circles using your larger circle cutter. For each finished cookie box you’ll need 4 circle cookies. I used a 2.5″ round cookie cutter, but feel free to adjust the size as you wish. Bake the cookies WHOLE (do not cut out the centers until after the cookies are baked).
- As soon as the cookies are baked and you have removed them from the oven (but they are still hot) use the smaller circle to cut into the center of HALF of your cookies. Cut through the dough with the smaller cutter, but do not touch the cookies (leave the cutout center in place).
- Allow the cookies to cool a minute or two on the baking sheet, then use a spatula to carefully move the cookies, with the cutout intact, onto the cooling rack.
- Once the cookies have cooled fully, THEN remove the inner circle. You may need to use the smaller cutter to make sure the inner circle is cut cleanly through.
- Once you have each of the piece you need, set them together in sets with one whole cookies as the bottom of the “cookie box”, then add two rings and then you’ll need one whole cookie as the top (pictured below)
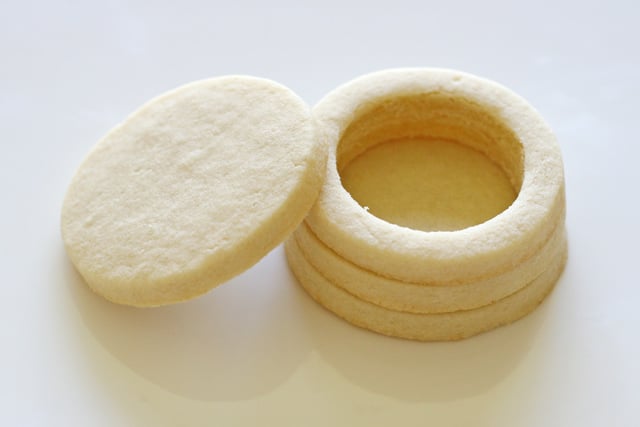
Decorate The Cookies
- Decorate the cookie tops with royal icing as desired. I colored my icing light blue. Outline and then fill in with the blue icing (or a color of your choice), then allow to fully dry, at least 4-8 hours.
- While you wait on the icing to dry, prepare the Jelly Belly “flowers”. I created these same kind of flowers for my Jelly Belly Flower Cake, so hop on over to that post for step by step photos on how to make the flowers and leaves.
- Cut the Jelly Belly beans (as show in the Jelly Belly Flower Cake post) and set the candies together on your work surface in the same way you plan to assemble then on the cookies. For the Jelly Belly flowers I made in the cake post I “glued” the candies together with royal icing so I could quickly assemble the finished cake. For these cookies, there is no need to glue the flowers together ahead of time. Simply cut the candies as needed, and set aside. Once the base icing on the cookies is fully dry, use royal icing to attach each “flower petal” (Jelly Belly halves) directly to the iced cookie.
- If desired, after you’ve added the flower and leaves to the cookies, add a simple dotted border (I used white icing) to finish off the look.
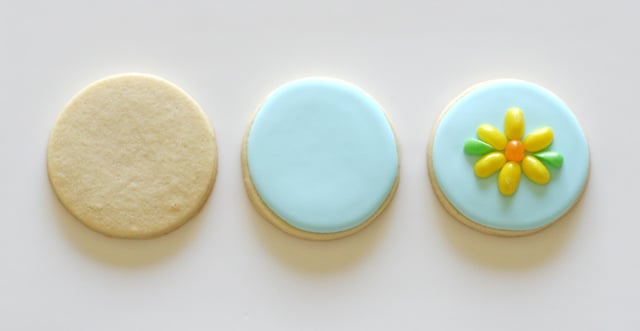
I chose a simple and elegant look by creating the same daisy-like flower on each cookie. Feel free to create flowers in a mixture of colors.
Storage Information
Baked cookies will remain fresh at least one week (stored in a Tupperware type container, or individually wrapped).
Baked cookies can be successfully frozen for a month or more. Layer baked cookies in a Tupperware type container with parchment paper between layers of cookies. Thaw cookies at room temperature before decorating. I do not recommend freezing the cookies after they’ve been decorated.
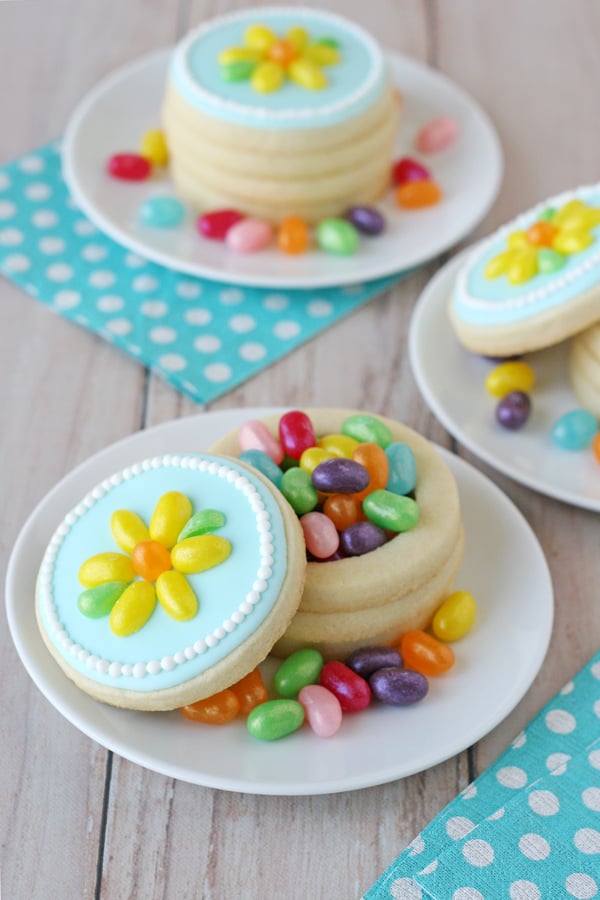
Wouldn’t these Jelly Belly Cookie Boxes look amazing as place settings on your Easter table? They’d be perfect for a garden party, tea party, or any spring celebration!
More Easter Treats To Try
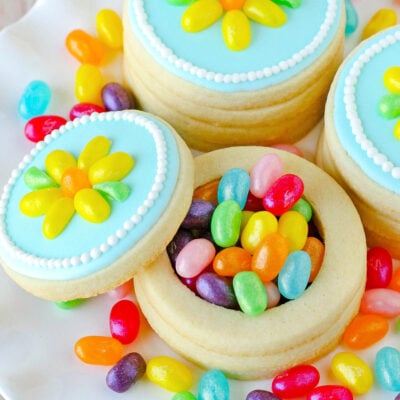
Jelly Belly Cookie Boxes
Ingredients
Sugar Cookies
- 3 cups all-purpose flour
- 1 teaspoon baking powder
- ¼ teaspoon good quality salt
- 1 cup unsalted butter 2 sticks, room temperature
- 1 cup granulated sugar
- 1 large egg
- 1 teaspoon vanilla extract
Royal Icing
- 4 tablespoons meringue powder
- 4 cups powdered sugar about 1 pound
- 6 tablespoons warm water plus additional if needed
Decorations
- jelly beans jelly belly if you can find them
Instructions
Sugar Cookies
- In a medium bowl, stir together the flour, baking powder and salt, and set aside.
- In the bowl of an electric mixer, using the paddle attachment, cream together the butter and sugar until light and fluffy. This should take 2-3 minutes.
- Add the egg and vanilla and beat another minute or so.
- Add the flour mixture slowly. (Be careful not to add too much at a time or you will have a snowstorm of flour.)
- Blend until all of the flour is incorporated. The mixture will look crumbly at first but just keep blending until the dough begins to pull away from the sides of the bowl.
- Remove about half of the dough from the bowl and knead by hand just a bit to form a smooth ball. Roll out dough onto a lightly floured work surface, or onto a piece of plastic wrap.
- Cut out circles using your larger circle cutter. For each finished cookie box you'll need 4 circle cookies. I used a 2.5" round cookie cutter, but feel free to adjust the size as you wish. Place entire baking sheet of unbaked cookies into the freezer for 5 minutes.
- Preheat oven to 350°F and bake cookies in preheated oven for 9 to 11 minutes, depending on the size and thickness of your cookies. Bake the cookies WHOLE (do not cut out the centers until after the cookies are baked).
- The cookies are baked when then are no longer shinny on top, but they will not show much of any change in color.
- As soon as the cookies are baked and you have removed them from the oven (but they are still hot) use the smaller circle to cut into the center of HALF of your cookies. Cut through the dough with the smaller cutter, but do not touch the cookies (leave the cutout center in place). Allow the cookies to cool a minute or two on the baking sheet, then use a spatula to carefully move the cookies, with the cutout intact, onto the cooling rack.
- Once the cookies have cooled fully, THEN remove the inner circle. You may need to use the smaller cutter to make sure the inner circle is cut cleanly through. Once you have each of the piece you need, set them together in sets with one whole cookies as the bottom of the "cookie box", then add two rings and then you'll need one whole cookie as the top (see post for details).
Royal Icing
- Beat all ingredients until stiff peaks form.
- Spoon some of the thick white icing into individual bowls and add desired coloring (I colored mine light blue). I recommend gel food coloring. (Save some of the royal icing to assembly the jelly bean flowers.)
- Add additional water, about 1 teaspoon at a time until you’ve reached the consistency you need.
- Outline the cookies and then fill in with the blue icing (or a color of your choice), then allow to fully dry, at least 4-8 hours.
- OPTIONAL: You can use the royal icing to "glue" the rings and bottom circle together to create a secure box. You can also just stack the cookies if you prefer.
Jelly Belly Flowers
- While you wait on the icing to dry, prepare the Jelly Belly “flowers”. I created these same kind of flowers for my Jelly Belly Flower Cake, so hop on over to that post for step by step photos on how to make the flowers and leaves.
- Cut the Jelly Belly beans (as shown in the Jelly Belly Flower Cake post) and set the candies together on your work surface in the same way you plan to assemble then on the cookies.
- Once the base icing on the cookies is fully dry, use royal icing to attach each “flower petal” (Jelly Belly halves) directly to the iced cookie.
- If desired, after you’ve added the flower and leaves to the cookies, add a simple dotted border (I used white icing) to finish off the look.


How thick are the cookies? I don’t see that in the article.
I made them my first time at something like this. Great instructions.
Preciosos sus cookie,me encantaron.
Amazing ! I love them already and they are only in my head! I just have one question: did you glue each layer of cookie together using the royal icing or are they just stacked freely together? Thanks so much for this inspiration!
I glued each one together
Oh my gosh these are so stinking adorable 🙂
Me encantan son preciosas estas galletas!!!
Feliz domingo!!!