This easy Cheesecake recipe is truly perfect! Rich, creamy and decadent in the best possible way. The only cheesecake recipe you’ll ever need! Serve plain or topped with your favorite sauce or fruit. A classic cheesecake made with a buttery graham crust and just a handful of ingredients. If you love cheesecake, be sure to try my Caramel Apple Cheesecake, Black Forest Cheesecake, and No Bake Cherry Cheesecake Recipe!
This post was created in partnership with Challenge Dairy.
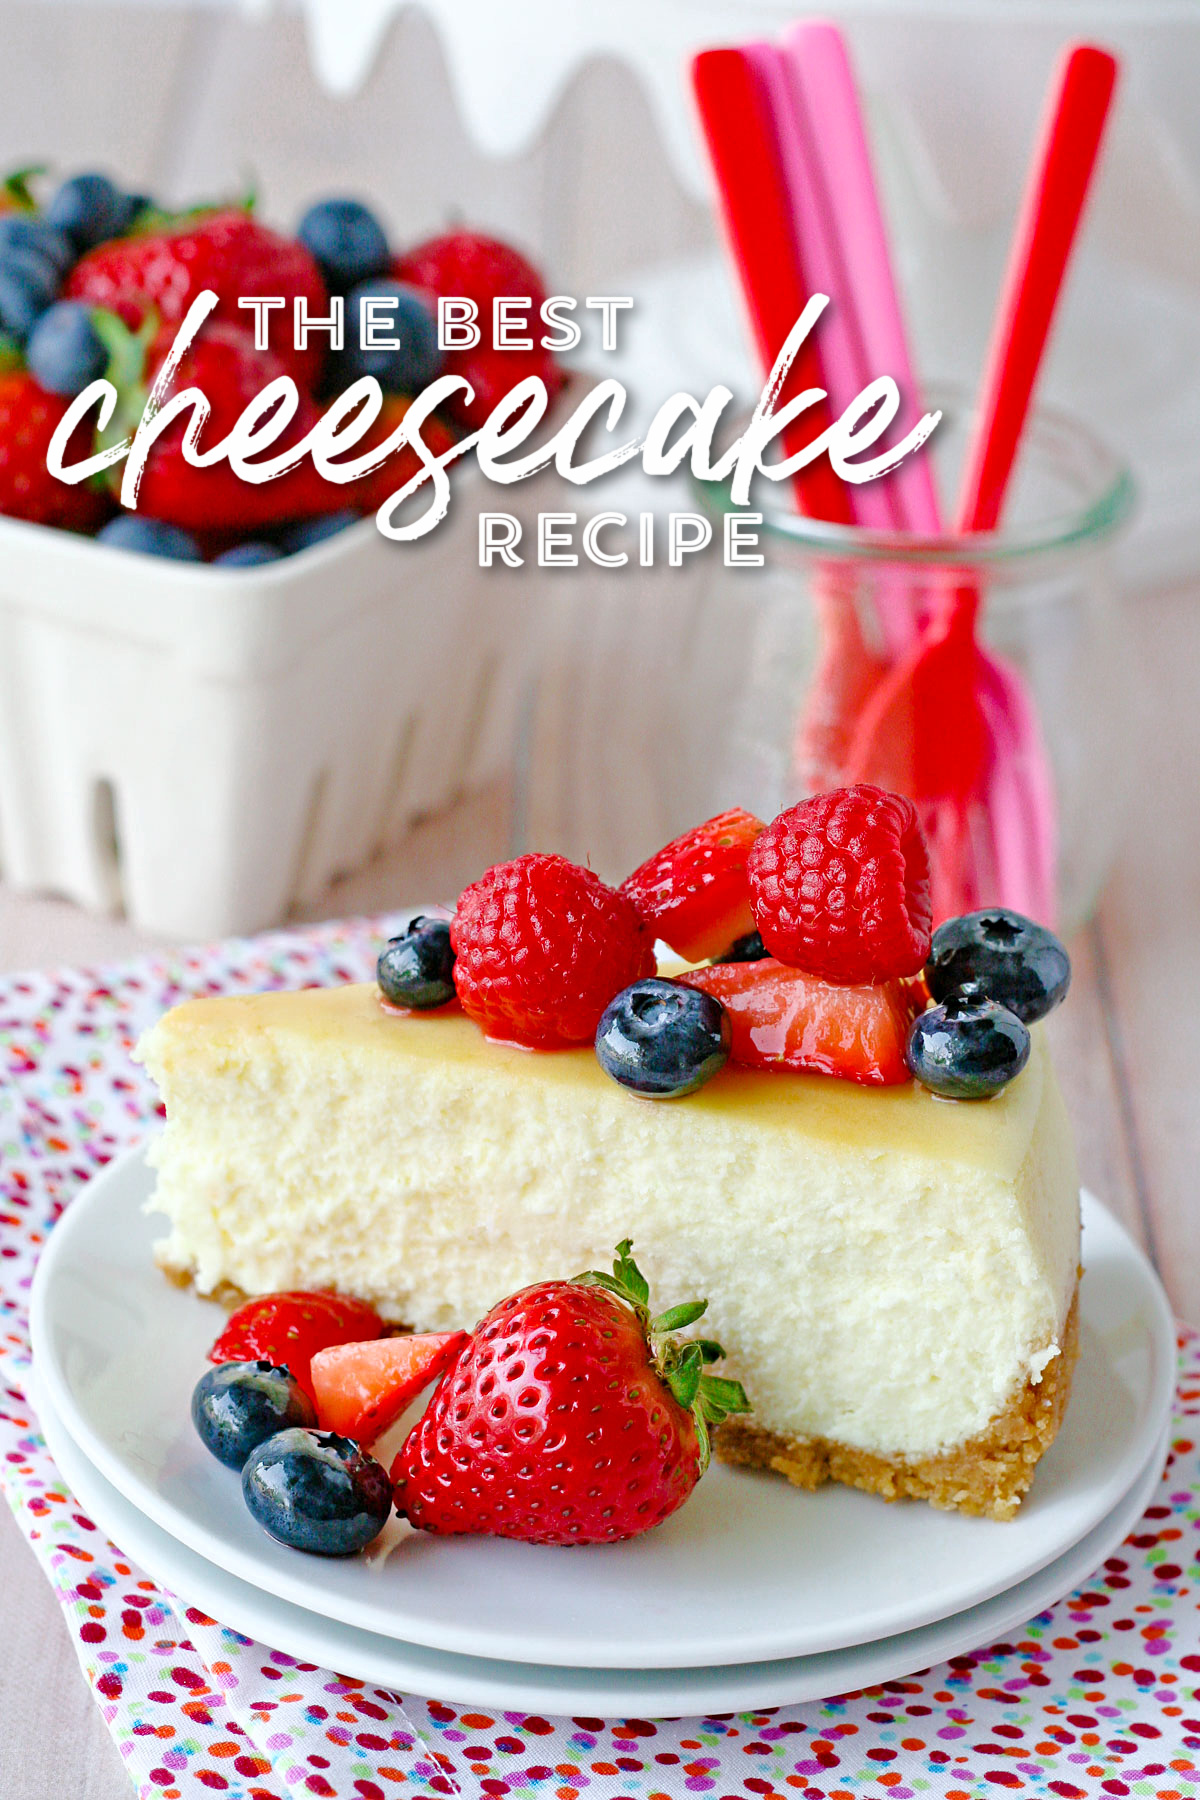
Homemade Cheesecake
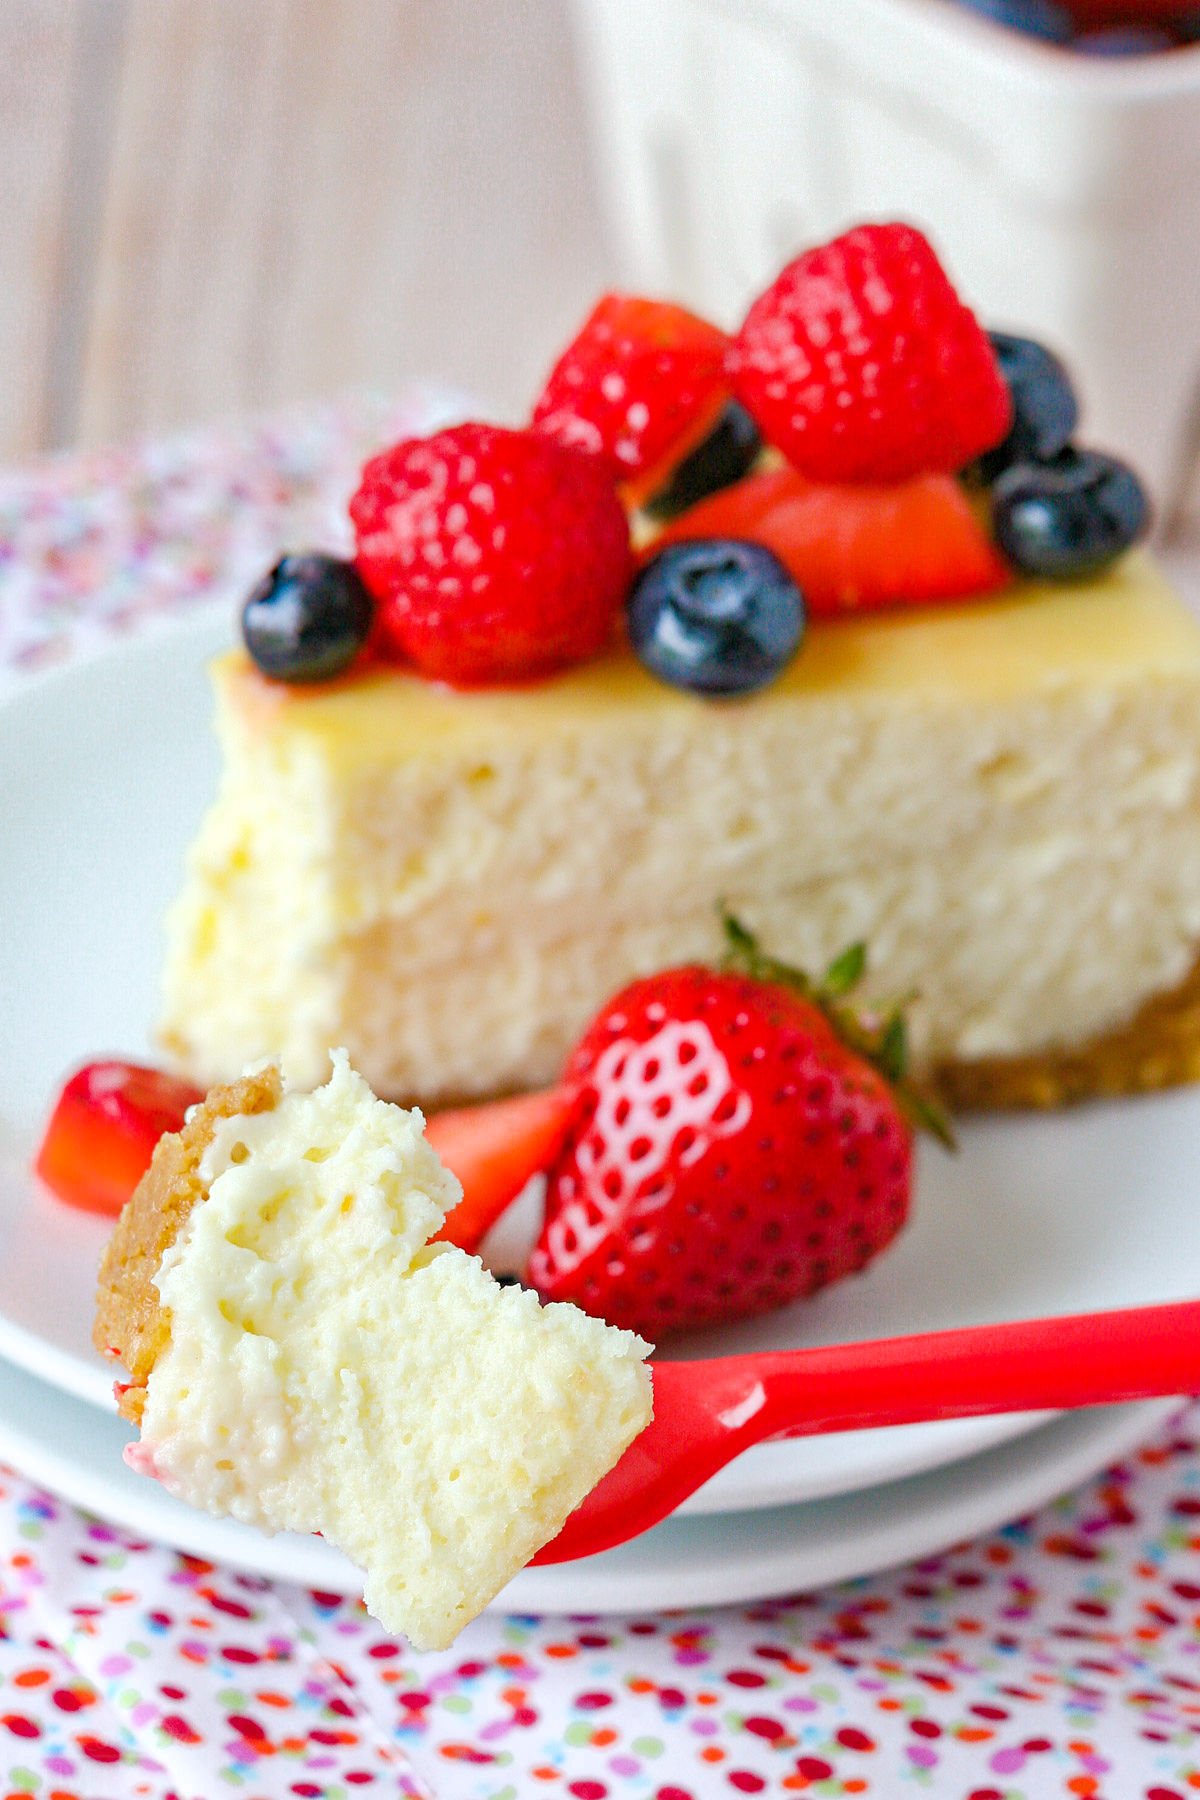
Sometimes you hear ‘vanilla’ and that translates into “plain” or “boring”, right? Well, friends, this perfect Vanilla Cheesecake recipe with a buttery graham cracker crust is a delicious classic that’s anything but boring!
Classics are classics because they’re amazing, right? This cheesecake recipe is rich, creamy, and flavorful…exactly everything a cheesecake should be!
And see that nice flat, crack-free top? I promise it’s possible (and easier than you may think)!
The Best Cheesecake Recipe
This will be a recipe you can come back to time and time again for many different occasions. And you can have fun changing up this basic recipe by experimenting with an endless variety of toppings!
I topped this cheesecake with fresh berries, but I share some other ideas for delicious cheesecake toppings down below. But rest assured, if you’re a cheesecake purist (like my husband), this perfect vanilla cheesecake is flavorful and delicious all on it’s own.
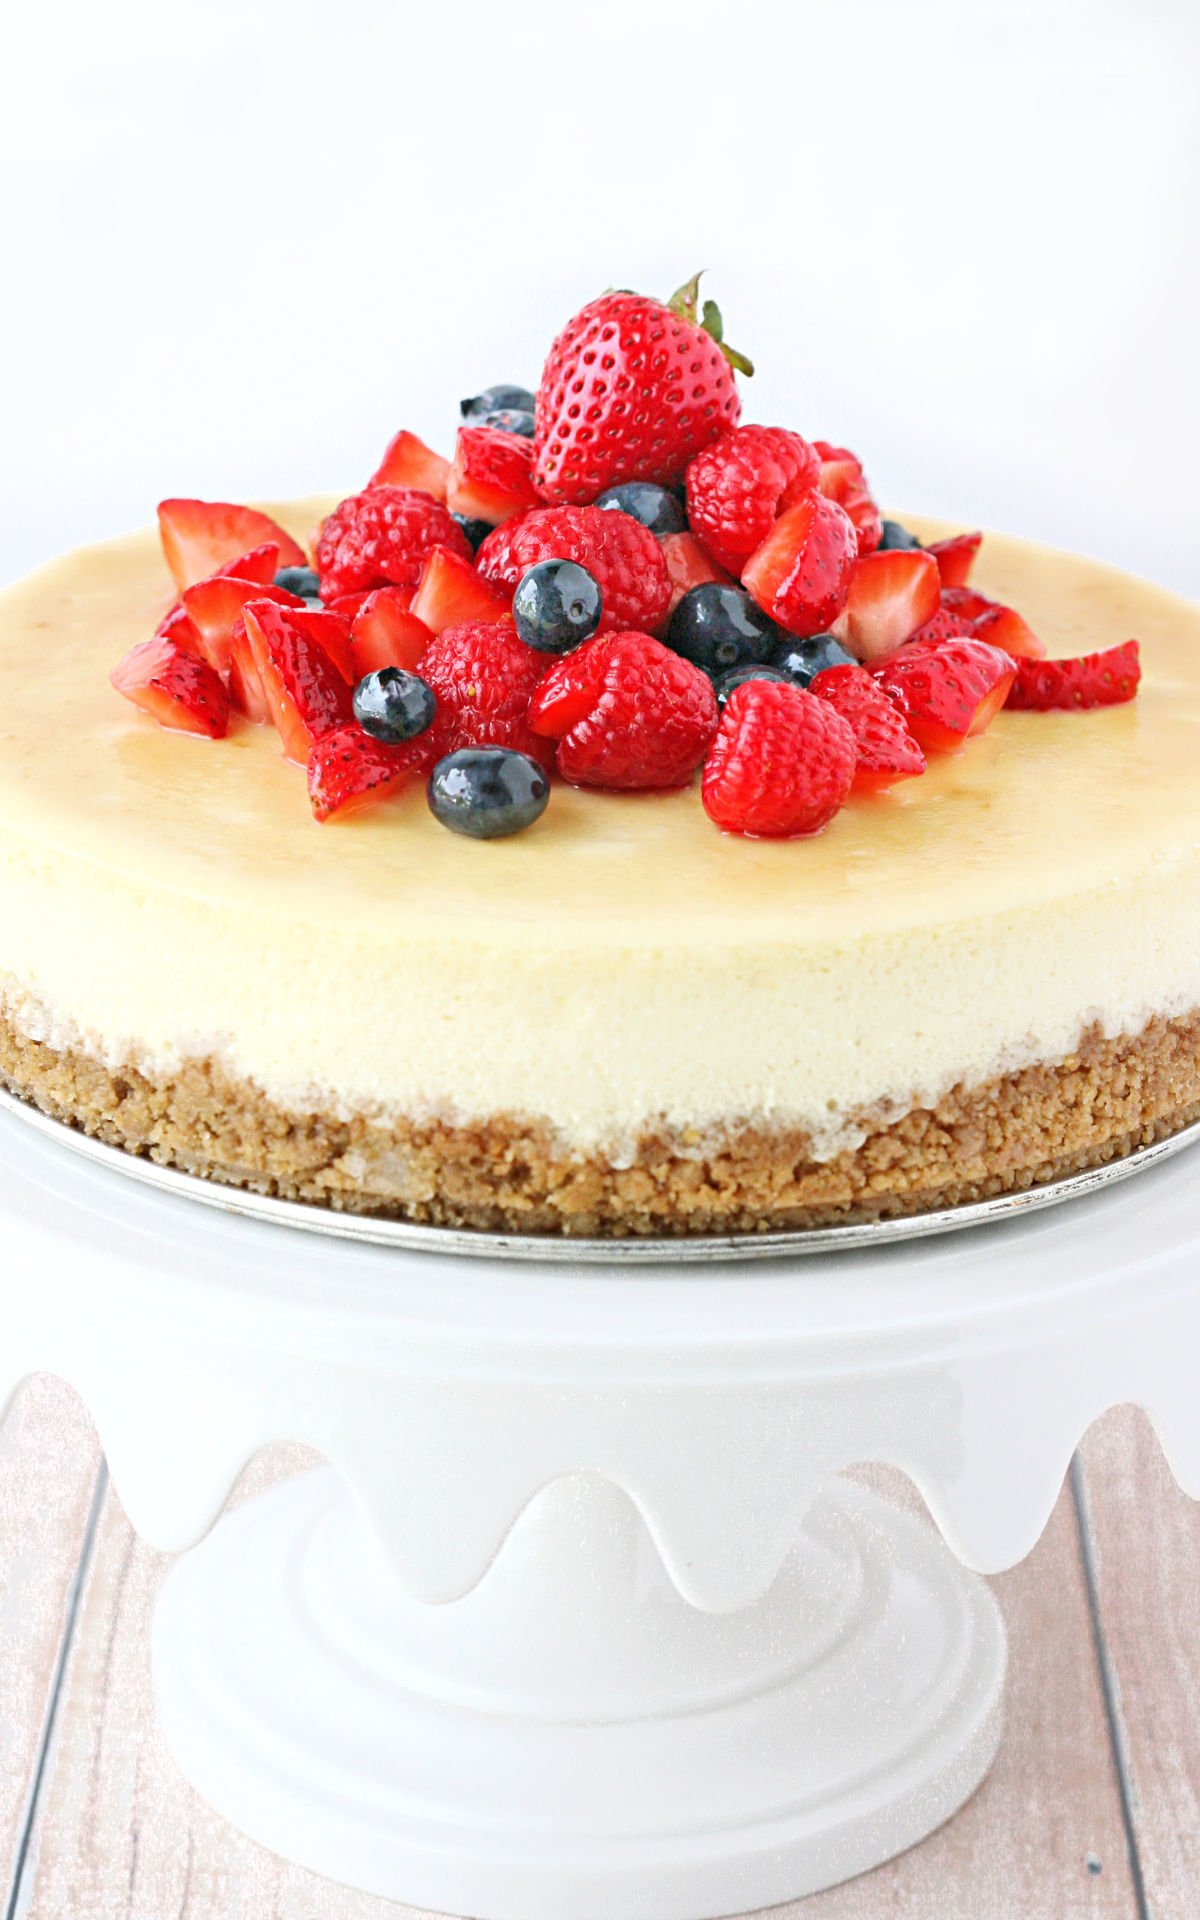
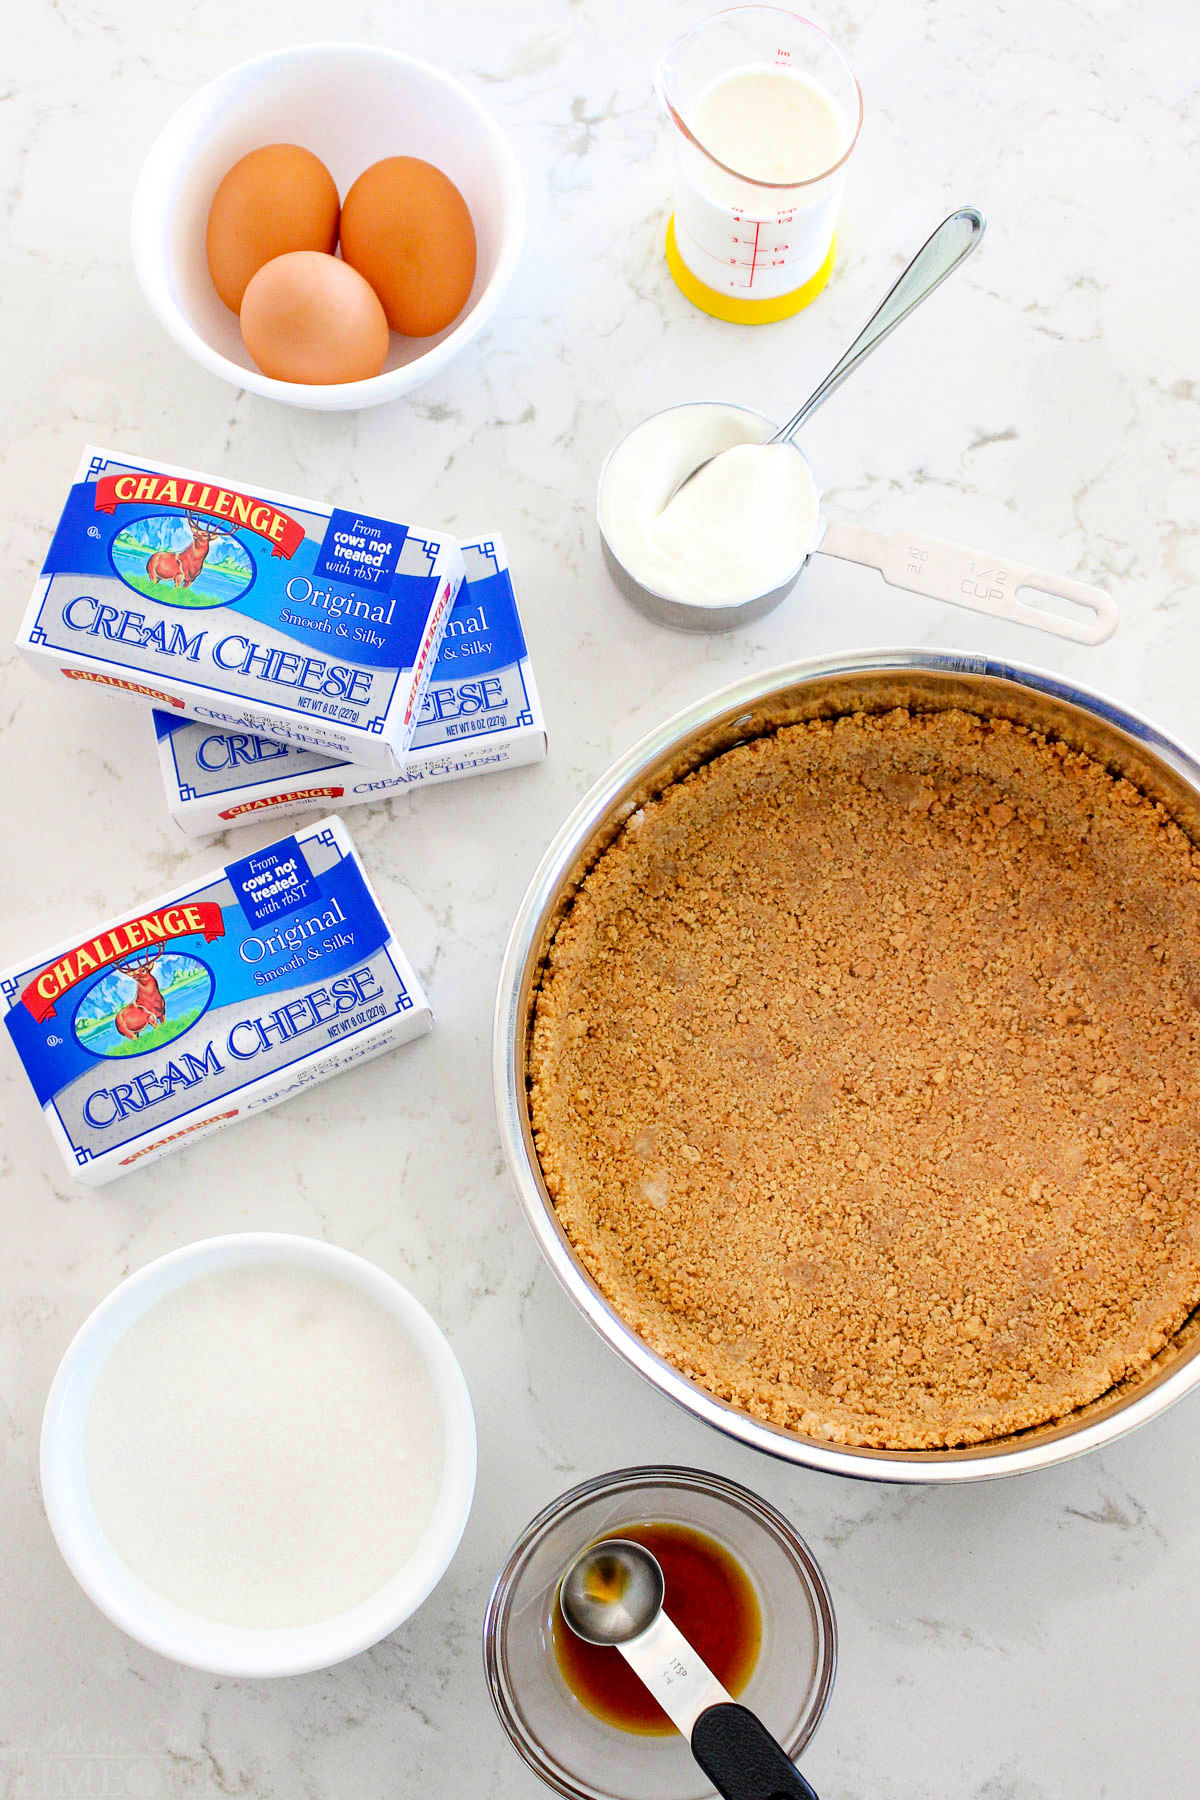
Cheesecake Recipe Ingredients
Some people might expect the list of ingredients to be long and complicated for a cheesecake recipe, but the truth is, it’s short and sweet. There are two components: the graham cracker crust and the filling. We’ll take a quick look now at the ingredients you’ll need for this recipe and, as always, you can find the full printable recipe at the bottom of this post.
Graham Cracker Crust
- Graham crackers: Use your favorite brand of honey graham crackers and crush them up. You can do this by putting them into a resealable plastic bag and rolling a rolling pin over them to create crumbs. You can also buy graham cracker crumbs at the store which can be a real time saver.
- Butter: I used salted butter in this recipe to give the graham cracker crust a super buttery flavor.
- Sugar: Simple granulated sugar is all you need.
Cheesecake Filling
- Cream cheese: I recommend using a high-quality, full-fat cream cheese. You want to get the blocks of cream cheese, not tubs. See image below for clarification.
- Sugar. To sweeten the cheesecake.
- Eggs: The eggs will bind all the ingredients together to help thicken and create that ultra creamy texture and richness cheesecakes are known for.
- Sour cream & heavy cream: Including sour cream and heavy cream adds flavor as well as creates the creamiest cheesecake texture imaginable.
- Vanilla extract: This flavor enhancer takes the flavor of this cake from “delicious” to “I need another piece!” Use my homemade vanilla extract!
- Lemon zest: This isn’t a lemon cheesecake. We’re adding just enough lemon zest to make it taste light and bright. Lemon juice can be used in place of the lemon zest if you prefer.
Recipe Notes:
This easy cheesecake recipe starts with one of my favorite kitchen staples, Challenge Cream Cheese. I know when I use Challenge brand cream cheese I can depend on consistent quality and fresh taste.
No added flavors, dyes, or artificial preservatives…. just fresh and delicious ingredients that are the perfect foundation for successful recipes!
How To Make Cheesecake
Prepare the graham cracker crust first.
- Preheat oven.
- Melt butter and crush graham crackers. Stir together with sugar until well combined.
- Press mixture into a 9″ springform pan.
- Bake for 10 minutes, then set aside to cool.
Next, prepare the cheesecake.
For a perfectly smooth and creamy filling, allow your cheesecake ingredients to come to room temperature first.
- Gather all of your ingredients on the counter so you can warm your cream cheese and eggs can to room temperature.
- In the bowl of an electric mixer, blend cream cheese until smooth.
- Add sugar and continue to blend. The add the eggs, one at a time (while blending). Finally, add sour cream, heavy cream, vanilla, and lemon zest. Blend until all ingredients are smooth and well incorporated. Tap the bowl on the counter several times to remove any possible air bubbles. Bubbles lead to cracks!
- Pour the cheesecake batter into the prepared crust.
- Prepare the cheesecake pan for the water bath by wrapping in foil and placing in a large roasting pan or baking dish. Add HOT water into the roasting dish until the water is about 1″ deep.
- Bake cheesecake in preheated oven at 325°F for 60-65 minutes, until the outside edges are set, but the center still jiggles a bit when nudged.
- At this time, turn OFF the oven and open the oven door part way. Allow the cheesecake to slowly cool in the oven for 1 hour.
- Move cheesecake to the counter and cool for an additional hour.
- Finally, cover the cheesecake with foil and move it to the fridge to chill for AT LEAST 6 hours, or overnight.
- Store cheesecake for up to 1 week, covered, in the fridge.
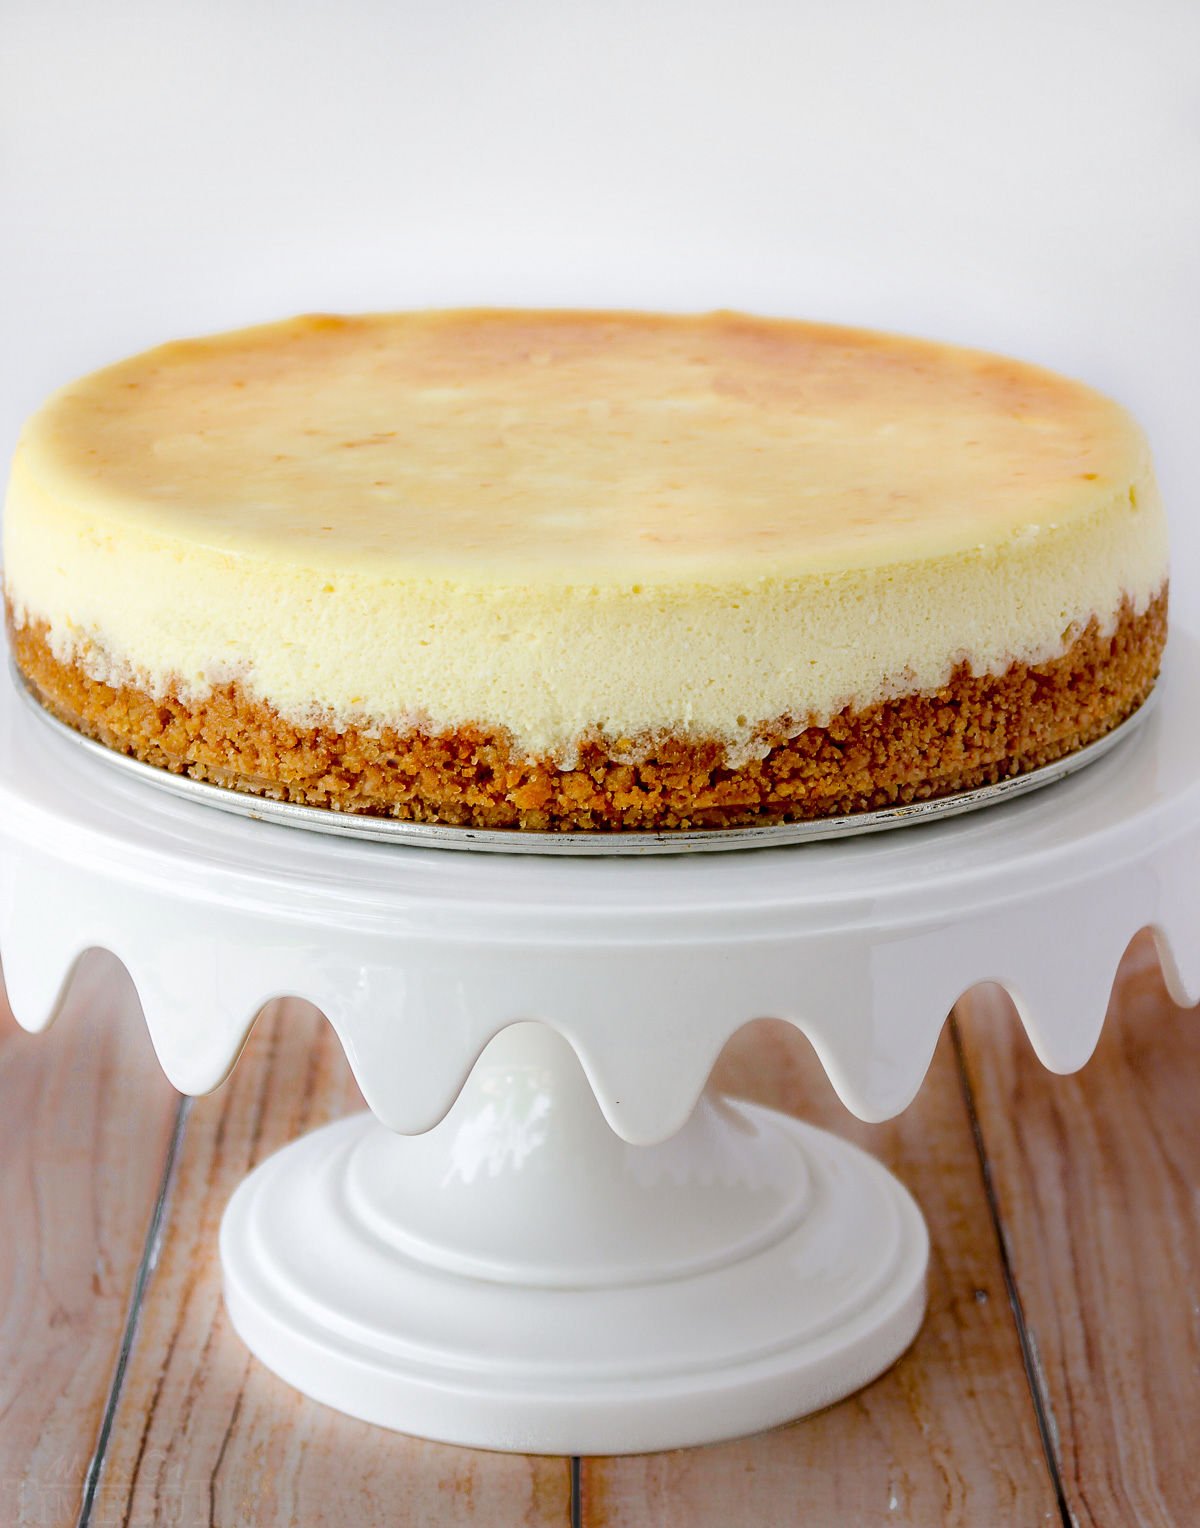
Avoid over beating your cheesecake. Your goal is creamy, NOT fluffy. If you over beat, you will unintentionally add air to your batter which can cause cracks when baking.
How To Make A Water Bath For A Cheesecake
One of the most challenging aspects of a cheesecake is the cracking that can sometimes take place on top of the cheesecake as it cools. There are a couple of ways to combat the cracking and a water bath is my favorite. Lets’s see how easy it is:
- First you need a high quality springform pan, this is a pan that has removable sides. You can use either a 9 inch or 10 inch springform pan for this recipe.
- To ensure no water seeps in, I like to double wrap the springform pan with foil as a precautionary measure. No one likes a soggy crust!
- Place the cheesecake in a large roasting pan or baking dish and carefully add hot water to the pan. Sometimes, I’ll even add the water after I’ve moved the cheesecake and roasting pan to the oven to make it easier to carry.
The steam from the water bath does 2 things: helps the cheesecake cook more slowly and evenly and also allows it to cool more slowly, thus preventing cracks.
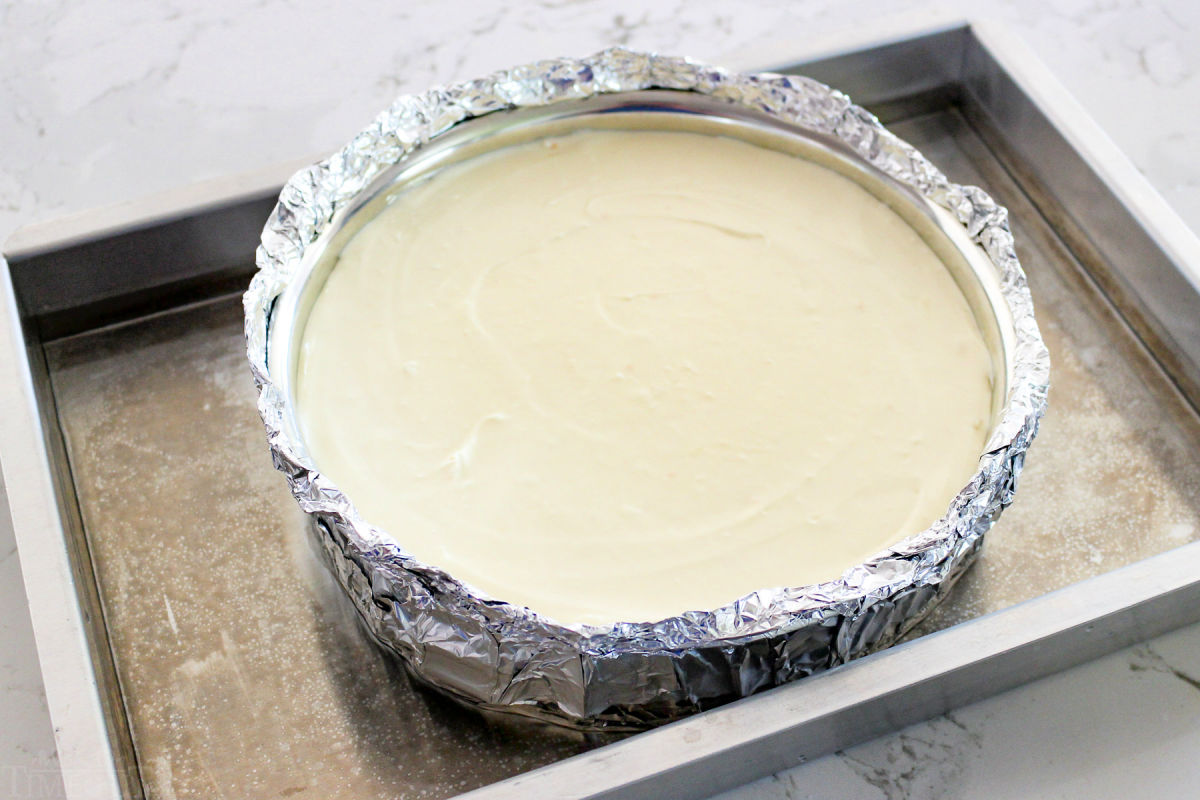
Both the water bath and allowing your cheesecake to SLOWLY cool help to prevent cracking, but it’s not a guarantee. If you’ve done everything right and there’s still a crack, just cover it up with some whipped cream, sauce, pie filling, or lemon curd. No one will know it’s even there!
Variation Ideas
This cheesecake is perfect as is but we love to mix it up sometimes. Try one of these simple variations the next time you’re making this cheesecake:
- Vanilla: I used vanilla extract in this recipe, but you could elevate both the flavor and appearance by using vanilla bean paste or a vanilla bean instead.
- Powdered sugar: dust the top with some powdered sugar and raspberries or strawberries for a very elegant presentation.
- Brown sugar: try using light brown sugar instead of granulated sugar in the graham cracker crust for a rich, caramel flavor. Yum!
Cheesecake Toppings
I topped this vanilla cheesecake with colorful and delicious summer berries. Here are additional ideas for ways you can add variety to your cheesecake!
- any fruit pie filling
- fresh peaches or berries
- lemon curd
- berry sauce
- caramel sauce
- chocolate sauce
- homemade whipped cream
- white chocolate mousse
- toasted coconut
And if you’re a cheesecake purist (like my husband), this perfect cheesecake recipe is flavorful and delicious all on it’s own.
Cheesecake Recipe FAQs
The moist air created from baking the cheesecake in the water bath also helps keep the cheesecake nice and creamy. It’s one little extra step that acts as a buffer to help your cake bake slowly and evenly and really makes a BIG difference in the finished recipe!
To create the water bath, simply wrap the cheesecake pan with two layers of foil, set inside a large roasting pan (or cake pan), add about an inch of HOT water to the pan, then bake as directed below.
Avoid over beating the cheesecake batter, which can create air bubbles. Just beat the batter until it’s just mixed. One additional thing you can do is to tap the springform pan on the counter a couple of times after you add the batter to release any possible bubbles as well as tapping the bowl with the batter in on the counter before transferring the batter.
Allowing your cheesecake to cool VERY slowly gives it time to set and solidify and also helps prevent cracking.
Absolutely! If you’d like to freeze the whole cheesecake, it’s easier to freeze it on the bottom of the springform pan. Simply wrap the entire cake with 2 to 3 layers of plastic wrap and then another layer with foil. I like to freeze for about 2 hours and then transfer the entire wrapped cake to a freezer safe resealable bag.
If you’re just wanting to freeze slices of cheesecake, use the same method as above but place the cheesecake on a small plate first or flash freeze on a parchment lined baking sheet and then wrap with plastic wrap, foil and then place in a resealable freezer safe bag.
Cheesecake should be thawed in the refrigerator. Frozen cheesecake will be good for up to 3 months.
More Delicious Cheesecake Recipes To Try
- Banana Split Cheesecake
- Strawberry Cheesecake Mousse
- Chocolate Cheesecake for Two
- 4th of July Berry Cheesecake Trifle
- Mango Lime Cheesecake
How To Make Cheesecake
Perfect Cheesecake
Ingredients
Crust
Cheesecake
- 24 ounces cream cheese
- 1 1/3 cups sugar
- 3 eggs room temperature
- 1/2 cup sour cream
- 1/4 cup heavy cream
- 2 teaspoons vanilla extract
- 1 teaspoon fresh lemon zest or lemon juice – optional
Instructions
Prepare Crust
- Preheat oven to 350°F.
- Melt butter in a small bowl, then set aside. Crush graham crackers and then add graham cracker crumbs, sugar and melted butter into a medium sized bowl. Stir together until well combined.
- Pour mixture into a 9" springform pan and use the bottom of a glass or measuring cup to press the mixture firmly into the bottom and about 1 inch up the side of the pan. Bake in pre-heated oven for 10 minutes, then set aside to cool.
Prepare Cheesecake
- Reduce oven temperature to 325°F.
- In the bowl of an electric mixer, blend cream cheese until smooth.
- Add sugar and continue to blend. Add eggs, one at a time (while blending). Add sour cream, heavy cream, vanilla, and lemon zest. Blend until all ingredients are smooth and well incorporated.
- Tap the bowl on the counter several times to remove any air bubbles. Pour the cheesecake batter into the prepared crust.
- Prepare the cheesecake pan to be baked in a water bath (as follows). To prepare water bath, wrap the cheesecake pan (bottom and sides) with foil, (you may need to criss cross two sheets of foil) so that no water can get into the pan. Place the foil wrapped cheesecake pan in a large roasting pan or baking dish, then pour HOT water into the roasting dish until the water is about 1" deep. Carefully move to oven and bake.
- Bake cheesecake in pre-heated oven at 325°F (note this is reduced from the crust baking temperature) for 60-65 minutes, until the outside edges are set, but the center still jiggles a bit when nudged. At this time, turn OFF the oven and open the oven door part way. Allow the cheesecake to slowly cool in the oven for 1 hour.
- Move cheesecake to the counter and cool an additional hour. At this time, move the cheesecake to the fridge (cover with foil) and chill for AT LEAST 6 hours, or overnight.
- Store cheesecake for up to 1 week, covered, in the fridge.
Notes
Nutrition
Disclosure – I created this recipe as part of an ongoing partnership with Challenge Dairy. Partnering with brands I love allows me to provide you high quality content at no cost to you. I only work with brands I use and love. All images, text and opinions are my own.
I’ve never made a cheesecake before. I don’t have a large stand mixer, I only have a hand mixer. Will a hand mixer work?
Hi Stephanie,
Yes, a hand mixer will work just great. Just be sure your cream cheese is softened to room temperature (let it sit out at least 30 minutes), or microwave at 50% power for maybe 30 seconds to soften, but be very careful not to actually heat it or melt it much at all. And then be very sure you blend ONLY the cream cheese until FULLY smooth before moving on to the other steps. Happy baking and happy Thanksgiving!
Hi Glory, Do you think I could split this recipe and make four – 4” cheesecakes?
Yes, for sure! You’ll definitely want to adjust (reduce) the baking time. The description will remain the same (as listed in the recipe) to describe when the cheesecake is done. Happy baking!
Looks delicious! Can it be frozen? If yes, for how long?
How long will it last in the fridge?
Hi! I have not experimented with freezing this, and I’m not sure I would recommend it. Feel free to experiment. It does last several days (I’d say 3-4) in the fridge, just make sure it’s well protected from the air, and that there are no odors in the fridge that would seep into the cheesecake. Happy baking!
I don’t like using water baths for cheesecakes, so am wondering if this yummy looking vanilla cheesecake can be baked without one at a lower temperature and a longer bake time. Thoughts?? Thanks!
I’ve only made this recipe (and other successful cheesecakes) using a water bath, is there a reason you’re opposed to doing it that way? I know that some people fear the crust getting soggy… I haven’t had that problem, but I have seen a water bath used and a plastic crock pot liner used around the cheesecake pan to create one extra layer of protection (in addition to foil).
Please feel free to experiment, but I’ve only made the recipe as listed.
I find water baths unwieldy, hard to handle, no guarantee against cracking (important when you serve the cheesecake “naked” as we do), and more trouble than they’re worth. We like the dense texture of a New York-style cheesecake and find waterbaths make the texture too creamy for our taste.
That all makes sense now =) We might be at odds on this recipe then, because I was purposely trying to create a smooth and creamy cheesecake! Of course I totally understand that everyone has different preferences. Please feel free to experiment. I do think one key in preventing cracks is allowing the cheesecake to cool slowly (in the oven, then on the counter before moving to the fridge). Happy baking!
I agree that cheesecake needs to cool slowly and then *must* refrigerated overnight for best flavor and texture. Thanks again for your help!
Looks amazing, thank you for all your hard work providing us with great recipes.
Thanks so much for your sweet comment!
This looks de-lish! Another winner! I wish I had some of this right now! 🙂
Thanks so much Sherrill! This one was extra fun to make (and eat)! =)