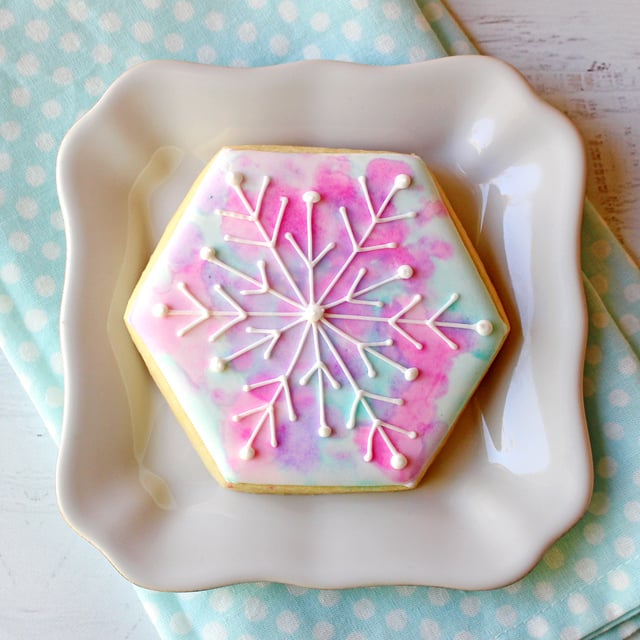
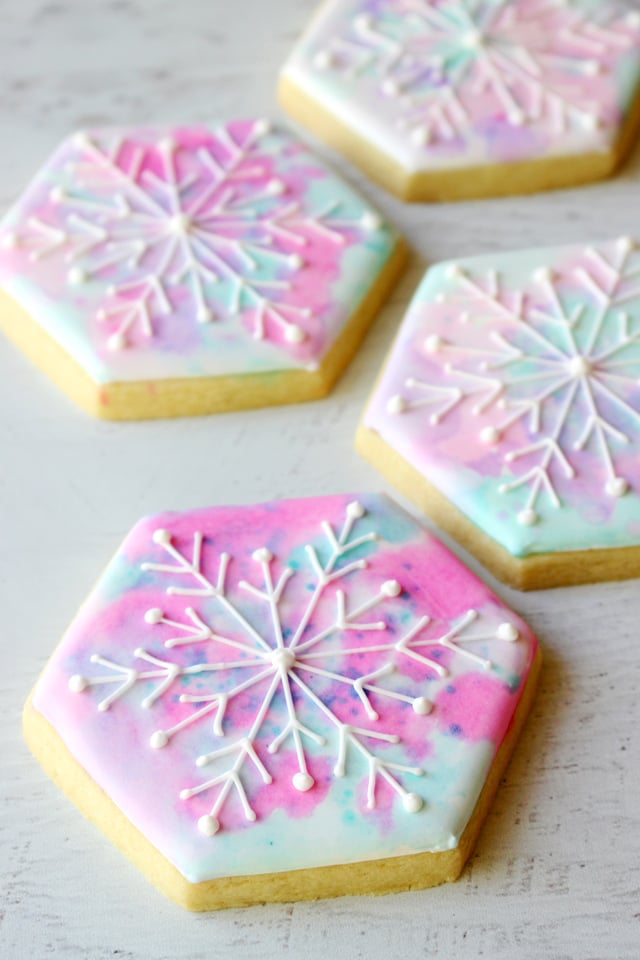
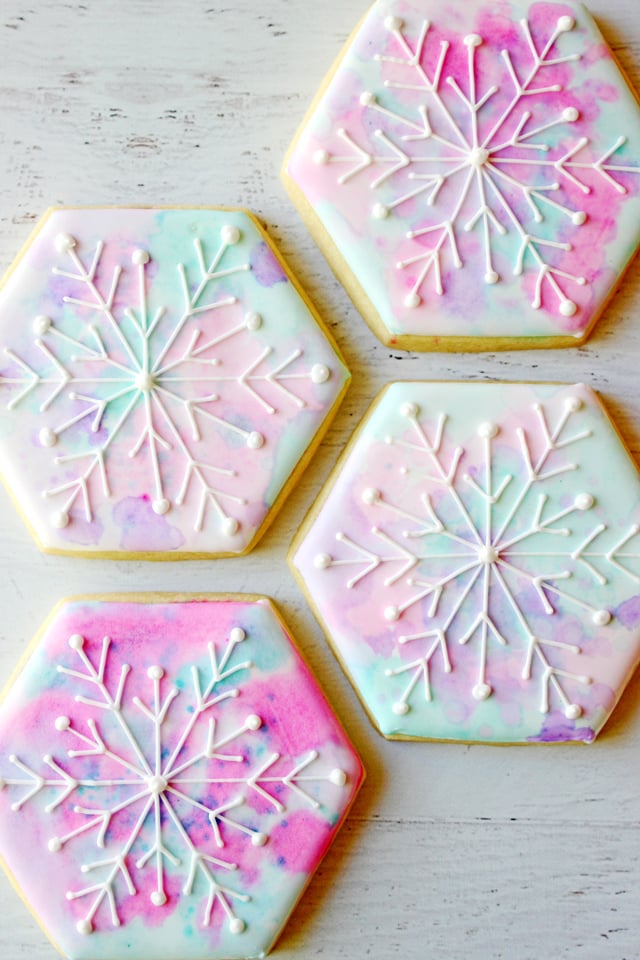
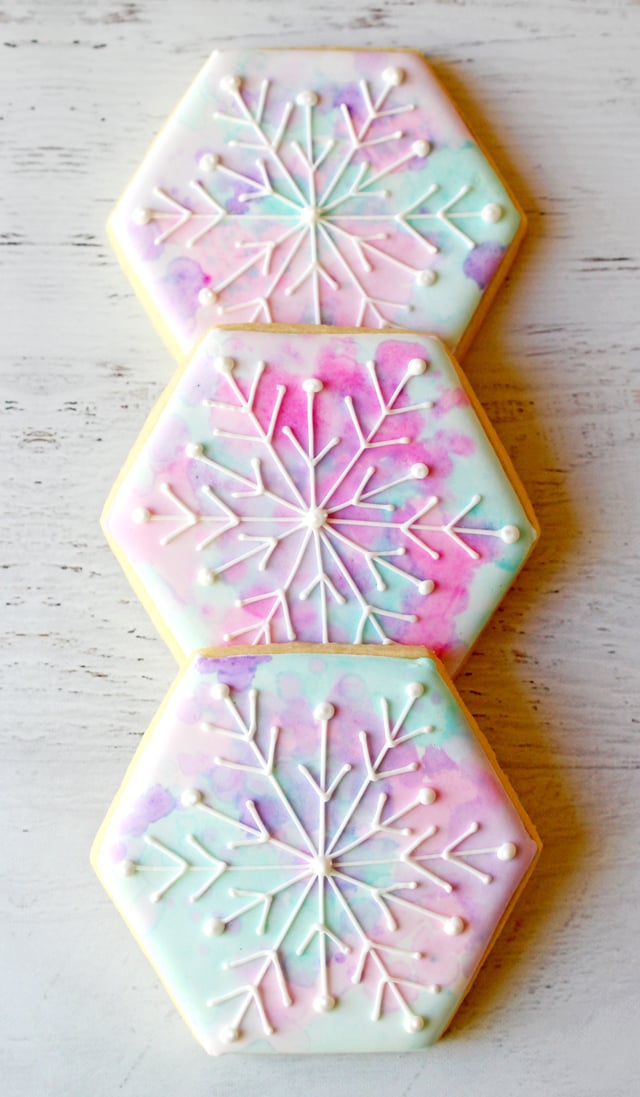
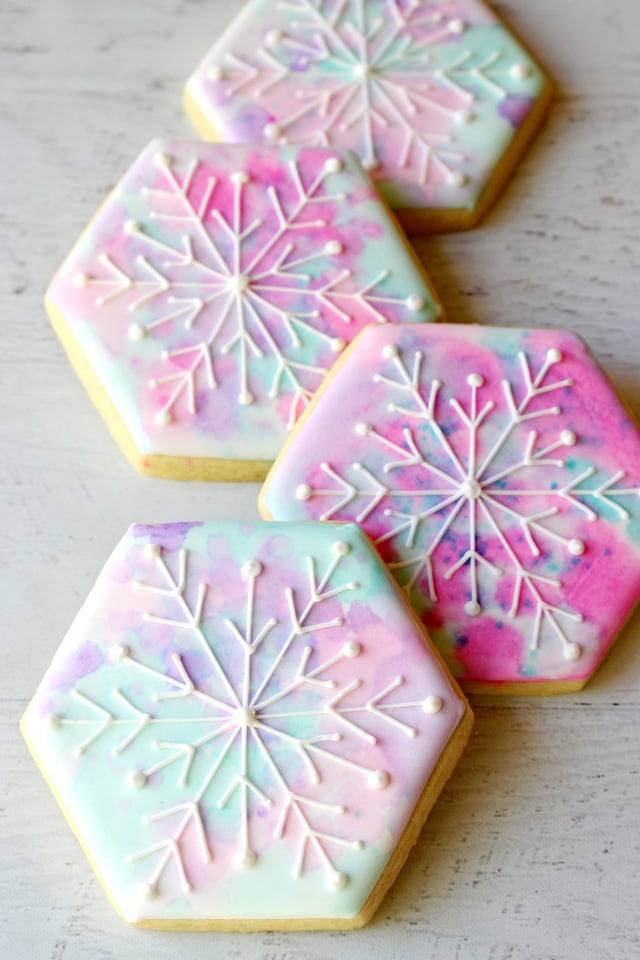
These gorgeous Watercolor Snowflake Cookies are a modern take on traditional Christmas cookies.
Start with my Perfect Sugar Cookie Recipe, and my Royal Icing, then follow the video and step-by-step directions below to create these winter masterpieces!
The “watercolor” technique is such a fun (and easy) way to add any colors you like… without the need to individually color multiple bags of icing… hooray!
A bonus feature of this design is you get a snowflake cookie without the headache of cutting out (and then packaging) traditional snowflake shaped cookies, which are often fragile (and frustrating).
PIN IT NOW to save for later!
[mv_video key=”lhkicm23mjhdbyhjceo4″ volume=”70″ aspectRatio=”true” title=”Watercolor Snowflake Decorated Cookies” thumbnail=”https://mediavine-res.cloudinary.com/video/upload/lhkicm23mjhdbyhjceo4.jpg” doNotOptimizePlacement=”false” doNotAutoplayNorOptimizePlacement=”false”]I’m always drawn to cookie designs that incorporate simple, all-season cookie cutters.
Hexagons are such a popular shape right now in interior design, graphic design, and cookie art… and I wanted to play with the shape as well.
Of course this watercolor snowflake design would be equally gorgeous on a circle or square cookie.
And how pretty would these cookies be for a Frozen themed birthday party?
To make these Watercolor Snowflake Cookies you’ll need…
A batch of cookies made with my –> Perfect Sugar Cookie Recipe.
A hexagon cookie cutter (or circle or square).
A batch of –> Royal Icing.
Gel food coloring (Americolor, Wilton, or Hobby Lobby’s store brand all work great)
Clear alcohol (I used 151 proof Everclear, you can also use clear vanilla extract, or any high proof clear alcohol).
A paintbrush (new, and only used for food… I would hope that’s obvious).
Time (I wish I had a link for where to buy that!)
Watercolor Snowflake Cookies decorating directions…
Once you’ve baked your cookies (using my recipe and directions linked above), prepare your royal icing (recipe also linked above).
One of my favorite things about this cookie design is that you don’t need to color any icing. You just need white!
Watch the decorating video in this blog post to give you an overview of the process, and then…
1. Prepare one bag of icing in a thick/outline consistency (about the consistency of toothpaste). I’d suggest a #1.5PME tip for this.
2. Thin some icing for a second bag to be your flood icing (about the consistency of shampoo, or corn syrup). I’d suggest a #2 tip for this.
3. Outline the hexagon shape with the thick icing, them immediately fill in/flood with the thinned icing. Use a toothpick or scribe tool as needed to make sure the icing is nice and smooth across the cookie.
4. Allow the cookies to fully dry. I like to set the cookies in front of a fan (set on low) for about an hour to help speed up this process. You can also use a dehydrator for 15 minutes or so to help get the drying process going. Depending on the temperature and humidity of your home, the full dry time will be 6-8 hours.
5. Once that base icing is fully dry, add your desired colors of food coloring (just the tiniest of drops) to a small bowl and thin with a few drops of clear alcohol (as listed above). Thinning the food coloring with alcohol instead of water is essential to make sure the liquid doesn’t erode the royal icing base. The alcohol will evaporate quickly, leaving no taste or effect behind. Use your paintbrush to mix the color and the alcohol in the bowl, then (as needed) dab the brush onto a slightly moist paper towel to remove some of the excess liquid before “painting” on the cookie. You do not want to have the liquid pooling up on the surface of the cookie. Use as little liquid as is necessary to achieve the look you want. Dab the color around on the cookie with a soft paintbrush, as desired.
6. Once painted, allow the cookies to dry about an hour (preferably in front of a fan set on low). If there seems to still be some moisture on the surface of the cookies, take a soft, dry paintbrush and brush just a bit of corn starch over the surface of the cookie to help absorb any excess moisture.
7. Finally, pipe a snowflake design of your choice, using thick/piping consistency icing with a #1 or #1.5 sized tip.
8. Allow the snowflake detailing to dry about 2 hours before packaging or storing the cookies.
In the mood for even more holiday baking?
Here are a few of my favorite and most popular holiday recipes…
Hot Cocoa Cookies – Seriously, try these! They will instantly become a Christmas favorite in your house, I promise!
Winter Wonderland Cookies – This cookie design is great for beginners! Includes a decorating video too!
Cranberry Orange Bread – Easy, festive, delicious!
Snowman Soup – So adorable for gift-giving!
PIN IT NOW to save for later!
Watercolor Snowflake Cookies
Equipment
- paintbrush
- hexagon cookie cutter (or circle or square)
Ingredients
- batch of sugar cookies
- batch of royal icing
- Gel food coloring Americolor, Wilton, or Hobby Lobby's store brand all work great
- Clear alcohol I used 151 proof Everclear, you can also use clear vanilla extract, or any high proof clear alcohol.
Instructions
- Once you've baked your cookies (using my recipe and directions linked above), prepare your royal icing (recipe also linked above). One of my favorite things about this cookie design is that you don't need to color any icing. You just need white!
- Prepare one bag of icing in a thick/outline consistency (about the consistency of toothpaste). I'd suggest a #1.5PME tip for this.
- Thin some icing for a second bag to be your flood icing (about the consistency of shampoo, or corn syrup). I'd suggest a #2 tip for this.
- Outline the hexagon shape with the thick icing, them immediately fill in/flood with the thinned icing. Use a toothpick or scribe tool as needed to make sure the icing is nice and smooth across the cookie.
- Allow the cookies to fully dry. I like to set the cookies in front of a fan (set on low) for about an hour to help speed up this process. You can also use a dehydrator for 15 minutes or so to help get the drying process going. Depending on the temperature and humidity of your home, the full dry time will be 6-8 hours.
- Once that base icing is fully dry, add your desired colors of food coloring (just the tiniest of drops) to a small bowl and thin with a few drops of clear alcohol (as listed above). Thinning the food coloring with alcohol instead of water is essential to make sure the liquid doesn't erode the royal icing base. The alcohol will evaporate quickly, leaving no taste or effect behind. Use your paintbrush to mix the color and the alcohol in the bowl, then (as needed) dab the brush onto a slightly moist paper towel to remove some of the excess liquid before "painting" on the cookie. You do not want to have the liquid pooling up on the surface of the cookie. Use as little liquid as is necessary to achieve the look you want. Dab the color around on the cookie with a soft paintbrush, as desired.
- Once painted, allow the cookies to dry about an hour (preferably in front of a fan set on low). If there seems to still be some moisture on the surface of the cookies, take a soft, dry paintbrush and brush just a bit of corn starch over the surface of the cookie to help absorb any excess moisture.
- Finally, pipe a snowflake design of your choice, using thick/piping consistency icing with a #1 or #1.5 sized tip.
- Allow the snowflake detailing to dry about 2 hours before packaging or storing the cookies.
Video
If you try this pretty winter design I’d love to see your results!
Please feel free to share a photo on my Glorious Treats Facebook page, or tag me @GloriousTreats on Instagram.
Happy holiday baking!

Hermosa galleta, gracias por compartir el paso a paso.
Your sugar cookies are what caught my eye! They are so beautiful.
But the MUSIC is what I need to know!
I’ve been searching for this song and would love to know the artist and where you got this piano music!
I can play by ear, but much better with sheet music.
Please tell me where it’s from!
I am in awe .. you have magical hands
Ahhhhhh! I am SO excited to try this!! Thank you for sharing!
Do you have an eggless version of the perfect sugar cookies, that is fool proof?
No, I have not experimented with an egg free version. Please feel free to experiment.
These are beautiful!! I love PINK!! HA!
Thanks so much Charlotte! I love pretty pastels for Christmas, it’s just a nice break from the more traditional colors (which I love too).