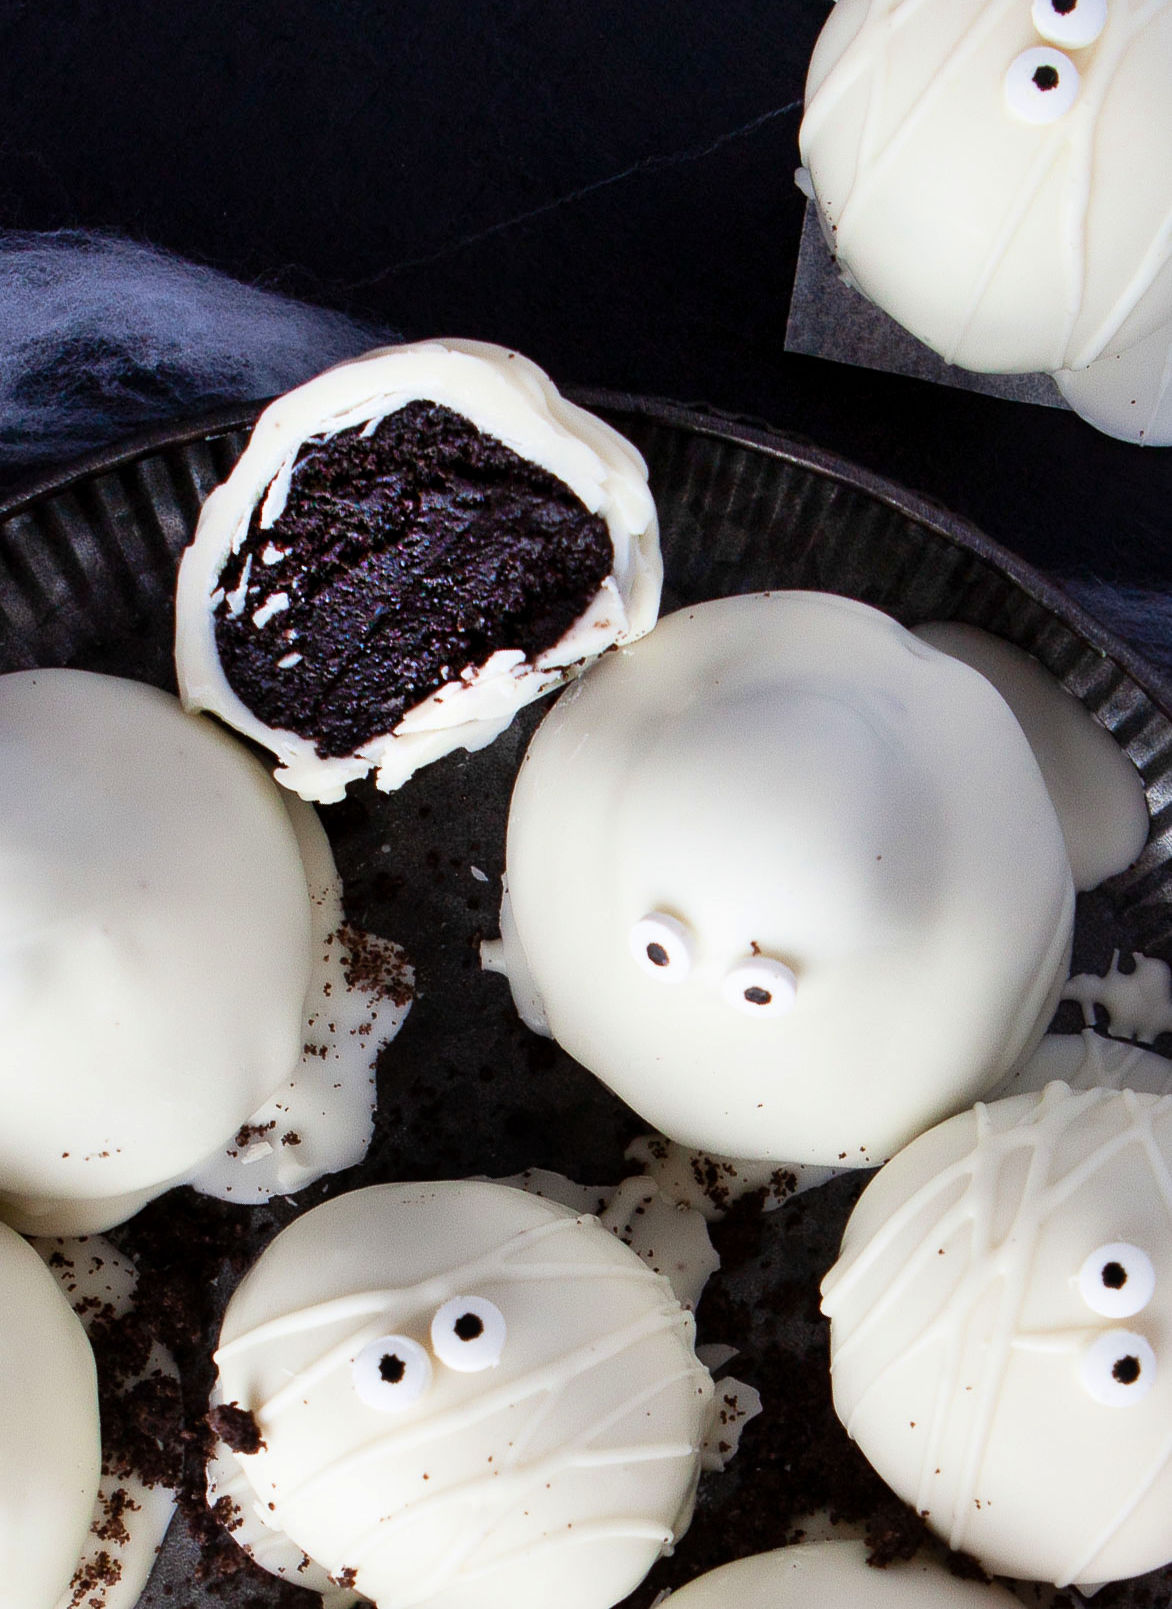
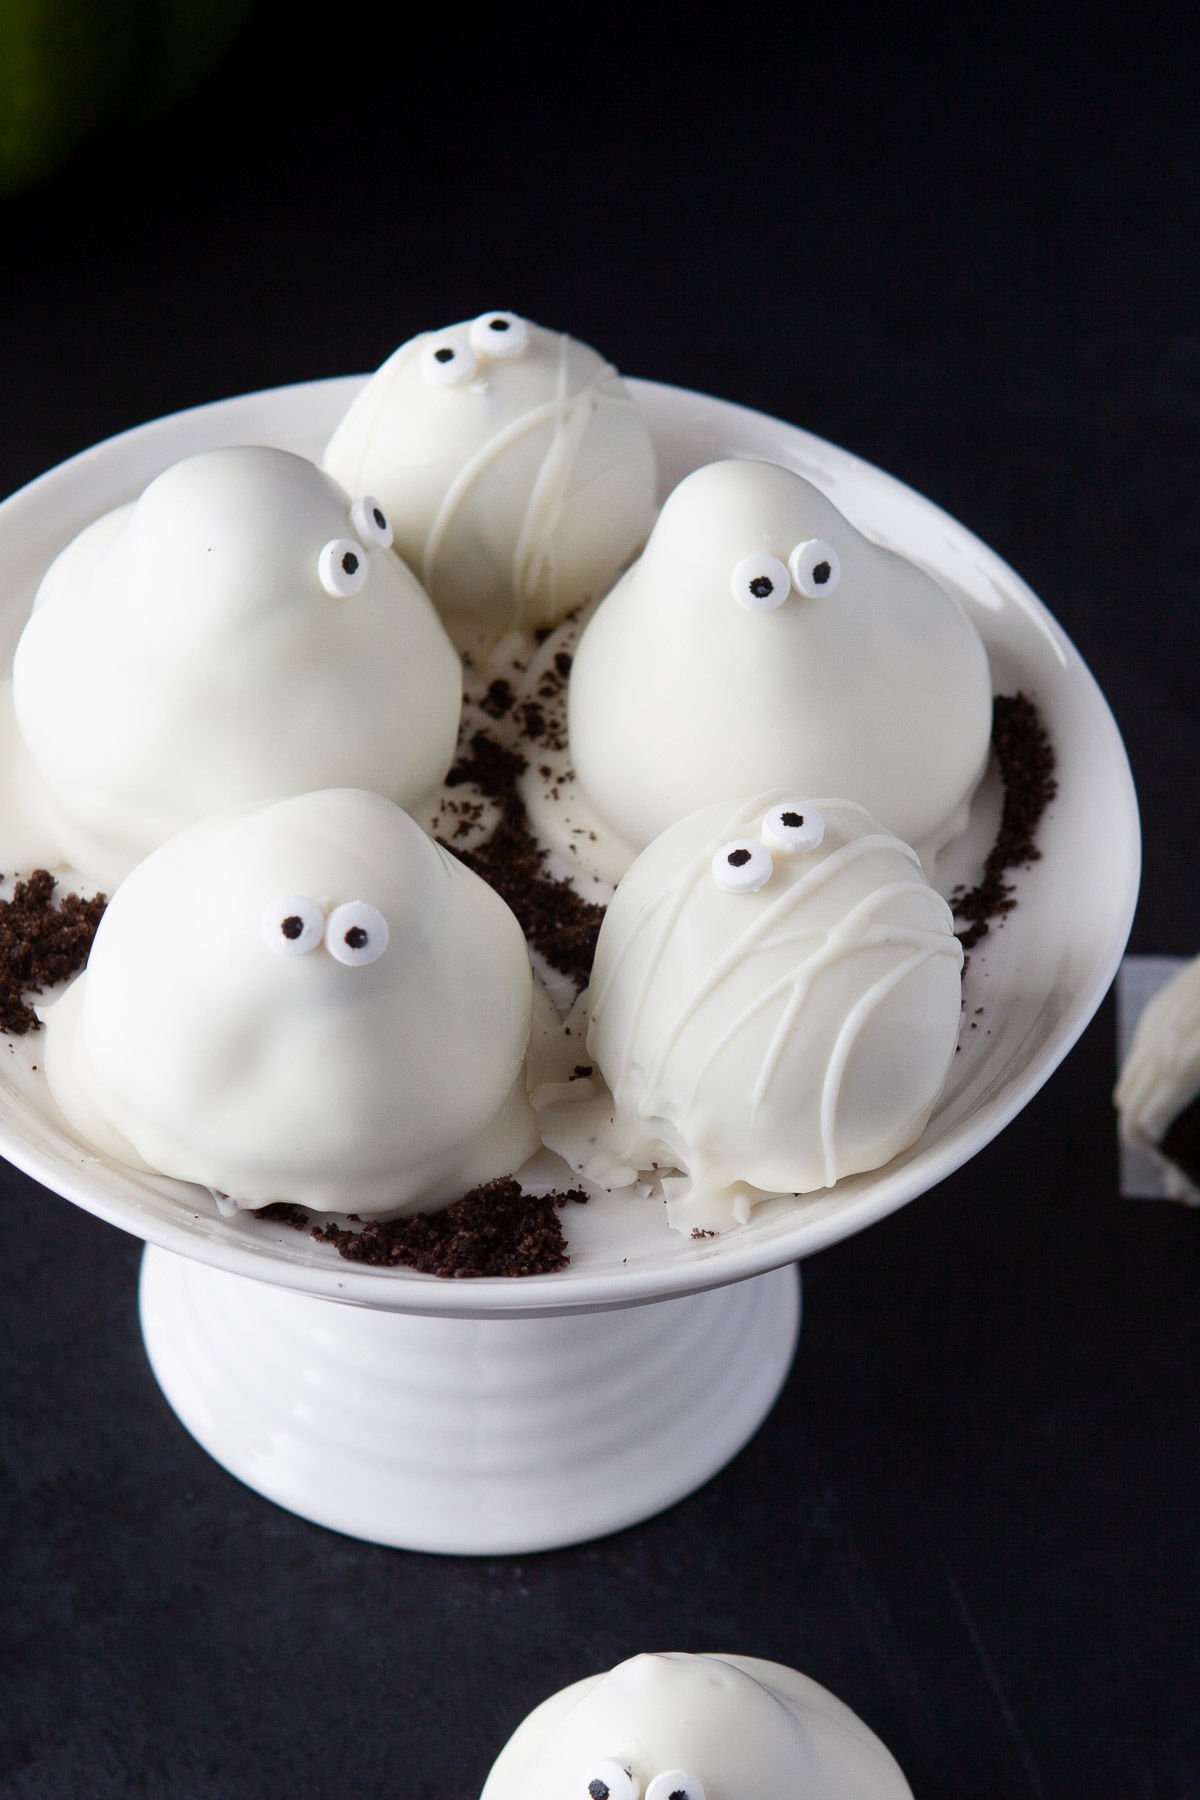
These easy Ghost and Mummy Oreo Balls come together spooky fast and are sure to be the hit of your Halloween party! Quick to make, they are also quick to disappear so make a double batch for a big group. Use your favorite Oreo cookie flavor for a fun twist!
Looking for more fun Halloween treats? Make sure to check out my Halloween Sprinkle Cookies and Candy Corn Cake!
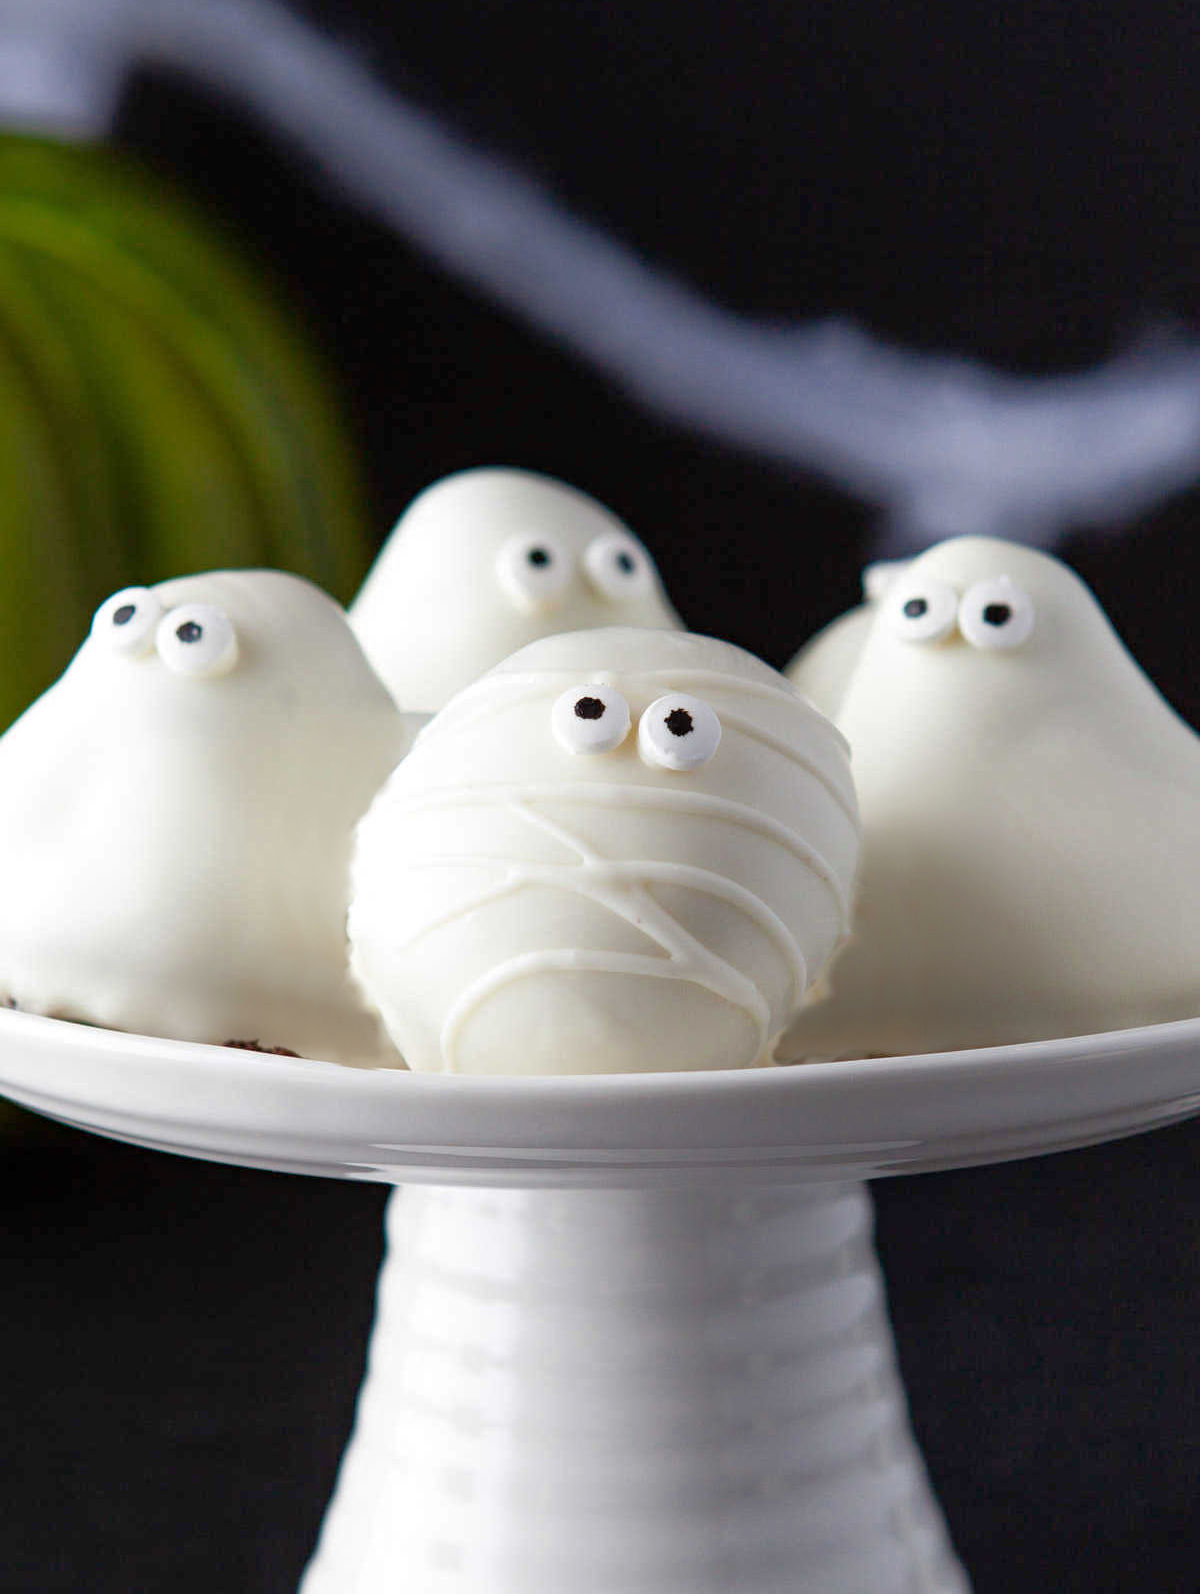
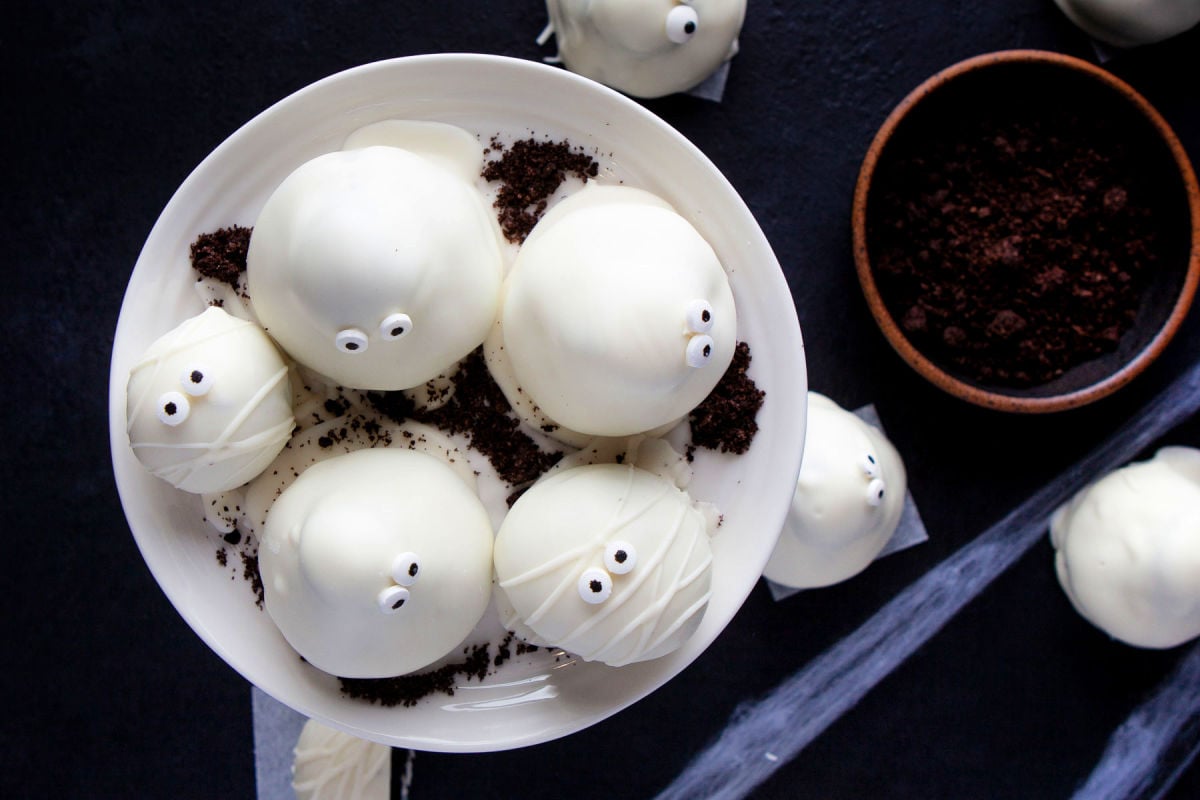
They have a delicious creamy center with crunch from the finely processed Oreo cookies, coated in melted chocolate chips and then decorated with candy eyes and Mummy-like bandages…ridiculously adorable and just as equally delicious!
More Halloween Inspired Recipes
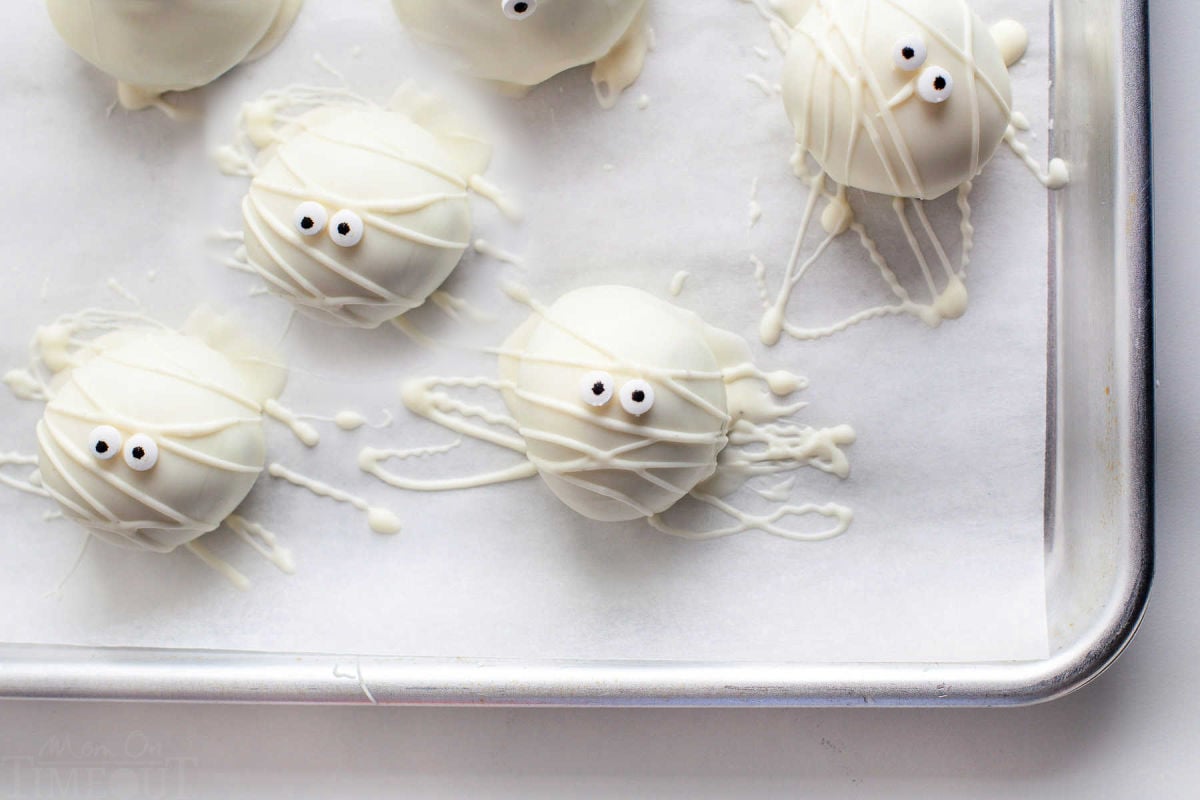
What You’ll Need
These Oreo Balls really only need 4 ingredients for the basic recipe and then candy eyes or mini chocolate chips for the eyes. Let’s take a quick look at what you’ll need to make this easy recipe and, as always, you can find the full, printable recipe card at the end of this post.
- For the coating: white chocolate chips and coconut oil or shortening.
- For the Oreo balls: Oreo cookies and cream cheese
- Candy eyes or mini sweet chocolate chips
Looking for options for coating the Oreo Balls? You can also use Ghirardelli Melting Wafers or a candy coating such as Almond Bark or CandiQuik.
How To Make Oreo Balls
- Place parchment paper on a large baking sheet and set aside.
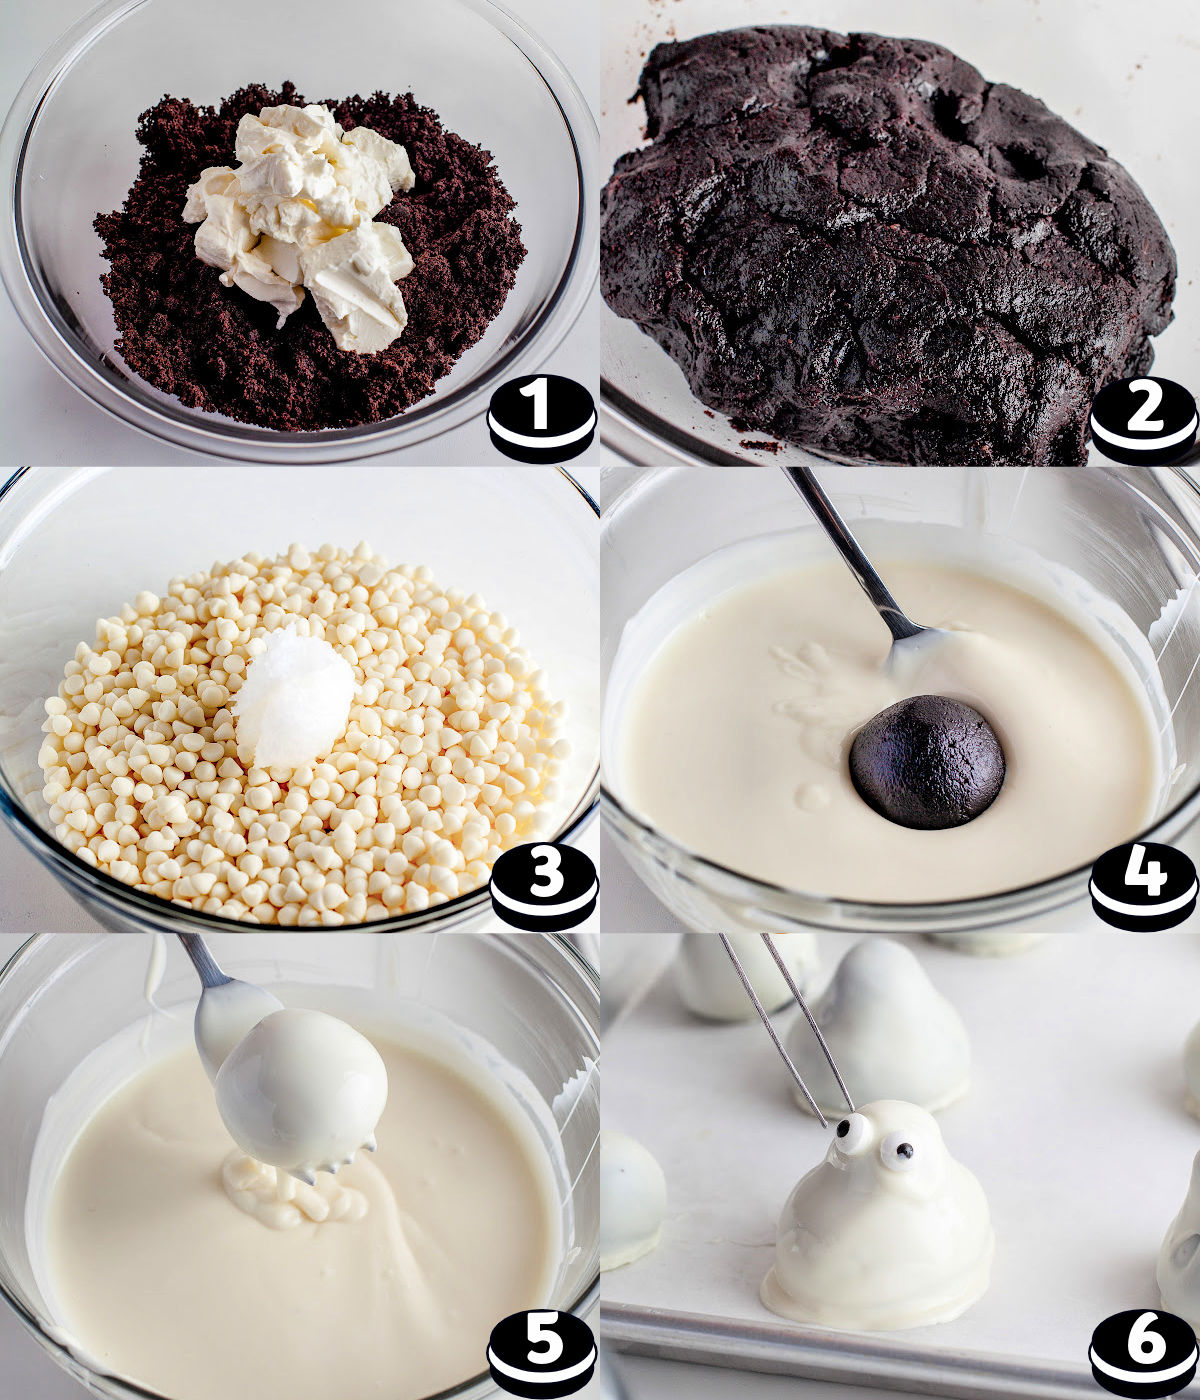
- In a food processor, blend the Oreos until they are completely crushed.
- Place the crushed Oreos in a mixing bowl and add the cream cheese in small pieces.
- Stir until you have a soft dough mixture.
- For the mummies: Use a cookie scoop to scoop out the mixture and form into 1 inch balls. For the ghosts: form a larger ball for the bottom and a small ball for the head and then press them together, smoothing out the seam with your finger. Place Oreo balls on the prepared baking sheet and chill in the refrigerator for 1 hour.
- In a small bowl, add the white chocolate chips and coconut oil. Melt in the microwave at 50% power in 20 second intervals, stirring in between, until melted and smooth.
- Dip the mummies and ghosts in the melted white chocolate with a fork and set them on the baking sheet to set up. Repeat for a second coating of white chocolate and place the two eyes onto each. Let the chocolate set completely.
- To finish the mummies, transfer the rest of the melted white chocolate into a ziploc bag. Cut a small hole in the corner and pipe onto each Mummy to make it look like mummy wrappings.
- Let set up completely in the refrigerator before serving.
WHY DO I NEED TO ADD OIL TO MELTED CHOCOLATE CHIPS?
Chocolate chips contain stabilizer ingredients that can create lumps and bumps when melting down the chocolate. While the stabilizers help to extend the shelf life of the chocolate chips, they can prevent a smooth consistency when melted down…which is where the oil comes in!
Adding oil to the melted chocolate chips helps to smooth out the chocolate which you need for a smooth coating of your Mummy Oreo Balls.
While I’ve used coconut oil, you can also use another oil such as canola oil or vegetable oil instead.
HOW SHOULD I STORE THESE MUMMY OREO BALLS?
These oreo balls can be stored at room temperature for 1-2 days in an airtight container but if you live in warm conditions then it’s best to store these treats in the refrigerator for up to 1-2 weeks.
You also have the option of storing these Mummy Oreo Balls in the freezer for up to 2 months. When ready to serve, allow your oreo balls to soften slightly in the refrigerator first. You may experience your candy eyes falling off through the freezing and thawing process. If that happens, simply glue them back on with some extra melted chocolate or some frosting.
CAN I MAKE THESE OREO BALLS WITHOUT A FOOD PROCESSOR?
Yes, you can! A food processor does a great job of creating a really fine texture with the cookies but if you don’t have one then you can certainly crush your Oreos in a Ziploc bag with a rolling pin. Once you’ve crushed your Oreos, combine them in a bowl with the cream cheese.
TIPS FOR MAKING MUMMY OREO BALLS
- When you add your cookies to the food processor, make sure that you’re adding the entire cookie together with its filling – you need this to create the right texture for the oreo balls.
- Use Original Oreos, not the “Double Stuff” kind otherwise you’ll end up with too much cookie filling which could affect the texture of your Mummy Oreo Balls.
- You can also use white almond bark, Ghirardelli white chocolate wafers or candy melts for the chocolate coating but then you won’t need the addition of oil since these options don’t contain stabilizer ingredients like the chocolate chips do.
- If you end up with melted chocolate that looks too thick for easy dipping, simply add in 1 teaspoon of coconut oil, stirring till the correct consistency is achieved.
- Make sure that your cream cheese has softened prior to incorporating into the crushed oreos for better mixing.
Recipe Notes:
A pair of clean craft tweezers can be used to apply the Mummy eyes on the balls. This is a great way to prevent mess and also accuracy of placement of the eyes.
More Halloween Favorites
- Candy Corn Krispie Treats
- Halloween Marshmallow Pops
- Candy Corn Cheesecake Mousse
- Snack Lovers Krispie Treats
- Halloween Candy Bark
- Halloween Sprinkle Cookies
How To Make Halloween Oreo Balls
Mummy Oreo Balls
Ingredients
- 1 cup white chocolate chips
- 40 Oreo cookies use your favorite flavor
- 8 ounces cream cheese softened
- 1 tablespoon coconut oil or shortening
- Candy eyes
- Optional: Use mini semi sweet chocolate chips for the eyes.
Instructions
- Place parchment paper on a large baking sheet and set aside.
- In a food processor, blend the Oreos until they are completely crushed.
- Place the crushed Oreos in a mixing bowl and add the cream cheese in small pieces. Stir until you have a soft dough mixture.
- For the mummies: Use a cookie scoop to scoop out the mixture and form into 1 inch balls. For the ghosts: form a larger ball for the bottom and a small ball for the head and then press them together, smoothing out the seam with your finger.Place Oreo balls on the prepared baking sheet and chill in the refrigerator for 1 hour.
- In a small bowl, add the white chocolate chips and coconut oil. Melt in the microwave at 50% power in 20 second intervals, stirring in between, until melted and smooth.
- Dip the mummies and ghosts in the melted white chocolate with a fork and set them on the baking sheet to set up. Repeat for a second coating of white chocolate and place the two eyes onto each. Let the chocolate set completely.
- To finish the mummies, transfer the rest of the melted white chocolate into a ziploc bag. Cut a small hole in the corner and pipe onto each Mummy to make it look like mummy wrappings.
- Let set up completely in the refrigerator before serving.


Leave a Reply