It’s back to school this week for most of the kids in our town. And what better way to start a new school year than with bribes treats for the teachers?
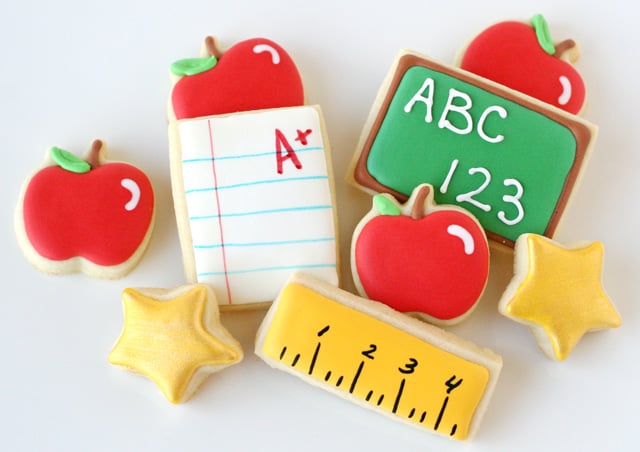
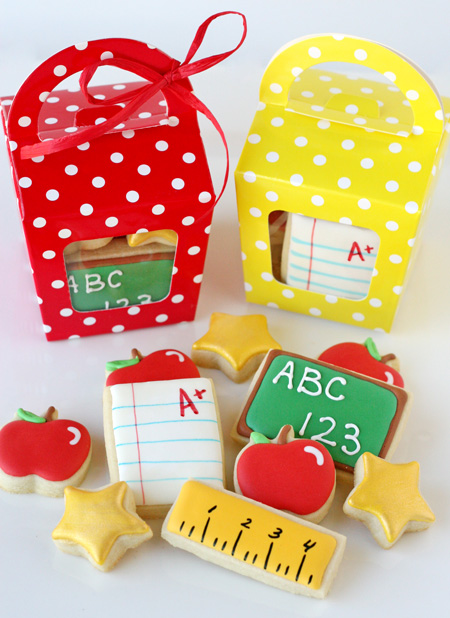
Our girls are starting a new school this year and I wanted to formally introduce our family to the school staff… with cookies of course! I had fun making up a bunch of mini school themed cookies, and packaged them in cute little polka-dot boxes (from Shop Sweet Lulu). Each cookie design is quite simple on it’s own, but together I think they make a pretty nice impact.
Ready to make some cute back to school cookies?
You’ll need, a batch of cookies (here’s my Sugar Cookie Recipe)
A batch of royal icing (here’s my Royal Icing Recipe)
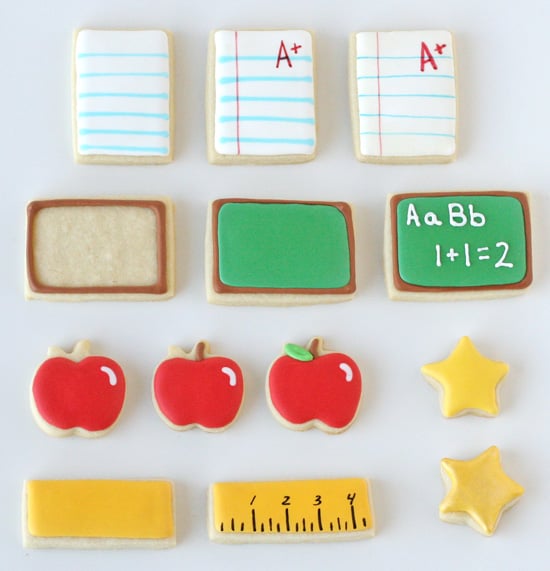
Piece of Paper Cookie– Outline and flood a small rectangle in white. While the icing is still wet, add lines in light blue (using a #1 tip). When the icing is fully dry (about 8 hours), add a red line along the side of the paper, and an “A+”. A few options here… I used a red food color marker for the “A+”, and for the red line down the side I made a “paint”, using a drop of red food coloring and a tiny bit of clear vanilla extract, then added the line with a very thin brush. You’ll notice the “piece of paper” on the far right has thinner blue lines than the other two cookies. For this cookie I “painted” blue (with a thin brush) for the lines of the paper, instead of adding blue icing. Feel free to use either technique.
Chalkboard Cookie– Outline a rectangle with brown icing. Allow the brown to set up (about 1 hour) before filling in the cookie with green icing. When the green is fully dry (6-8 hours) add any desired message (ABC, 1+1=2), using white icing and a very small tip (I used a #1).
Apple Cookie– Outline and flood in red. While the icing is still wet, add the small white accent. Allow red “apple” to set up a bit (about 1 hour), and add a brown stem. When the stem has set (about 1 hour), add a green leaf.
Ruler Cookie– Outline and flood with a golden yellow. Allow cookie to fully dry (about 8 hours), then add details and numbers using a black food marker.
Gold Star Cookie– Outline and flood star. Allow to fully dry (about 8 hours). Make a gold “paint”, by mixing gold luster dust with clear vanilla extract in a tiny bowl. Paint on the gold mixture in a thin layer, using a small paint brush. If desired, add a second coat of gold “paint”, once the first layer has dried.
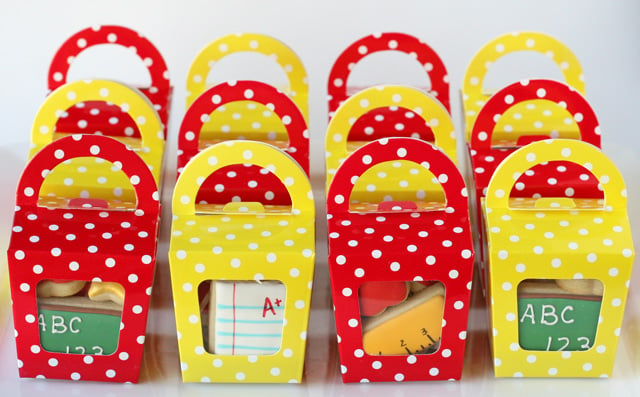
Here they are all ready for delivery (in cute little boxes from Shop Sweet Lulu)…
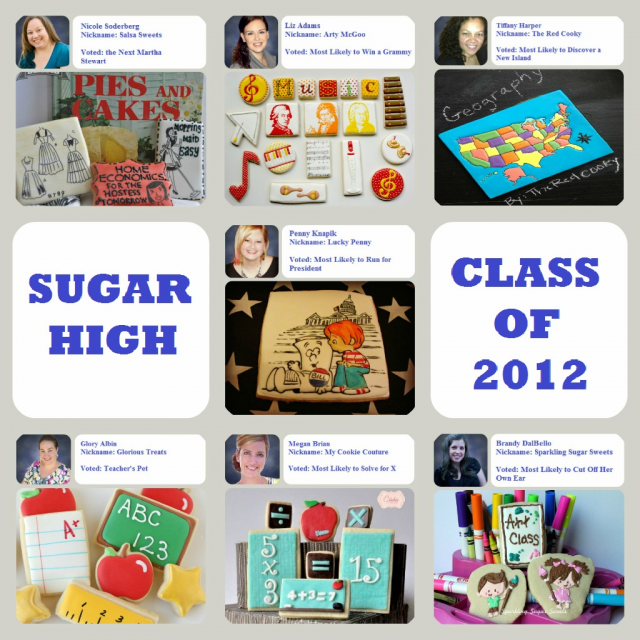
I’m not the only one celebrating back to school with cookies. Penny, of Lucky Penny Cookies gathered a few of her cookie friends to each create a set of cookies with school in mind. And here we all are…. the SUGAR HIGH class of 2012 =)
Now, be a good student and make sure to stop by each class…
Home Economics- Salsa Sweets
Music- Arty Mcgoo
Geography- The Red Cooky
Government- Lucky Penny
Teacher’s Aid- Glorious Treats (you’re already here!)
Math- My Cookie Couture
Here’s to a very sweet school year!


absolutely adorable! x
Wow, every kid in school with want some of these!!
These brings back my school memories, Glory! Love how you packed the cookies as well 🙂
Great collection! I love your little cookie boxes too.
You are ridiculously talented!!
Glory – your ideas always inspire me!
The packaging is the perfect compliment to these adorable cookies!
These are absolutely adorable! swoon
Perfect packaging for your bright, colorful cookies.
Adorably cute! Your cookies are always so inspiring 🙂