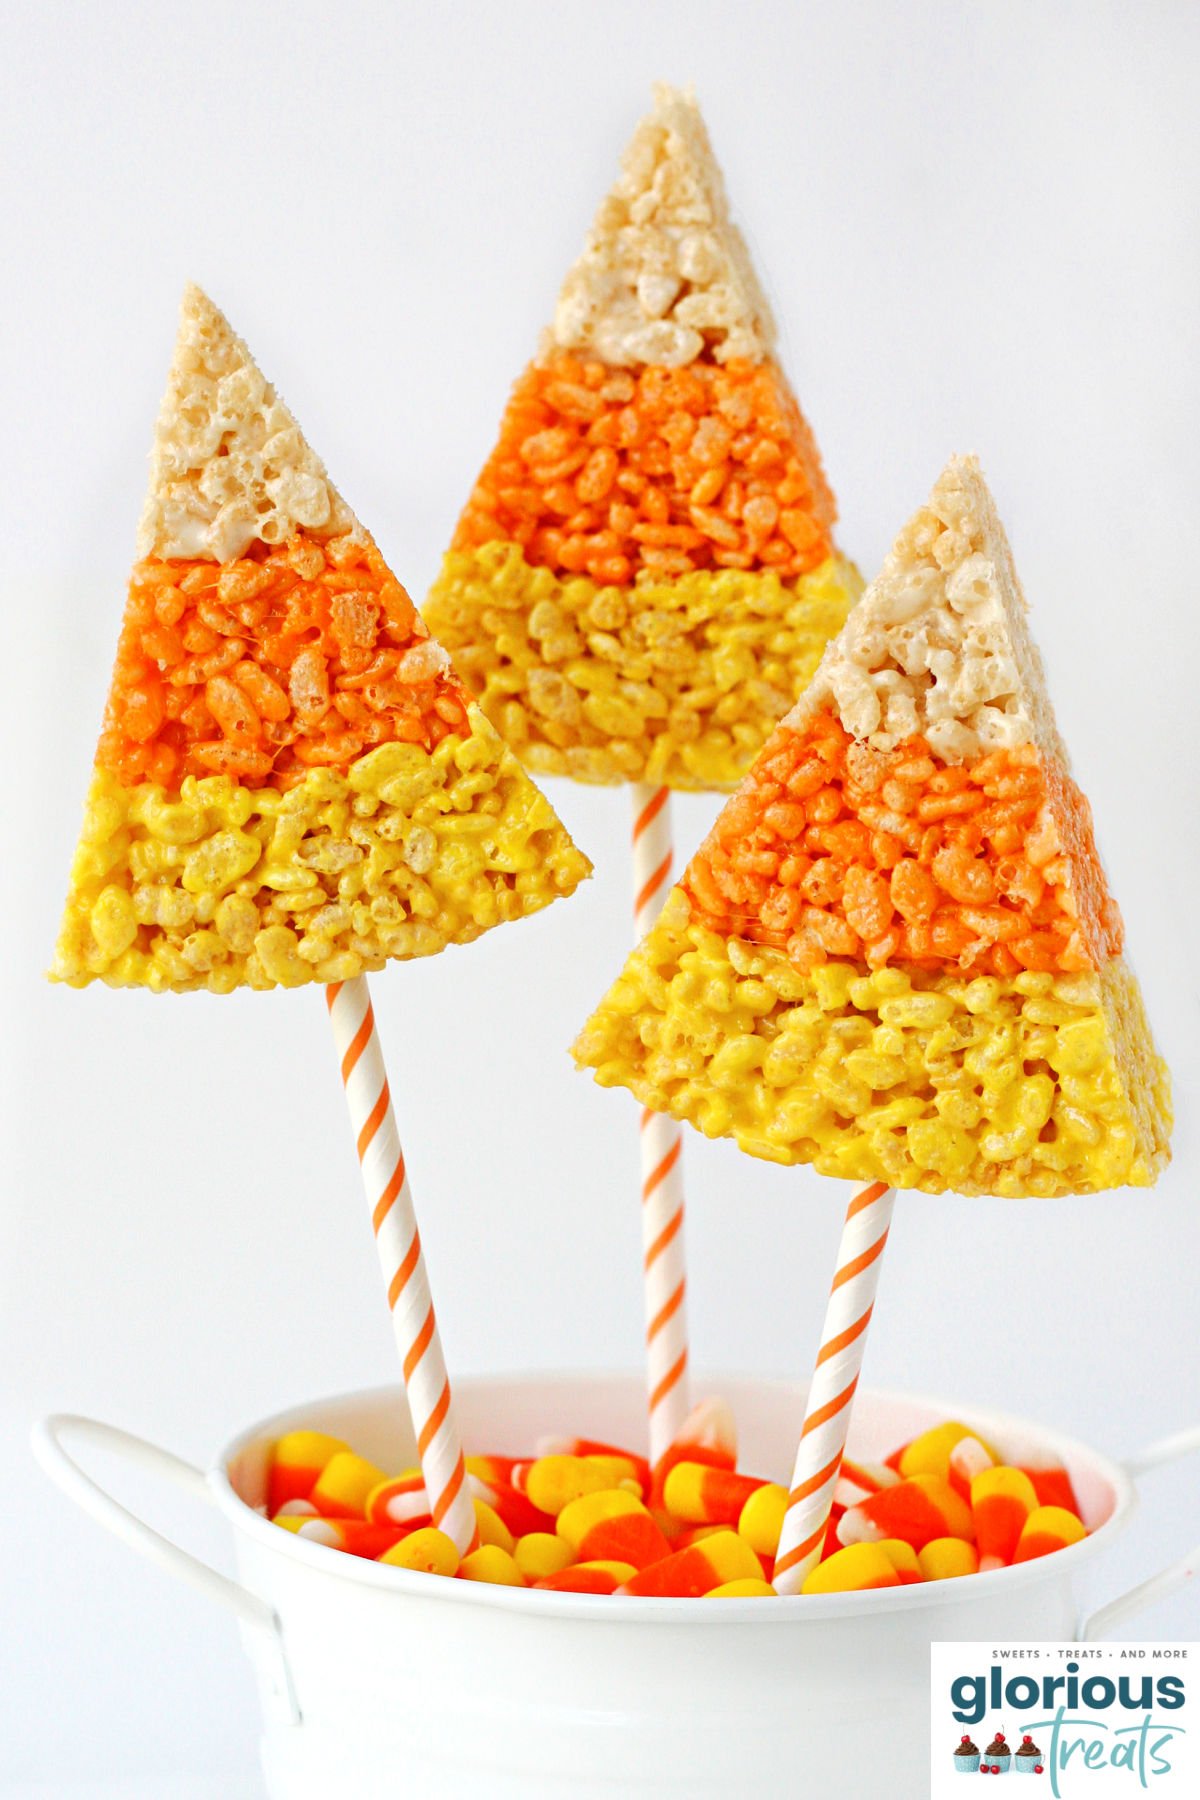
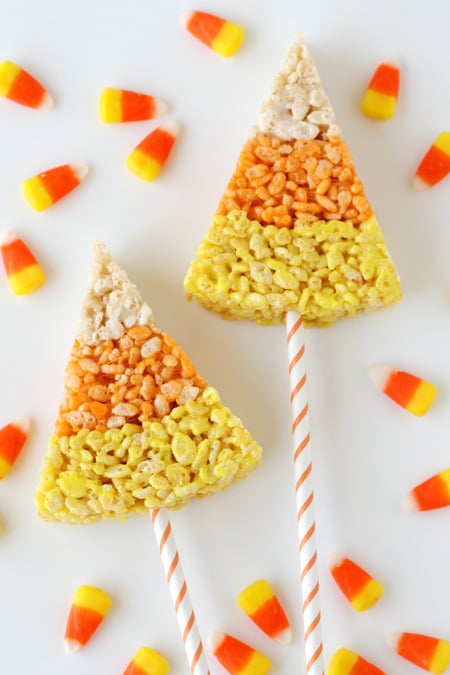
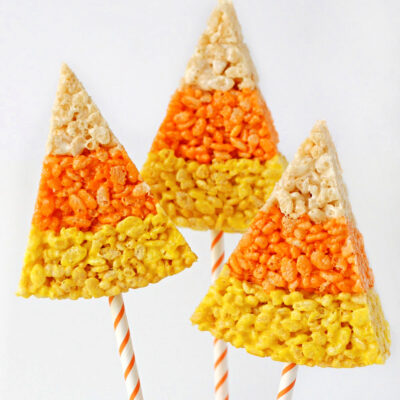
These cute and creative Candy Corn Krispie Treats are perfect for fall and Halloween parties! Quick and easy to make, these adorable treats are sure to be loved by kids and adults alike!
Love all things Halloween? Make sure to check out my Halloween Graveyard Dirt Cups, Halloween Sprinkle Cookies and Halloween Candy Bark!
This summer I made some fun Watermelon Slice Krispie Treats, and it recently hit me that I could use the same general concept to create Candy Corn Krispie Treats!
I love rice krispie treats, and I’m always drawn to cute desserts that incorporate the look of candy corn, so these treats are a perfect combo!
Although the assembly process does take a bit more time than a traditional batch of rice krispies treats… they are still much quicker to make than a decorated cookie, for example.
Wrap the final treats in cellophane bags, add some fun ribbon and you have an adorable fall or Halloween party favor.
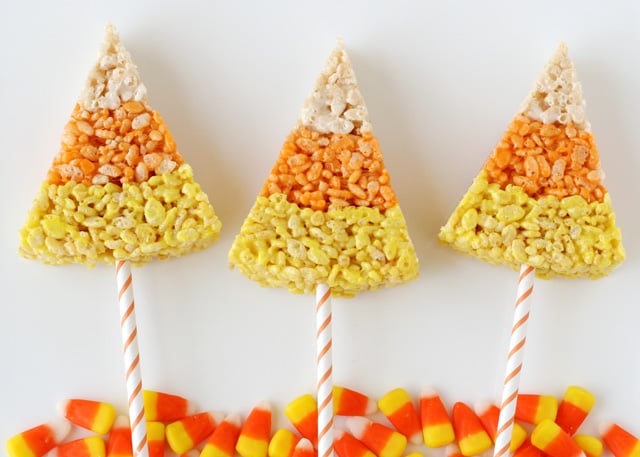
What You’ll Need
The ingredients are just what you’d expect from a traditional Rice Krispie Treats with the addition of food coloring. I do recommend gel food coloring for richer color. Let’s take a quick look at what is in this easy recipe and, as always, you can find the full, printable recipe card at the end of this post.
- rice krispies cereal – You can use a name brand or store brand cereal for this recipe. You will need a little over 9 cups total.
- miniature marshmallows – I like to use miniature marshmallows because they melt quicker and more evenly.
- butter – A must for ooey gooey, buttery rice krispie treats!
- food coloring – You will need orange and yellow food coloring for this recipe.
Recipe Notes:
This recipe can be halved if you need just 8 wedges!
How to make Candy Corn Rice Krispie Treats
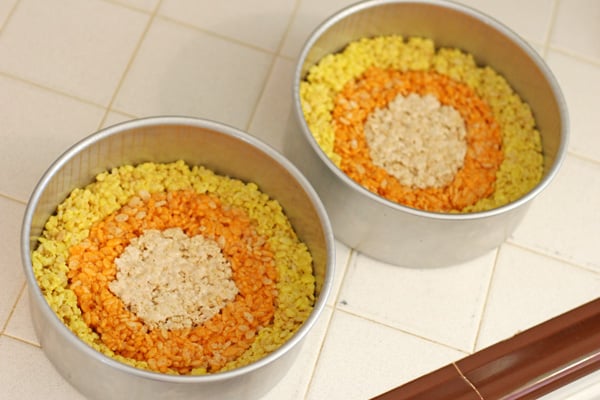
Following the recipe and instructions below, here are some photos to show you the basic assembly…
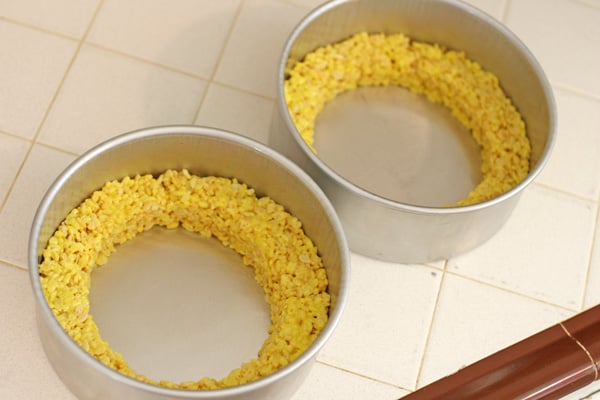
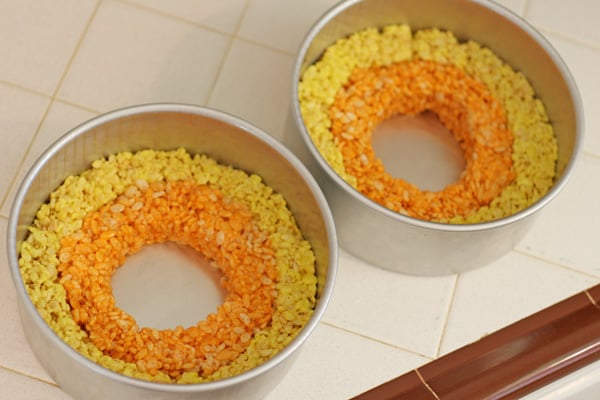
You’ll first create the outer ring which is yellow. Next will be the middle ring which is orange. Finally the center, white ring is added.
I used two 8 inch cake pans but 8 or 9 inch springform pans or 9 inch cake pans would also work.
If you like candy corn inspired treats, you’ll love these too…
How to Make Candy Corn Krispie Treats
Candy Corn Krispie Treats
Ingredients
For the yellow ring
- 4 ½ cups rice krispies cereal
- 5 cups mini marshmallows
- 3 tablespoons butter
- Yellow food coloring
For the orange ring
- 2 ¾ cups rice krispies cereal
- 3½ cups mini marshmallows
- 2 tablespoons butter
- Orange food coloring
For the white center
- 2 cups rice krispies cereal
- 2 ½ cups mini marshmallows
- 2 tablespoons butter
Instructions
- Assemble your ingredients and gather 2 large bowls (one must be microwave safe), two rubber spatulas, two 8″ cake pans and non-stick cooking spray.
- Also, have a stick of butter out, which you will need to use to grease your hands as you handle the krispie treat mixture.
- Spray the cake pans with non-stick spray and set aside. Also, lightly spray two rubber spatulas with cooking spray.
For the yellow ring
- Add 5 cups mini marshmallows and 3 tablespoons butter to a large, microwave safe bowl.
- Microwave the butter and marshallows about 3 minutes, or until warm and very puffy.
- In another large bowl, measure 4 1/2 cups rice krispies cereal.
- Carefully remove marshmallows from microwave and add yellow food coloring (I used 2 drops of yellow Americolor gel).
- Stir the melted marshmallows, butter and coloring until smooth and fully combined. Immediately, pour the marshmallow mixture into the bowl with the cereal. Use an oiled spatula and stir quickly until fully incorporated.
- Divide yellow rice krispie mixure between the two cake pans, and use your hands to create a “ring” around the inside edge of the cake pan (as shown below), about 1 1/2 inches wide. Rub a bit of butter on your hands as necessary to prevent the mixture from sticking to your hands. Work quickly, as the mixture is more difficult to mold as it cools.
- Wash your bowls and spatulas and repeat the same process with the ingredients for the orange ring, and then the white center.
- Once your three colors are pressed into the pans, allow to fully cool and set, at least 30 minutes. When you want to cut the triangles (candy corn shapes), flip over your cake pans onto a cutting surface, and tap pan on cutting board to remove krispie treat round. Cut the round large round in half, then quarters, then cut each quarter in half.
- To add a cookie stick, or paper straw (as shown), first create a hole with a wooden skewer.

Hi! I’m making these later this week. How many boxes of rice crispy’s did you use? Thank you!
I made these treats while every one is asleep tonight what an absolutely rocking way to roll into October! 3 of my 4 boys to men (17-32) have Autumnal B-days. Need a few ideas to wake them with… uh, NO it doesn’t have to be sweet! anyone? there were a couple post about the treats hardening up to fast…. butter butter and butter (then i said pppffftt) and I wrapped wax paper around my rolling pin. That I may push and pull as i needed. Worked liked a charm. Hey this Southern Gal doesn’t make biscuits, but she sure can use a rollin pin!
I saw these and couldn’t wait to make some today. The outer layer was just fine and had the right texture. But the orange and white batch did not want to stir/mix up very well. Later when I went to cut them, the orange and white sections were hard. I tried different knives to cut them. The white section just kept breaking off. When I tried to eat one, the only section I could really enjoy was the outside yellow part.
I don’t think there was enough marshmallow for those sections to keep it soft enough to eat.
Lisa I wish I’d read this 3 hrs ago, I had the same problem.
I’m glad I read through the comments! I’m making these later this week so I’ll be sure to use more marshmallows for those two sections! Thank you!
Love these, Glory. Pinned! Toooooo cute! Happy Halloween!
How many days in advance can you make these treats?
Planning for a party…
These are incredible! I can hardly wait to try it out. Thanks for taking the time to share the step-by-step process.
Thanks for this! I made these last night to carry to class today. I’m positive they’re going to be a big hit!