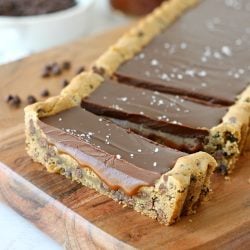
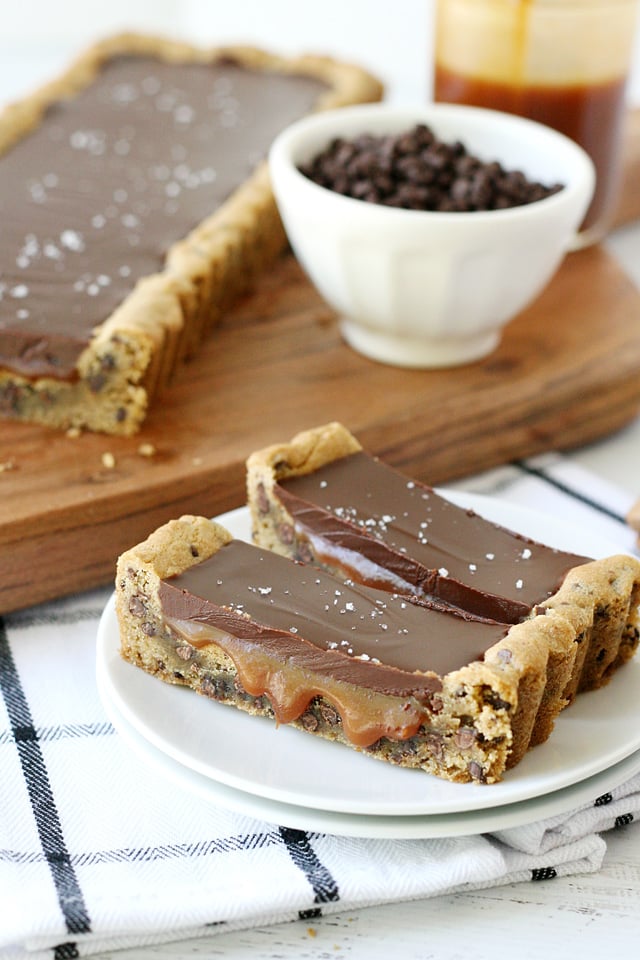
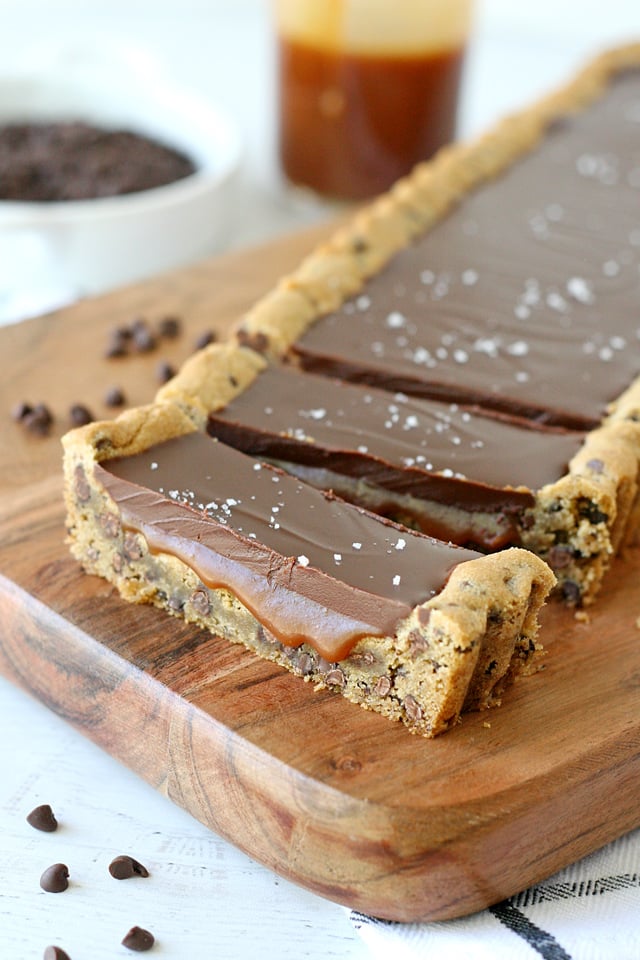
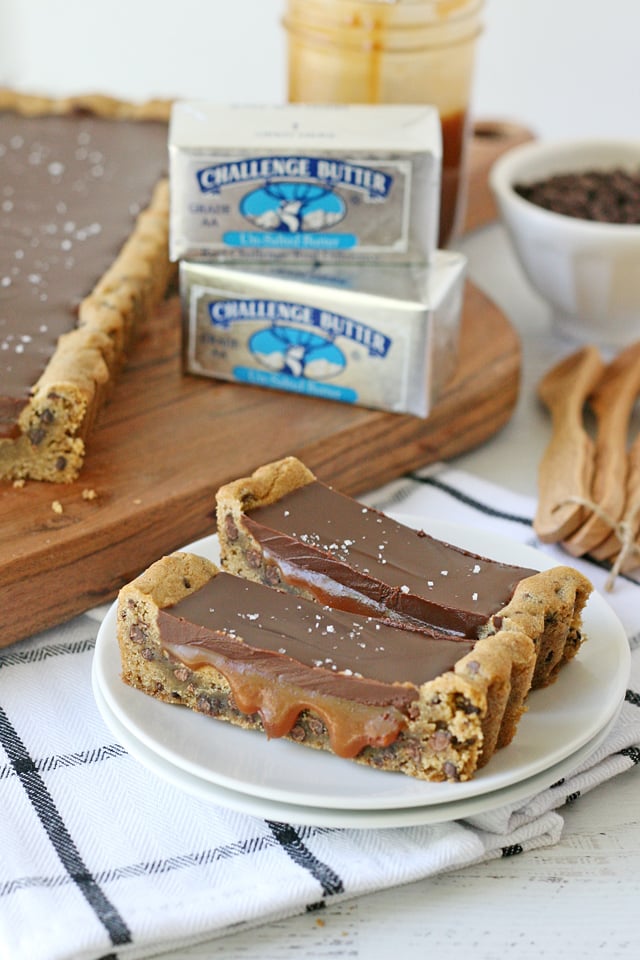
This Chocolate Chip Salted Caramel Tart is oh so rich and delicious!
A perfectly chewy chocolate chip cookie base is topped with homemade salted caramel, and then topped with a rich chocolate fudge glaze.
Yep, this really tastes as good as it looks!
Rich, chewy, sweet with a touch of salt… this recipe is the ultimate indulgence!
This recipe was created in partnership with Challenge Dairy.
[mv_video key=”cti4chnhgktyfqbxuqih” volume=”70″ aspectRatio=”true” title=”Chocolate Chip Salted Caramel Tart” thumbnail=”https://mediavine-res.cloudinary.com/video/upload/cti4chnhgktyfqbxuqih.jpg” doNotOptimizePlacement=”false” doNotAutoplayNorOptimizePlacement=”false”]
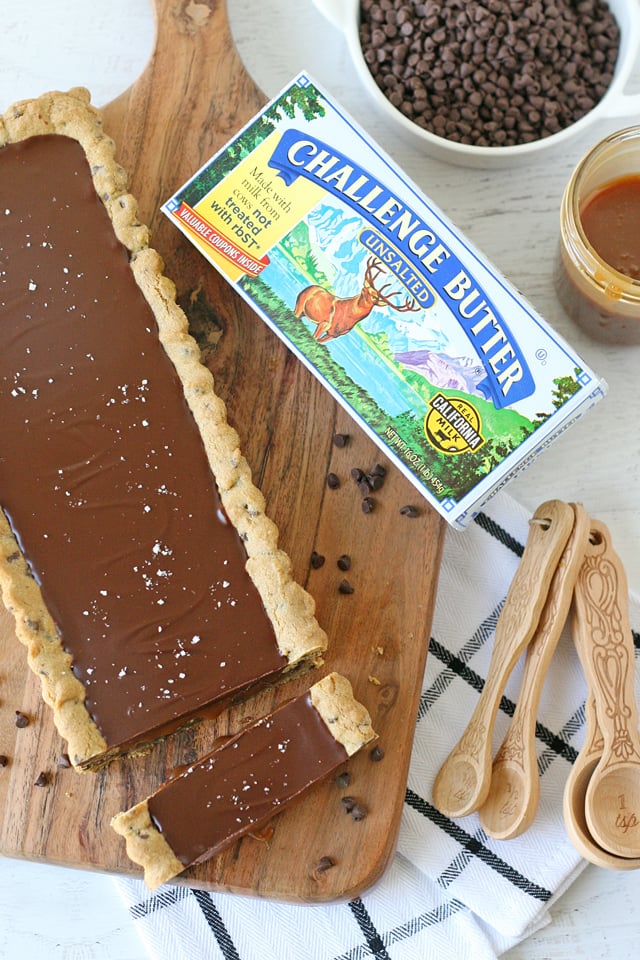
Each gorgeous layer of this dessert includes Challenge Butter goodness!
When I take the time to make a special dessert from scratch, it’s important to me that I choose fresh, high quality ingredients.
Challenge dairy products have no added flavors, dyes, or artificial preservatives…. just fresh and delicious ingredients that are the perfect foundation for successful recipes!
I love knowing that as long as I keep flour, sugar, eggs and plenty of Challenge Butter on hand, I don’t need to make a special trip to the store when the baking mood strikes!
How to make a Chocolate Chip Caramel Tart
To create this recipe as shown, you’ll need a rectangle tart pan (you can grab one on Amazon for under $11).
I just love the elegant look of desserts prepared in this style of pan!
After you make this Chocolate Chip Salted Caramel Tart you can also use the pan for this Chocolate Truffle Tart.
Chocolate Chip Salted Caramel Tart Recipe
Chocolate Chip Salted Caramel Tart
Ingredients
Chocolate Chip Cookie Base
- 1 cup flour
- 2 tablespoons flour additional
- 1/4 teaspoon salt
- 1/4 teaspoon baking soda
- 6 tablespoons unsalted Challenge butter room temperature
- 1/2 cup brown sugar
- 1/4 cup sugar
- 1 teaspoon vanilla extract
- 1 egg
- 1 cup semisweet mini chocolate chips
Salted Caramel Filling
- 1/2 cup heavy cream
- 1 cup sugar
- 1 tablespoon corn syrup
- 1/4 cup water
- 3 tablespoons unsalted Challenge butter
- 3/4 teaspoon sea salt good quality
- 1 teaspoon vanilla extract
Chocolate Fudge Glaze
- 4 tablespoons unsalted Challenge butter
- 1 cup semi sweet chocolate chips
- 1 tablespoon corn syrup
- Fleur de sel sea salt
Instructions
Make the cookie base
- Preheat oven to 350°F.
- In a small bowl, add the flour, baking soda and salt. Whisk, then set aside.
- In the bowl of an electric mixer, cream together the butter and both sugars. Mix until fully incorporated.
- While slowly mixing, add the vanilla, then egg and blend well.
- While slowly mixing, pour in the flour mixture and blend just until fully combined. Add mini chocolate chips.
- Scoop, then press the batter into a rectangular tart pan. Press up the sides, so the center is lower than the sides. Move batter filled pan to the fridge for 5 minutes so it's nice and firm and cool before baking.
- Bake in preheated oven for 22-25 minutes. If the edges are getting too brown before the bottom is cooked, remove pan from oven and gently cover the edges with strips of foil to prevent further browning, then return to oven for a few minutes. The cookie is done when golden brown and puffed up.
- Allow cookie to cool 3-5 minutes, then use a metal measuring cup or large metal spoon to press down the center of the cookie, creating a nice sized space for the caramel and chocolate filling to be added. Cool at least 20 minutes before adding caramel sauce.
Make the caramel sauce
- Warm the heavy cream in a bowl in the microwave and then set aside.
- In a large saucepan, add the sugar, corn syrup, and water. Stir gently to incorporate the ingredients.
- Cook over medium to medium-high heat, stirring gently, until the sugar dissolves and the mixture is bubbling.
- Stop stirring and allow the mixture to boil undisturbed until it begins to darken in color. You want the mixture to reach a honey color, but no darker. The syrup will change from light in color to dark very quickly, so it's important to watch closely and remove the pan from the heat as soon as it's light-medium honey color.
- Once removed from heat, carefully and slowly pour in the warm heavy cream (the mixture will hiss and bubble). Stir to full incorporate the cream.
- Add butter and salt and stir to combine. Add vanilla.
- Allow sauce to cool a bit, then pour into a jar.
- Pour cooled (but still warm enough to be pour-able) caramel sauce into the cooled cookie base, leaving room for the chocolate layer as well. You will likely want to use just a bit more than half of the caramel sauce. Move dessert to the fridge to chill a bit while you prepare the chocolate layer. Store remaining caramel sauce in the fridge to enjoy at another time.
Make the Chocolate Layer
- In a medium sized bowl, melt butter and chocolate in the microwave in short intervals (be careful not to overheat). Remove and stir to complete the melting.
- Add corn syrup and stir to combine. Allow mixture to cool a few minutes to thicken, then pour chocolate over the cooled caramel layer. Spread with an offset spatula, as needed. Cool 5 minutes, then top with good quality sea salt, such as fleur de sel.
- Cool fully (in the fridge) before slicing. Slice in thin slices, this is very rich! Enjoy!
Video
Notes
Nutrition
Original recipe inspiration is from Hugs and Cookies XOXO.
One more thing I love about this pretty recipe it can easily be made a day in advance and will still be perfect to serve the following day.
To store, I’d recommend covering the dessert well (wrap in plastic wrap or put in a plastic tupperware) and storing in the fridge. Before serving, remove from fridge and allow to warm to room temperature.
This would be a great recipe to serve, or travel with for the holidays. It doesn’t take up a ton of space in the fridge (or in the car if driving for the holidays), and because it’s so rich, this modest sized dessert will make at least 12 very satisfying portions.
Happy baking!
Disclosure – I created this recipe in partnership with Challenge Dairy. Partnering with brands I love allows me to provide you with high quality content at no cost to you. I only work with brands I use and love. All images, text and opinions are my own.


I am a bit late to this party, but if you are like me and saved this recipe several years ago, this is for you. I have now made this recipe twice in two weeks. The first time I made it, I did not prepare ahead of time in that I didn’t have a rectangular tart pan. After doing some math, which is my nerd joy, I found that my round tart pan had roughly the same surface area. I know, I’m a nerd. Let me say, go ahead and buy that rectangular tart pan. It was difficult to mash down the cookie crust after baking, and it was challenging to cut it into small pieces.
All in all, this is a great recipe. It’s not difficult, and it is delicious.
Could I make this is individual tart pans?
Glory, thanks for responding to my comment.
So I am assuming I can cut the caramel recipe in half and be good.
Thanks
JK
Yes, I realized after I replied the first time that I should have suggested that as an option too! =) Feel free to cut the caramel recipe in half. Because there will be much less in the pan as you cook it, you’ll have to watch it more carefully to be sure it doesn’t burn.
Glory, I made this yesterday and it turned out great. I am an avid baker and can usually tell from reading a recipe if I want to make it. I only use the very best ingredients when I bake and I am very picky when it comes to trying a new recipe. I own about 150 baking cookbooks, so to try a recipe from the internet is a rare event for me.
This recipe made exactly should come out for all of your readers.
I just have one question, why do you make one cup of caramel when you know you only need about half a cup?
Hi JK, So glad you enjoyed this recipe! I hope you try more from my site as well!
I suggest preparing more caramel than is needed simply because it takes no extra effort to make the extra, and then I keep a jar of it in the fridge for other desserts. I love to use my salted caramel sauce in buttercream (I have two cakes under the “cakes” category on my site that use the salted caramel in the frosting and as an additional garnish). In my house we often use the extra just to dip apples. Happy baking!
Oh my! This looks just sooooo decadently good!