Looking for something a little extra special?
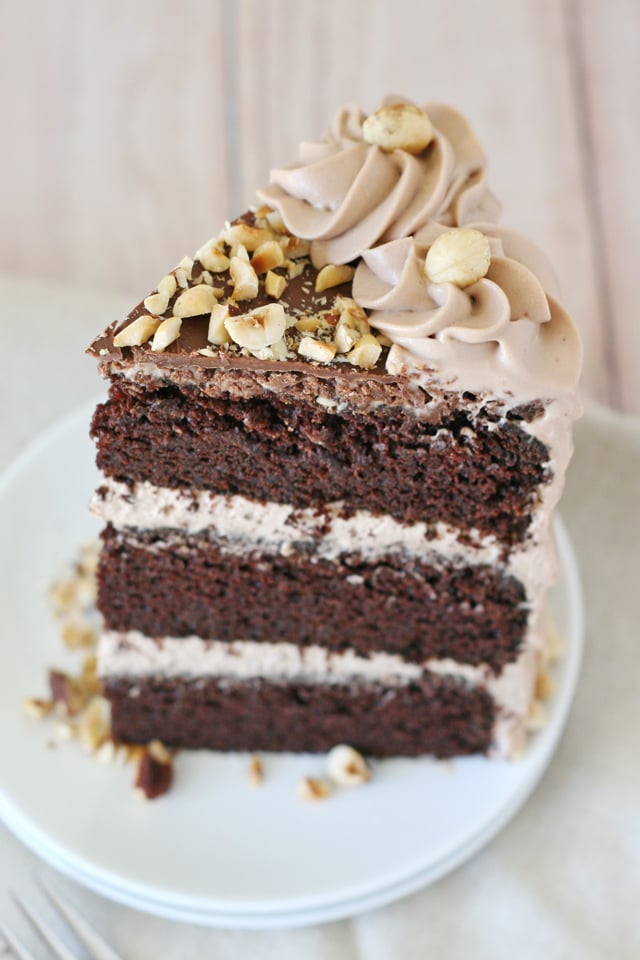
This gorgeous Chocolate Hazelnut Cake is is sure to impress!
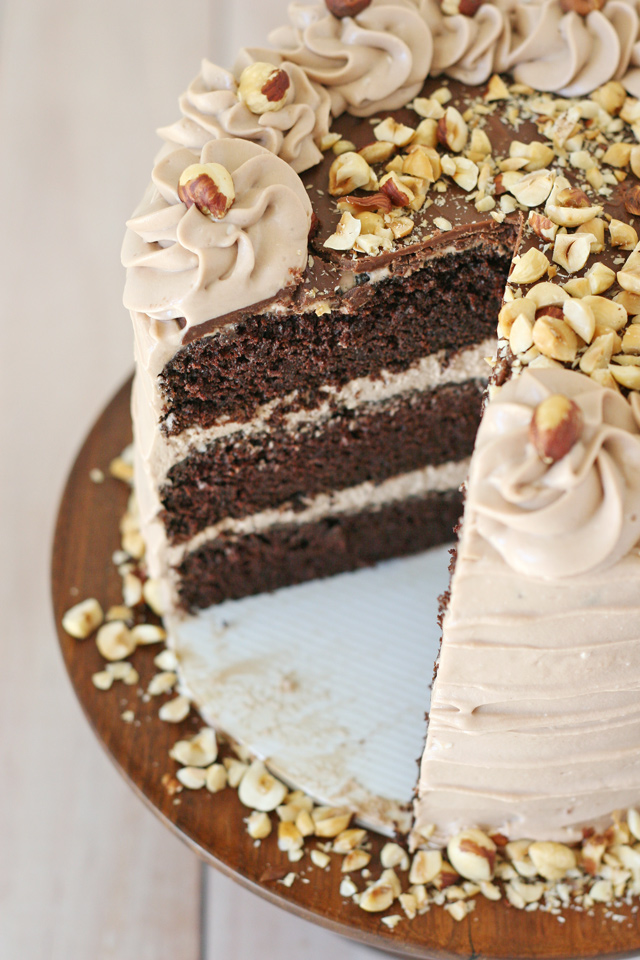
This Chocolate Hazelnut Cake recipe starts with a perfectly rich and fluffy chocolate cake, then gets layered with a flavorful whipped hazelnut spread frosting.
Creamy, chocolaty, nutty… this beautiful cake has it all!
PIN IT NOW to save for later!
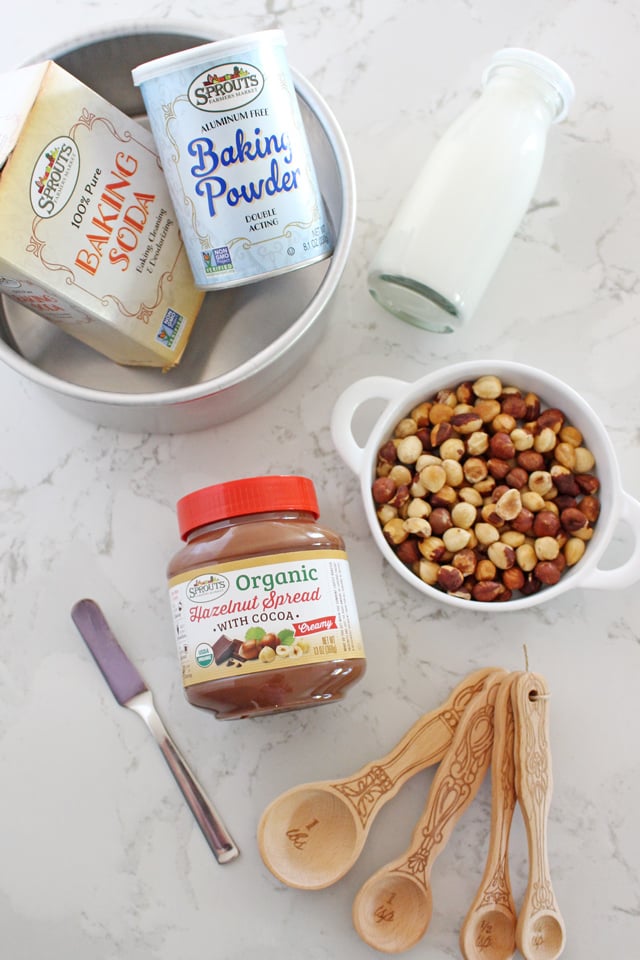
The inspiration for this cake came from a new product from Sprouts Farmers Market that I’m pretty excited about… Organic Hazelnut Spread!
If you love chocolate and hazelnut… or love that other brand of Hazelnut Spread, you must try this!
I’m going to dare to say that Sprouts Organic Hazelnut Spread is even better than the brands you may have tried before!
It’s just so perfectly creamy and flavorful! I know this is going to be a staple in our house now!
Of course I’ve come to expect Sprouts brand products to be exceptional in flavor and performance… and always at super reasonable prices!
And when I picked up my jar (ok, I bought two jars) of Hazelnut Spread I knew I could head right to Sprouts Bulk Bins to find some gorgeous raw hazelnuts as the perfect finishing element for a chocolate and hazelnut dessert!
Of course my kids love Sprouts Hazelnut Spread simply on toast… but I wanted to elevate this delicious spread a bit more!
This Chocolate Hazelnut Cake is perfectly rich, flavorful and delicious… and I’m already dreaming of more gorgeous desserts to show off my new favorite hazelnut spread!
I shared some of this cake with a friend, and the next day she texted me asking for the recipe =)
You’ll find the full recipe below, but let me walk you through the decorating just a bit…
Make sure the cake layers are fully cooled before you start to decorate. I like to wrap each layer in plastic wrap and put in the freezer for at least 1 hour (or up to a couple days) before frosting, so the cake is nice and firm while I’m decorating it (the cake will defrost quite quickly and perfectly soft to eat).
Once you’ve added a layer of frosting between each cake layer, and you’re ready to frost the outside of the cake, start with a thin layer of frosting (called a crumb coat) to seal in the crumbs. This layer does not need to be perfect, and it’s fine if you can see the cake through this layer a bit. Put the entire cake in the freezer for at least 15 minutes for the crumb coat to firm up.
Add the second layer of frosting, this time you can spend a bit more time making it as smooth as you wish.
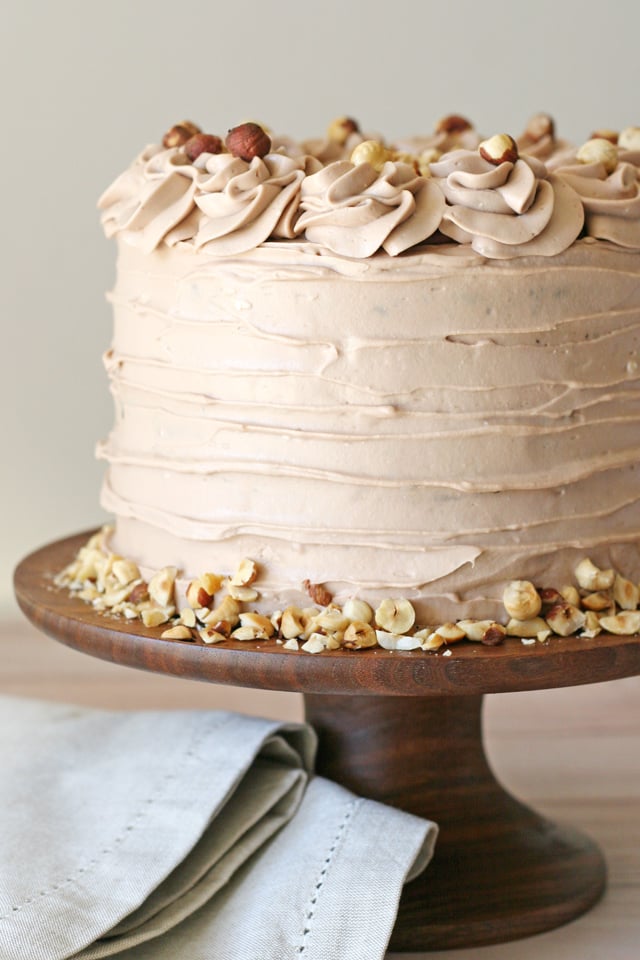
For the frosting style pictured, use a small off-set spatula held horizontally and drag it through the frosting, while slowly turning the cake (preferably on a cake turn-table). Spiral up the cake as the cake spins.
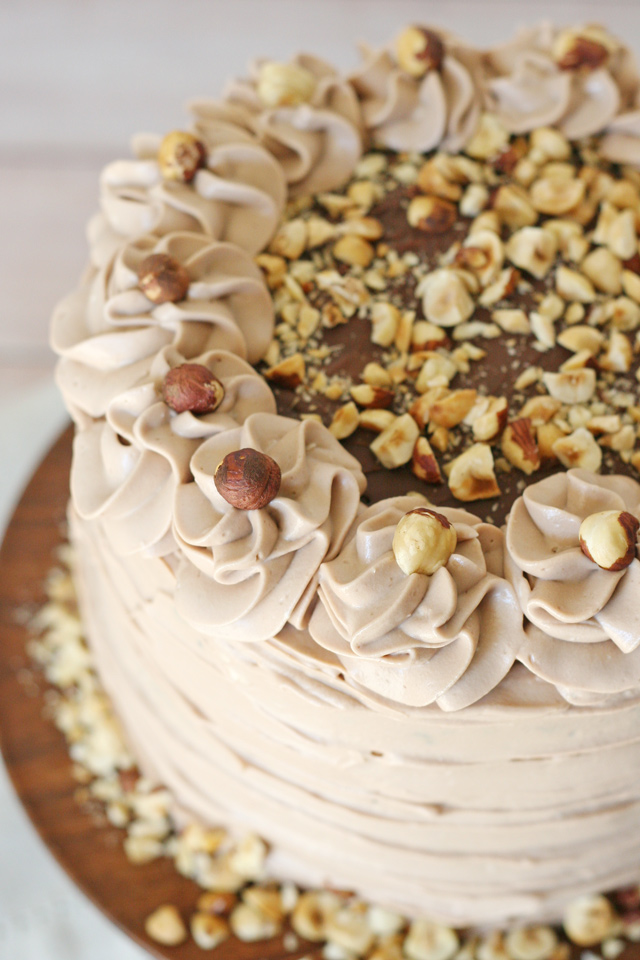
Add the layer of hazelnut spread on top (listed below in the recipe), then add chopped hazelnuts.
Add some reserved frosting to a piping bag and pipe swirls of frosting around the top rim of the cake, if desired.
How to Make Chocolate Hazelnut Cake
Chocolate Hazelnut Cake
Ingredients
For the cake
- 2 cups sugar
- 1¾ cups all purpose flour
- ¾ cup unsweetened cocoa powder best quality available
- 1 ½ teaspoons baking powder
- 1 ½ teaspoons baking soda
- 1 teaspoon salt
- 3 eggs
- ¾ cup whole milk or use skim milk and add a little cream
- ½ cup vegetable oil
- 2 teaspoons vanilla extract
- ¾ cup very hot water or hot coffee
For the frosting
- 3 cups heavy whipping cream
- 1 cup powdered sugar divided
- 8 oz cream cheese 1 package
- ¾ cup Sprouts Organic Hazelnut Spread
- 1 teaspoon vanilla extract
Garnish
- 2 tablespoons chocolate chips
- 3 tablespoons Sprouts Organic Hazelnut Spread
- ¼ cup chopped hazelnuts
- 12-15 whole hazelnuts additional
Instructions
Bake the cake
- Heat oven to 350*F.
- Prepare cake pans by rubbing the sides of the pans with a little oil or butter and dusting with flour. Line bottoms of pans with parchment paper.
- In a large mixing bowl (the bowl of an electric mixer), stir together sugar, flour, cocoa, baking powder, baking soda and salt.
- Add eggs, milk, oil and vanilla. Beat on medium speed for one minute.
- Stir in hot water or coffee (the batter will be thin, don’t worry, this is right).
- Divide batter evenly between prepared pans.
- Bake until the top of the cake is smooth and has a slight dome and a toothpick inserted in the center comes out clean. I baked the cake shown in three 7" pans and baked them about 30 minutes. You will need to adjust the bake time based on the pans you choose.
- Cool completely before frosting. I like to cool the cakes at room temperature a bit, then wrap in plastic wrap and freeze until cold and firm (30 minutes or up to a couple days).
Prepare the frosting
- Chill your mixing bowl and beater(s) in the freezer for 5 minutes. This will help the whipping cream whip up nice and quickly.
- Pour the heavy cream into the chilled bowl, then beat until it begins to thicken. Slowly add half (1/2 cup) of the powdered sugar, while mixing. Continue to beat until the cream has almost doubled in volume and is nice and fluffy.
- Remove whipped cream from mixing bowl (into another bowl), and set in the fridge.
- In the mixing bowl (empty, but no need to clean fully), add the cream cheese. Beat until smooth.
- Add the remaining (1/2 cup) powdered sugar and mix until fully combined.
- Add the hazelnut spread to the smooth cream cheese, and blend until fully combined. Add vanilla and blend.
- Retrieve the whipped cream from the fridge and add one large scoop (about a cup) of whipped cream into the mixing bowl with the hazelnut spread/cream cheese mixture. Blend slowly (using the whisk attachment), until combined.
- Add the remaining whipped cream to the bowl and use a spatula to gently fold/stir the whipped cream into the hazelnut mixture.
- Fill and frost your prepared (cooled) cake as desired. You should have plenty of frosting to cover the cake and some remaining for decorative touches (to be added later). Move frosted cake to the freezer if you plan to add chocolate glaze (recipe follows).
Garnish
- Once the cake is frosted, if desired, add a chocolate hazelnut glaze by combining 2 T. chocolate chip and 3 T. hazelnut spread in a small bowl and microwave (at 50% power) 30 seconds at a time until mostly melted. Stir to combine. Cool slightly, then pour onto the top of the frosted (and chilled) cake. Spread almost (but not quite) to the edge. Top chocolate layer with chopped hazelnuts.
- If desired, add remaining hazelnut whipped cream frosting to a piping bag fitted with a 1M tip and add decorative swirls (as pictured) around the top edge of the cake. Top each swirl with a whole hazelnut.
- Keep the cake in the fridge until ready to serve. Keep any remaining cake in the fridge.
Notes
Nutrition
PIN IT NOW to save for later!
Happy cake baking!
Disclosure – I created this recipe in partnership with Sprouts Farmers Market. Partnering with brands I love allows me to provide you with high quality content at no cost to you. I only work with brands I use and love. All images, text and opinions are my own.

You show the cake as 3 layers, but the recipe says two layers? Is that correct?
Yes, those details are in the notes section of the recipe. I baked the cake shown in 7″ pans. If you are using 8″ pans you may do two or three layers, but the layers will be a bit thinner than those pictured if you do three layers. Happy baking!
Hi I plan on making this. Can I use buttermilk instead of milk? If so how would it come out?
Hi! I have not experimented with using buttermilk in this recipe, but I imagine it would work.
Do you bring ingredients to room temp for frosting before making it?
did you roast the hazelnuts or did you leave them raw?
I tried to make this cake today. While the cake part came out wonderful, my frosting was more of a mousse than frosting. I followed the directions carefully. I make all my frosting from scratch (they don’t sell it where I live), so I am stumped as to what went wrong. The flavor was wonderful though. Any advice?
Hi Amy, So glad you gave the recipe a try! As far as I can tell, you did everything perfectly! This frosting is a whipped creamed based frosting, so it should be very light and fluffy and not at all like a traditional buttercream. In fact, if you have any frosting leftover, you could serve it just in a small glass as a mousse. Now, the only unknown is the homemade hazelnut spread… since I have not ever made that myself I really have no idea if that would effect the consistency.
Hey Glory, did you trim the layer tops to level them? By the way, I did 1.5 times the batter recipe, and this made a beautiful 9 inch layer for a triple layer cake. Happy Thanksgiving!
Hi Teresa, I didn’t have to trim the tops because once they cooled they were pretty level. If you have a bit of a dome, wrap and chill the cake layers in the freezer, then once chilled they will be easier to level. Thanks for letting me know the proportions you used for a 9″ cake. It sounds like you’re going to have some happy friends or family this Thanksgiving!