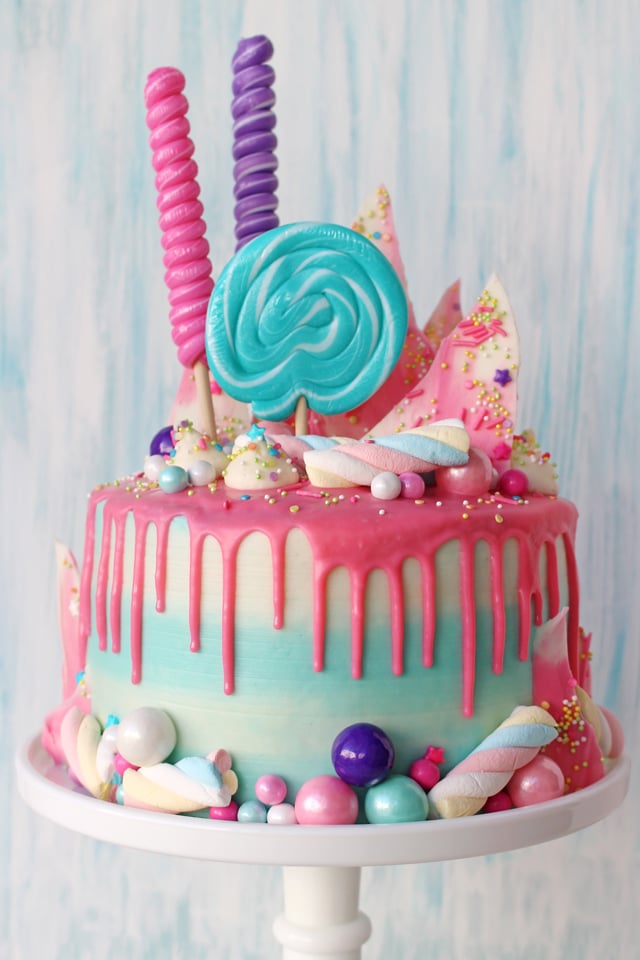
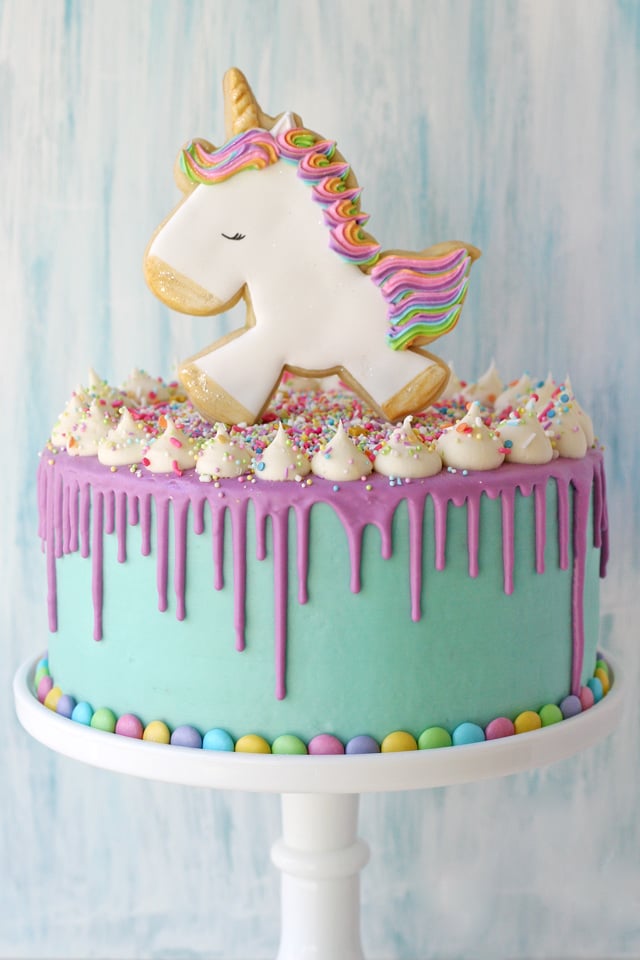
These Drip Birthday Cakes are colorful, whimsical and oh so sweet!
This year I’ve made a few Drip Birthday Cakes for people I love and I thought I’d share them here all together.
I’ve admired this fun, drippy, candy-explosion style cake for a while and was excited to play with some ideas!
Of course, when you top a cake with another layer of color, then candy, cookies, sprinkles and more… how could you go wrong? =)
PIN IT NOW to save for later!
I borrowed inspiration for these cakes from Katherine Sabbath and Jenny Cookies Bake Shop.
I believe Katherine Sabbath is likely the artist who primarily started the current trend of crazy-fun-drippy-candy-explosion style cakes.
Here are some of her earlier cakes –> Katherine Sabbath Cakes 2014
And here’s a fun mini video that shows her process –> Katherine Sabbath Ice Cream Drip Cake
Then, Jenny Cookies Bake Shop adds a whole other dimension to the drip style cakes by adding decorated cookies (now you’re speaking my language), crispy treats, and all kinds of other adorable goodies!
I could (and do) spend lots of time drooling over these beauties –> Jenny Cookies Bake Shop Cakes
I created the three cakes pictured in this post using a bit of a mash-up of these ladies ideas, combined with my own style and color choices.
How to make a Drip Cake…
Bake, cool, layer, crumb coat, frost, then chill your cake.
Here’s my favorite Vanilla Cake Recipe (simply omit the strawberries), Perfect Chocolate Cake Recipe and Buttercream Frosting Recipe.
Once you have a fully assembled and frosted cake, put the cake in the freezer while you prepare your chocolate drizzle for the “drip”.
Gather…
Good quality white chocolate. I use Ghirardelli. I have also tried Bakers brand, but did NOT have success.
Heavy Whipping Cream
White food coloring (see instructions below for more details)
Food coloring in your choice of colors (thick gel color, not liquid)
For the cakes shown (8″ cakes) I used 3 oz. of Ghirardelli white chocolate (bar, sold in the baking section) and 1 oz. heavy cream. You can adjust the amounts depending on the look you want, but the ratio of 3 parts chocolate to 1 part cream can stay the same.
Directions –
1. Chop the white chocolate into very small pieces and place in a bowl. Heat the cream in the microwave until hot (careful– this doesn’t take much more than maybe 10 seconds), then pour the hot cream over the chopped chocolate. Wait one minute, then stir until the chocolate is melted and the cream is fully incorporated. If needed, heat the chocolate and cream together in the microwave just a few seconds at a time. Do not over-heat the chocolate.
2. Once the chocolate and cream are fully combined, add a drop or two of white food coloring (listed above) and stir. This will help the final color of your chocolate to be less opaque (than it would be otherwise).
3. Next, add your desired color (1-2 drops). Be sure you are using thick, gel food coloring (as listed above), not the old-fashioned liquid food coloring from the grocery store.
4. Once the chocolate is your desired color, set aside for a few minutes to cool and thicken slightly. The desired consistency should be about the thickness of shampoo.
5. Retrieve your frosted cake from the freezer and using a small spoon (or an icing bag) add drops of icing to the top edge of the cake, just close enough to the edge so it begins to drip down on it’s own. Start this process at the back of your cake, so you can perfect the technique as you work your way around. So the key here is adding drops of icing, and creating a single drip at a time.
6. Once you have added “drips” all the way around the cake, then pour the remaining colored chocolate onto the top of the cake and (working quickly) spread with an offset spatula to the edge of the cake, until it meets up with the dots you used to create the drips.
7. Chill cake again, then add additional frosting, sprinkles, candies, etc.
Additional supply notes for these fun cakes…
CANDY – I usually can find everything I need at Party City (I generally shop in the physical store) and/or Oh Nuts.
SPRINKLES – I own a LOT of sprinkles. You can add to your collection with sprinkles from Sweets & Treats or Sweetapolita.
UNICORN COOKIE – You’ll find my cookie and icing recipes, and all kinds of tutorials under my “Cookie Decorating” category.
I do not have a full tutorial on the unicorn. And because I’m sure people will ask, I’ll share that I found this particular unicorn shape from Sheyb Designs (the shape is called “Glitter the Unicorn”). I will add that while I generally LOVE to support small businesses (and most anything in the cookie world), the cutters I’ve purchase from this shop are not my favorite and I find them hard to work with. For making one or two special cookies, the design is adorable, but I would not recommend this cutter (from this shop) if you plan to cut out a whole bunch of unicorns.
WHITE CAKE STAND – I own a LOT of cake stands, but tend to use this one the most.
Now, these cakes do take quite a bit of time (for me) to create. Gathering all the supplies (candies, etc) at least a few days in advance, and then starting the project with a very clean kitchen and workspace help a lot.
And while I do generally enjoy the process, there is a pretty short list of reasons I’ll spend a day or two making a cake like this…
Reason #1… my kid =)
Reason #2… (or alternately titled, tied with reason #1)… equally adored, also mine.
Reason #3… sweet friends who I also love dearly.
Aren’t those some gorgeous reasons to bake a cake?! =)
Now, I’m curious if you have a favorite from the three cakes in this post? Feel free to leave a comment below.
Drip Birthday Cake Ideas
PIN IT NOW to save for later!
Happy baking!
Disclosure – Shopping links to specific supplies provided for your convenience. I may receive a small commission from purchases made using these links, at no additional cost to you.
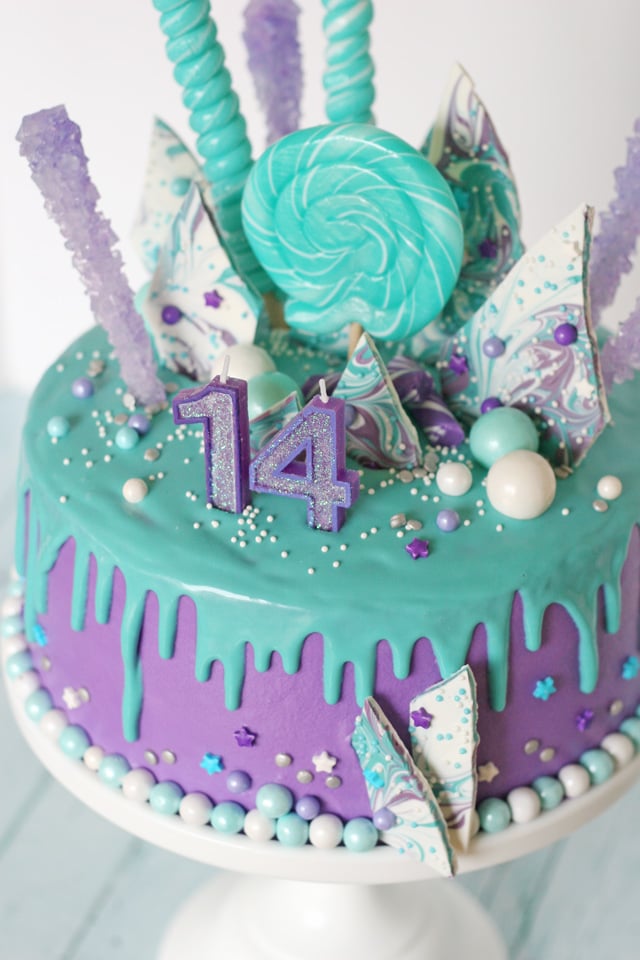
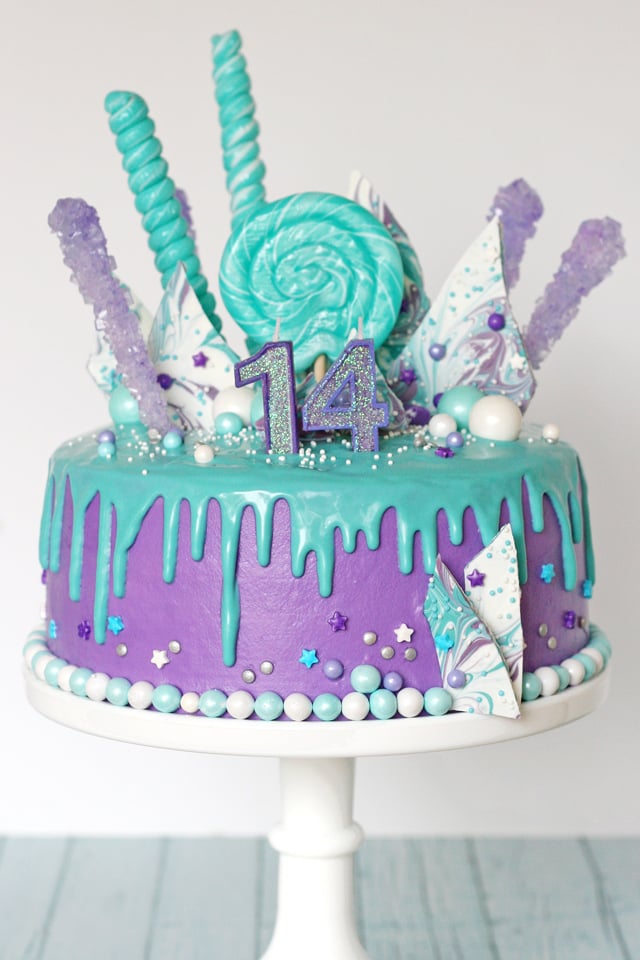
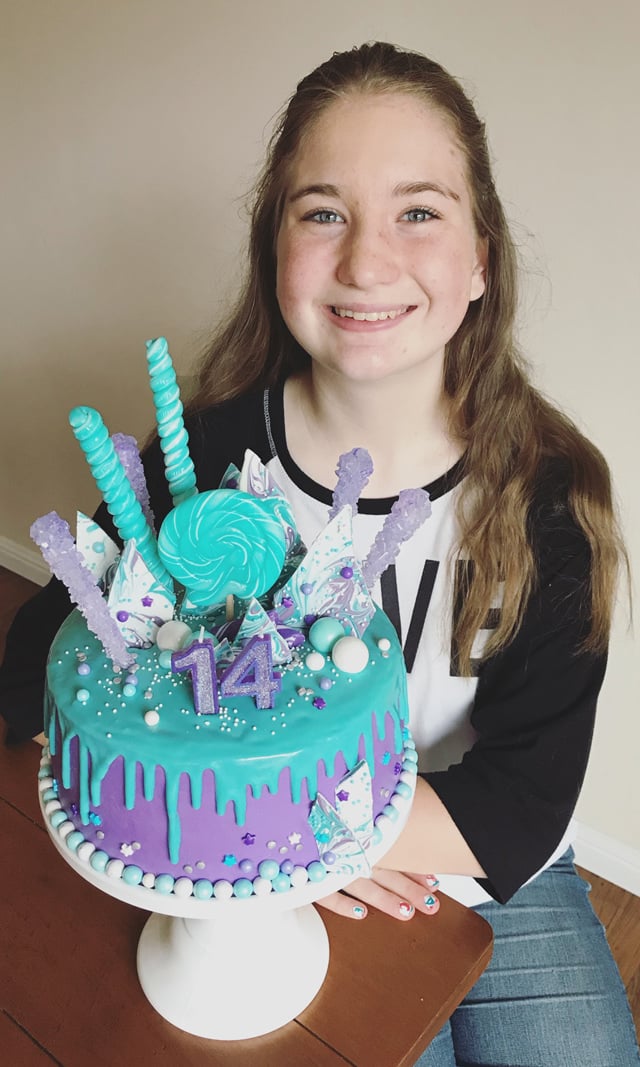
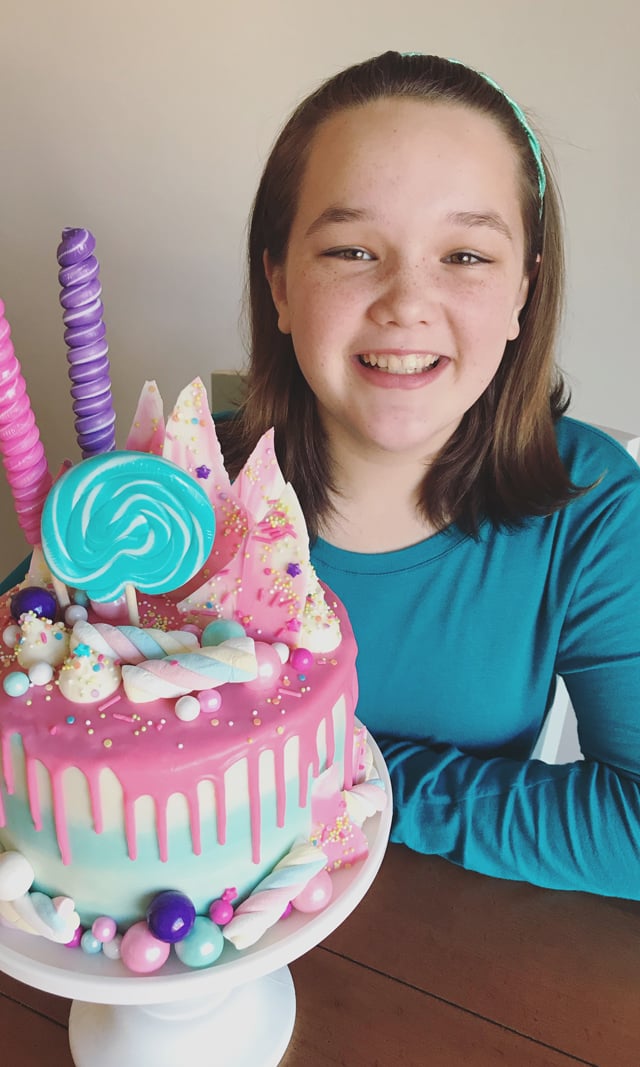
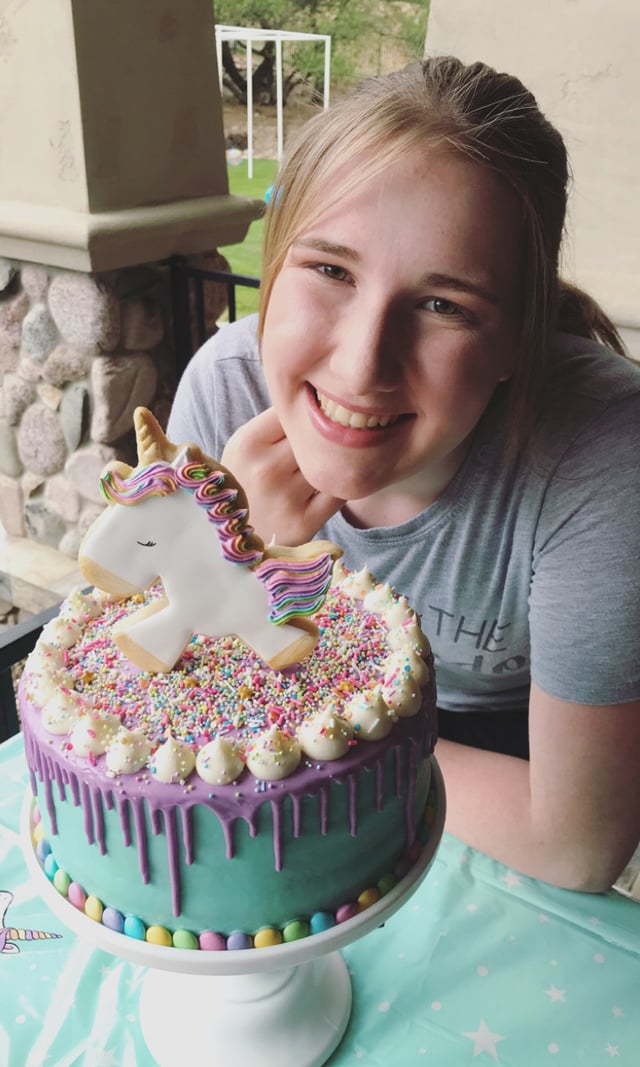

the cake with the ’14’ on it is my absolute favoritie…the colors are TO DIE FOR!!!! SO very beautiful….even though I’m 64, I’d LOVE a cake with those colors. You are definitely an artist!!!
My only question is, isn’t there any way to sign up to get an email whenever you post? I agree with the commenter above….haven’t browsed my lists in too long and I LOVE your stuff!
Hi Deb, So glad you enjoyed this post! I’d LOVE to have you sign up to receive an e-mail each time I post something new.
To sign up for e-mails…
If viewing my site on a desktop computer, look on the top of the right sidebar… there are little blue circles that link to my social media pages (facebook, etc). There is one little blue circle that has the image of an envelope. If you click on the envelope you’ll be able to sign up for e-mails.
If viewing my site on a phone or tablet…
Scroll all the way down to the bottom of my site and you’ll find a row of blue circles that link to my social media pages. There is one little blue circle that has the image of an envelope. If you click on the envelope you’ll be able to sign up for e-mails.
Thanks!!
I haven’t visited Glorious Treats in too long and when the page opened just now all I could think was “I’ve missed you!” These cakes are stunning and completely inspiring!!
Hi Kara,
Thanks so much for stopping by, and thank you for your sweet comment!
Please feel free to sign up to receive an e-mail each time I post something new, so you never miss a post! =)
To sign up for e-mails…
If viewing my site on a desktop computer, look on the top of the right sidebar… there are little blue circles that link to my social media pages (facebook, etc). There is one little blue circle that has the image of an envelope. If you click on the envelope you’ll be able to sign up for e-mails.
If viewing my site on a phone or tablet…
Scroll all the way down to the bottom of my site and you’ll find a row of blue circles that link to my social media pages. There is one little blue circle that has the image of an envelope. If you click on the envelope you’ll be able to sign up for e-mails.
Thanks!!
Thank you for a beautiful birthday cake. Made this tonight for my family and the kitchen smells divine. It tastes even better.
Morning.
I have made your Perfectly Chocolate Cupcakes many times now, but today I want to make it as a cake. Do I change anything? Also, does it make 1 8″ round cake or 2?
Thank you.
Yes, this recipe can be used to make a cake. I generally divide the batter into three 8″ pans, but you could use two pans as well. The cake is done when the top has a slight dome and a toothpick inserted in the center comes out clean (or with a few moist crumbs, but no wet batter). Happy baking!
Amazingly beautiful all three. My favorite is the unicorn
These are amazing!!!
¡Qué delicia de tartas! Realmente quedan espectaculares, me encantan. Un abrazo
WOW these cake are simply stunning! The perfect birthday cake!
Oh, my goodness! I’d bet if you googled “sweet things”, these would come to the top of the search results! Cakes and models both! So, cute! ! ! I love your unicorn! <3 <3 <3
Hehe, thanks so much Sherrill! <3
WOW! That third girl is almost as pretty as the first two! 🙂 Thank you for making my cake. Your the best Glory! I love you!
All three birthday girls pictured are GORGEOUS inside and out! And all three are deeply loved by me!