Welcome to my sweet “baby” Joy’s Frozen birthday party!
I love planning parties and making treats for people I love, and of course any photos I share of my girls are always extra special to me!
Generally I’m not a big fan of character birthday parties, but when my youngest asked for a Frozen birthday party I thought I could find some fun ways to incorporate the theme without using too many pre-printed party products. Most of the details of this party would be perfect for any winter party.
My daughter’s birthday is in January, but by the time her party had come and gone earlier this year, it was time to share Valentine’s ideas here on the blog! I’ve been saving this sweet party to share in the hopes that it might spark some ideas for a winter birthday or winter party you’re planning.
We’re lucky to live near an outdoor ice skating rink, so we started the party at the ice rink, then packed up and drove the short distance to our house to enjoy treats and presents.
Please enjoy our little winter wonderland! I’ll include details along the way as to recipe links and product sources, and I’ll round them all up at the end of the post as well.
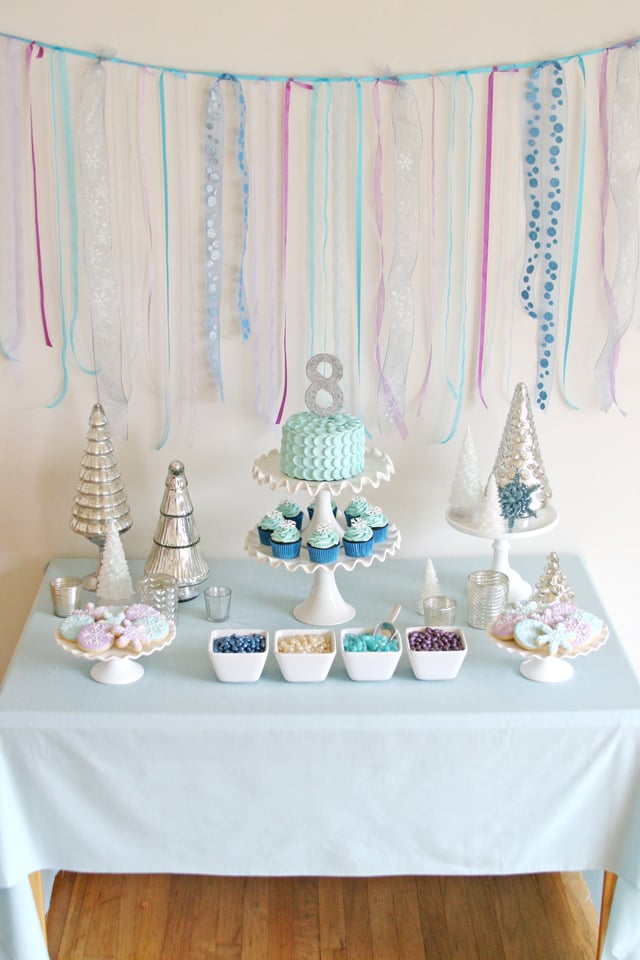
Of course I love preparing a sweets table! I started by creating a ribbon backdrop. I attached two Command adhesive hooks to the wall and strung a ribbon between the two to create the line to hang the rest of the ribbon. Once the “line” was hung, I added the other ribbons by simply tying them along the line.
I made a big effort to purchase as few new props and supplies for this party as possible. In the end, the only things I purchased for this party was the food, favors (quite simple as you’ll see later in this post), and some strands of battery powdered lights (also shown later). Everything else, including the ribbon, were things I already had on hand. Now granted, I have a lot of props… but one key to being able to use things over and over is purchasing solid color items. I almost exclusively buy only white dishes (a few red and pink sneak in from time to time) and I use solid color fabric as table cloths. In fact, you’ll see I used this same blue fabric for my sister’s Vintage Bunting Baby Shower a couple years ago, and many of the same props as I used for my girls Pink and Purple Penguin Party.
Long before any party I do a little “shopping” around my house and start pulling out any items I have in the party colors… dishes, candle holders, ribbon, and fabric. This helps me see what I already have, and decide what few new things I may need for the party.
The dessert table included a small cake, cupcakes, cookies, and Jelly Belly jelly beans along with some pretty white and silver props to fill in.
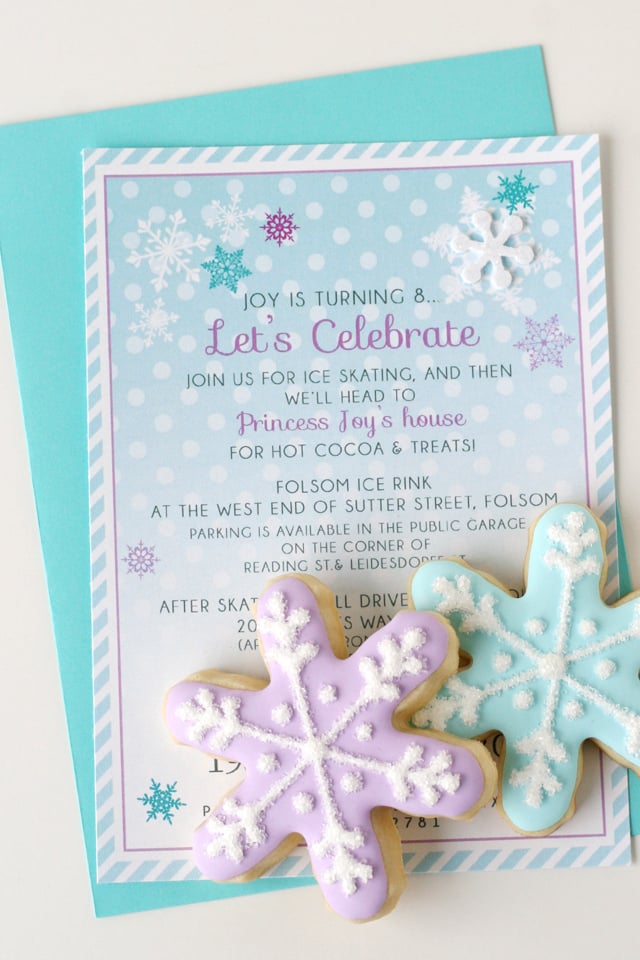
A pretty invitation is the perfect way to give your guests an idea of the fun to come! I’ve worked with Petite Party Studio before and knew they could create a beautiful and whimsical design! With just a bit of direction from me on colors and general theme, I just loved the sweet invitation Petite Party Studio came up with!
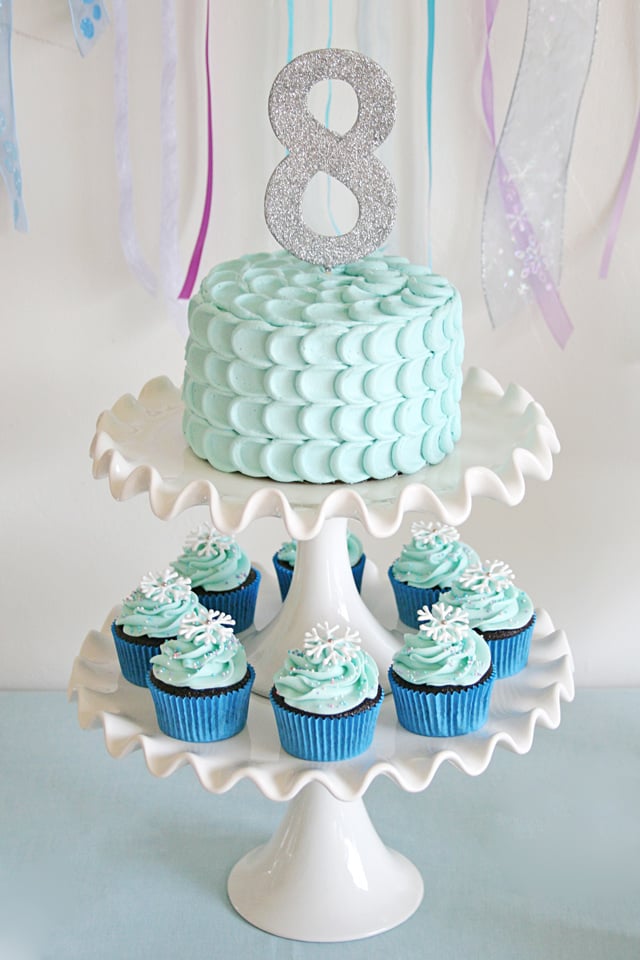
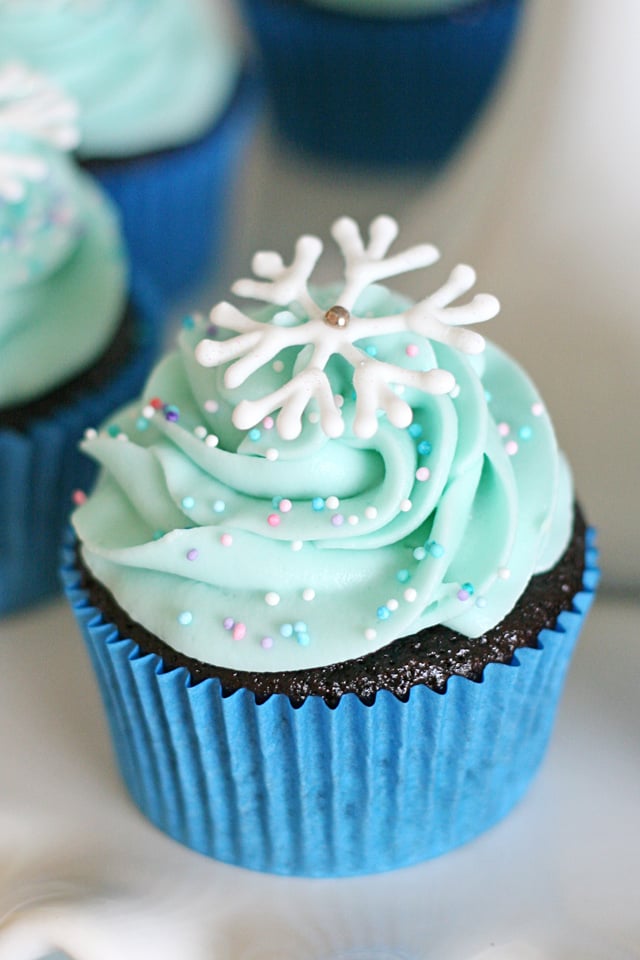
I made a small cake using my Chocolate cake/cupcake recipe, American Buttercream (see notes on the cream cheese variation) and a pretty (and quite easy) Petal Frosting Technique. The cupcakes were inspired by my favorite Snowflake Cupcakes (<– post includes details on making the snowflakes) and look great in cupcake liners from Confectionery House. For both the cake and cupcakes I colored the frosting using Americolor gel in Sky Blue.
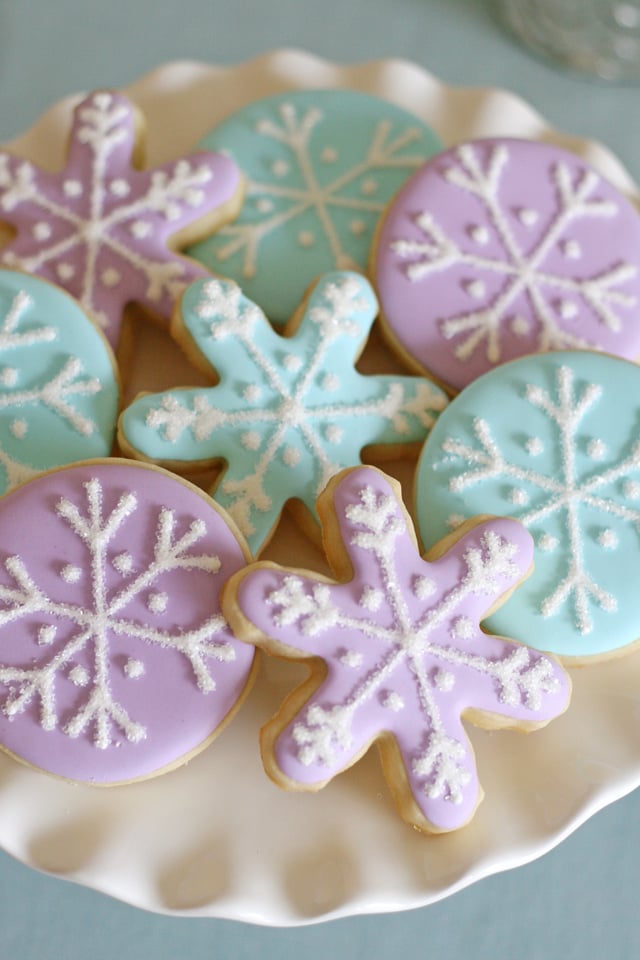
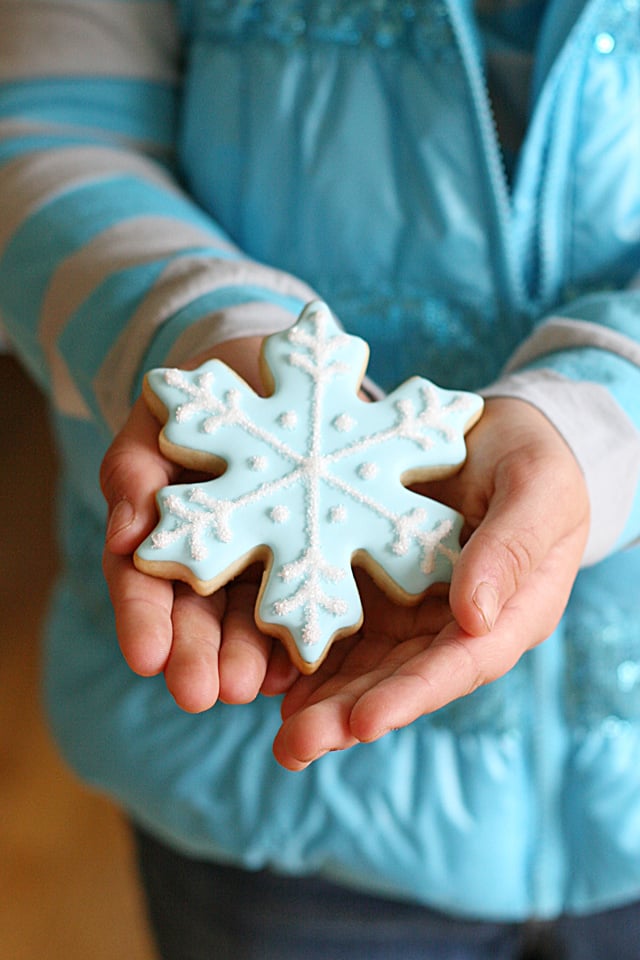
I made some pretty pastel Sugar Cookies decorated with Royal Icing. You can find lots of my step-by-step decorating tutorials by browsing my Cookie Decorating posts. You might notice I have a “thing” for pastel snowflakes! I tend to include them in at least a couple posts a year!
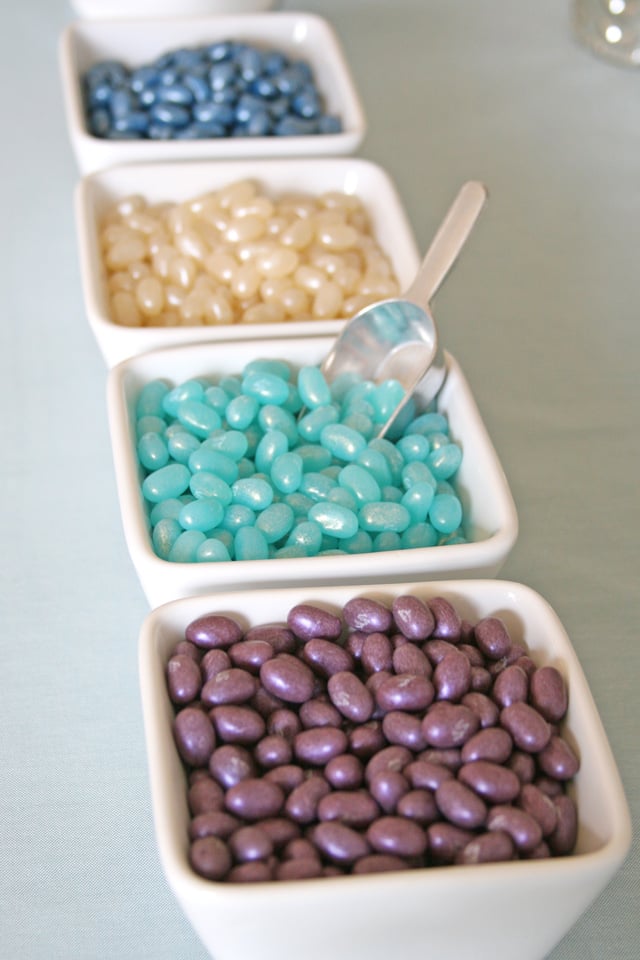
I was happy to discover that Jelly Belly has candies perfectly suited for a Frozen theme! From front to back, the colors/flavors are Sparkling Grape, Sparkling Berry Blue, Sparkling Cream Soda, and Sparkling Blueberry.
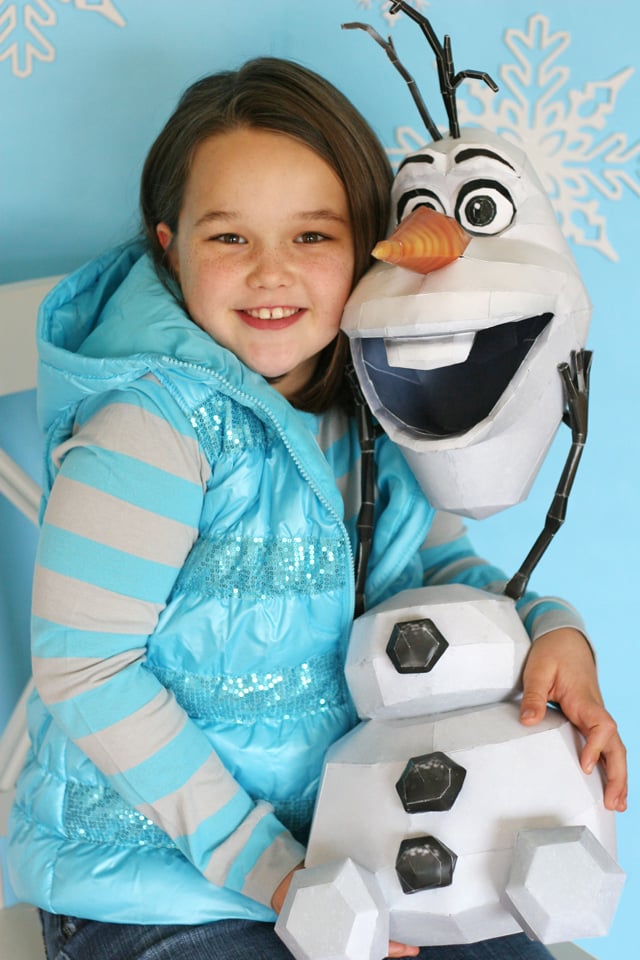
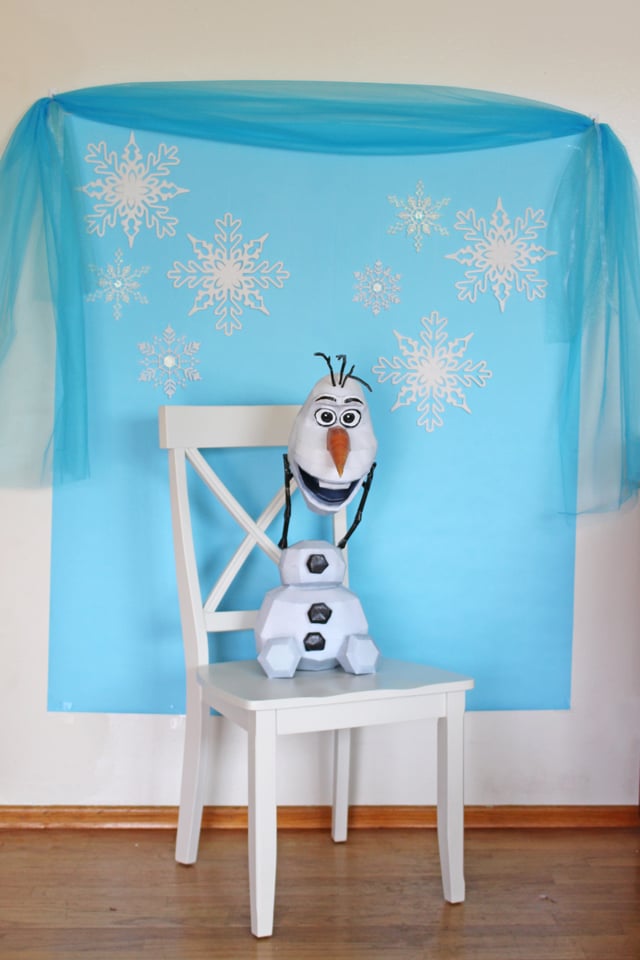
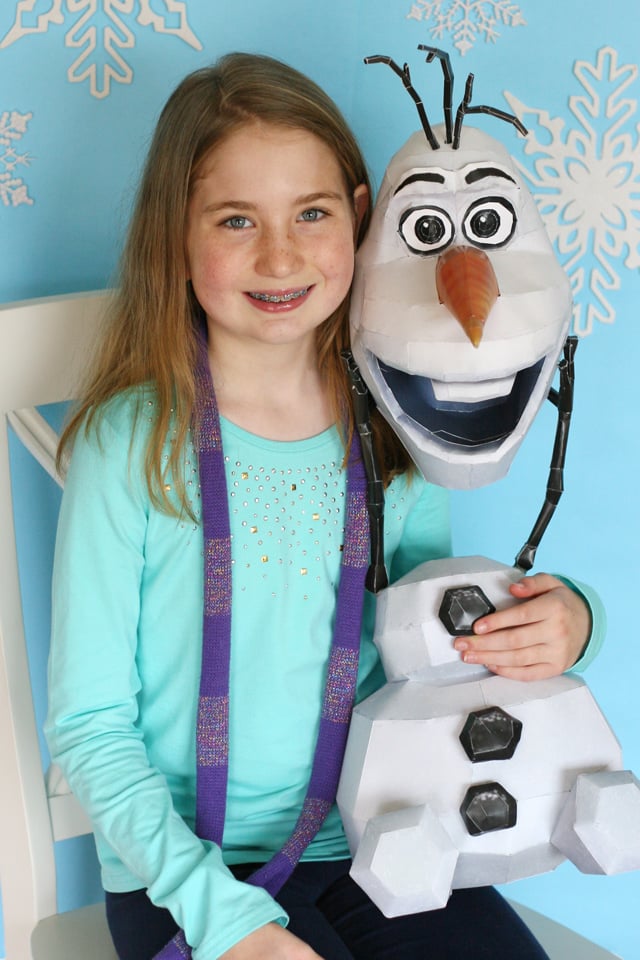
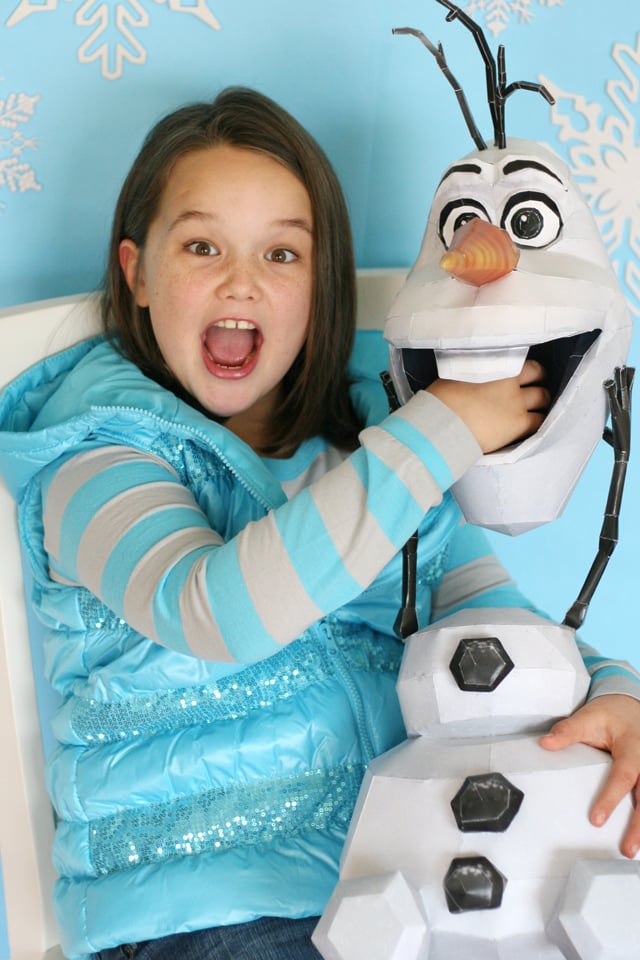
A friend had recently hosted her own Frozen birthday party, and her husband had made this amazing 3D paper Olaf! She graciously allow us to use him for our party as well! He was perfect to use for some fun photos of the birthday girl, and party guest too! I’m sure a big stuffed animal version of Olaf would have worked perfectly too (and been a bit more durable, although likely more expensive).
For the photo booth area I taped some blue paper (available in rolls from most craft stores, or teacher supple stores) to a wall. Keep natural light in mind when choosing where to set this up. I attached some snowflake ornaments (all from Dollar Tree) by tying a bit of fishing line to each snowflake, then taping the top of the line to the wall, just above the blue paper. Because the snowflakes were coated in glitter, I couldn’t get tape to stick directly to the ornament, which is why I hung them with fishing line instead. I used two Command adhesive hooks to hold up a swag of sheer blue fabric (using ribbon to tie the fabric to the hooks). The fabric helped hide all the tape along the top of the paper.
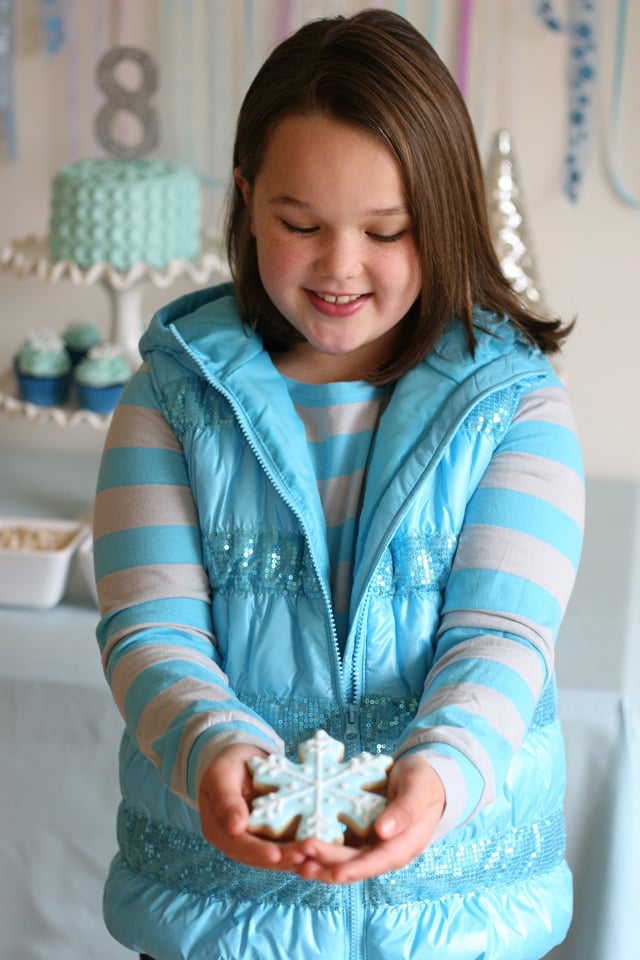
The backdrop, along with Olaf, was a perfect combo for some fun photos.
In addition to the dessert table and photo space, I decorated a long table (or rather two tables pushed together) for guest to enjoy their treats.
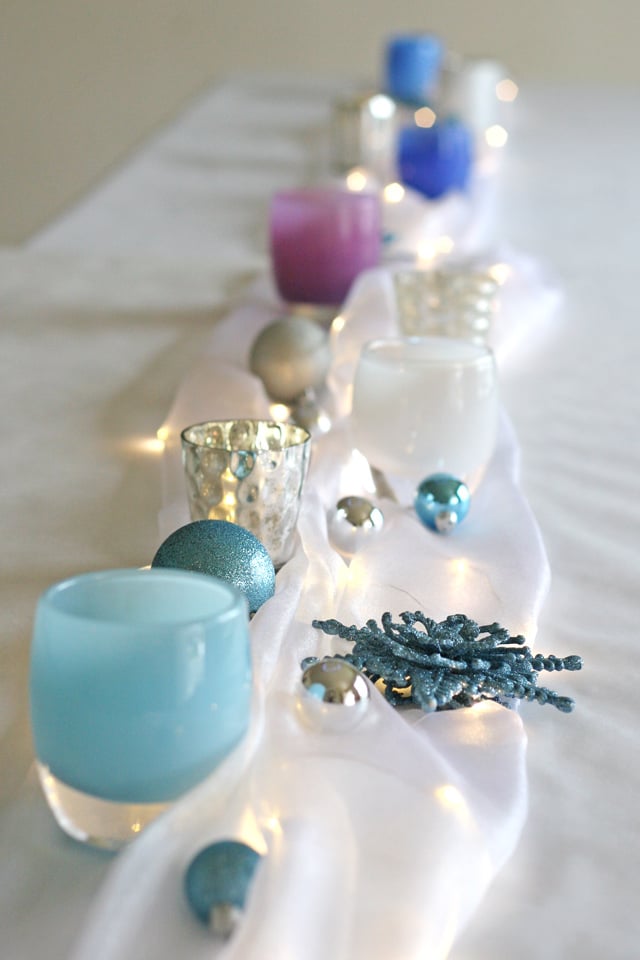
I covered the tables with white paper (available in large rolls from most craft stores, or teacher supply stores). Along the table I used some sheer white fabric to wrap around strings of battery powered lights I found at Hobby Lobby. The lights are called LED Rice Lights, and are super tiny little lights along a thin wire. They were so pretty! I taped the battery pack under the table (one at both ends of the table). I accented the table with some Christmas ornaments and candle holders in the party colors of blue, white, purple and silver.
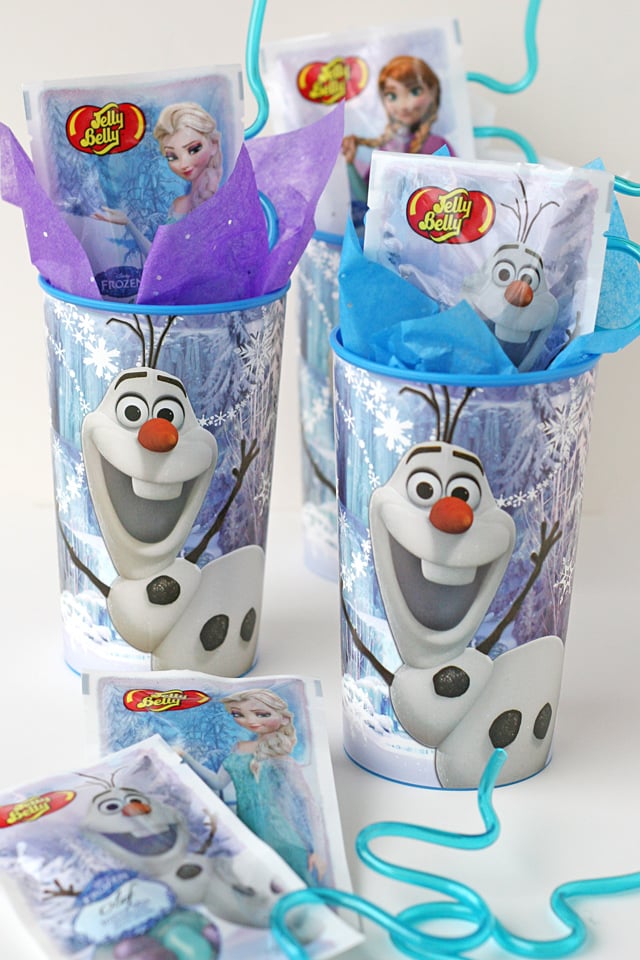
For party favors I found some cute (and cheap, yay!) cups at Dollar Tree, and then just added a pack of Frozen themed Jelly Belly candies, a crazy straw (Party City) and a bit of tissue. Simple, cute, done!
Frozen Birthday Party details…
Concept, styling and photography – Glorious Treats (that’s me!)
Invitations – Petite Party Studio
Desserts –
Small cake frosted using a Petal Technique, topped with a glittery “8” from Hobby Lobby.
Chocolate Cupcakes with American Buttercream (see the cream cheese variation) and royal icing snowflakes.
Sugar Cookies decorated with Royal Icing.
Jelly Belly jelly beans.
Favors – Olaf cups from Dollar Tree (similar available from Target). Crazy straws from Party City. Frozen themed Jelly Belly candies.
Olaf photo prop – DIY printable 3D Olaf
Happy party planning!


What a beautiful party!! Your daughter is so cute.
Thanks so much Alicia! I think my daughter’s is pretty cute, but I love to hear it from other people too! =)
Just beautiful! I’m throwing my 2-year-old a Frozen party per her request and your party is my inspiration. I’m making the cake…and I don’t have much experience baking cakes. Wondering if you could give me some tips on baking time…is it the same as for the cupcakes?
She’s so sweet! This looked like a beautiful party! Love you guys!
-Cecilia
So pretty, what little girl would not LOVE this party! Wonderful!