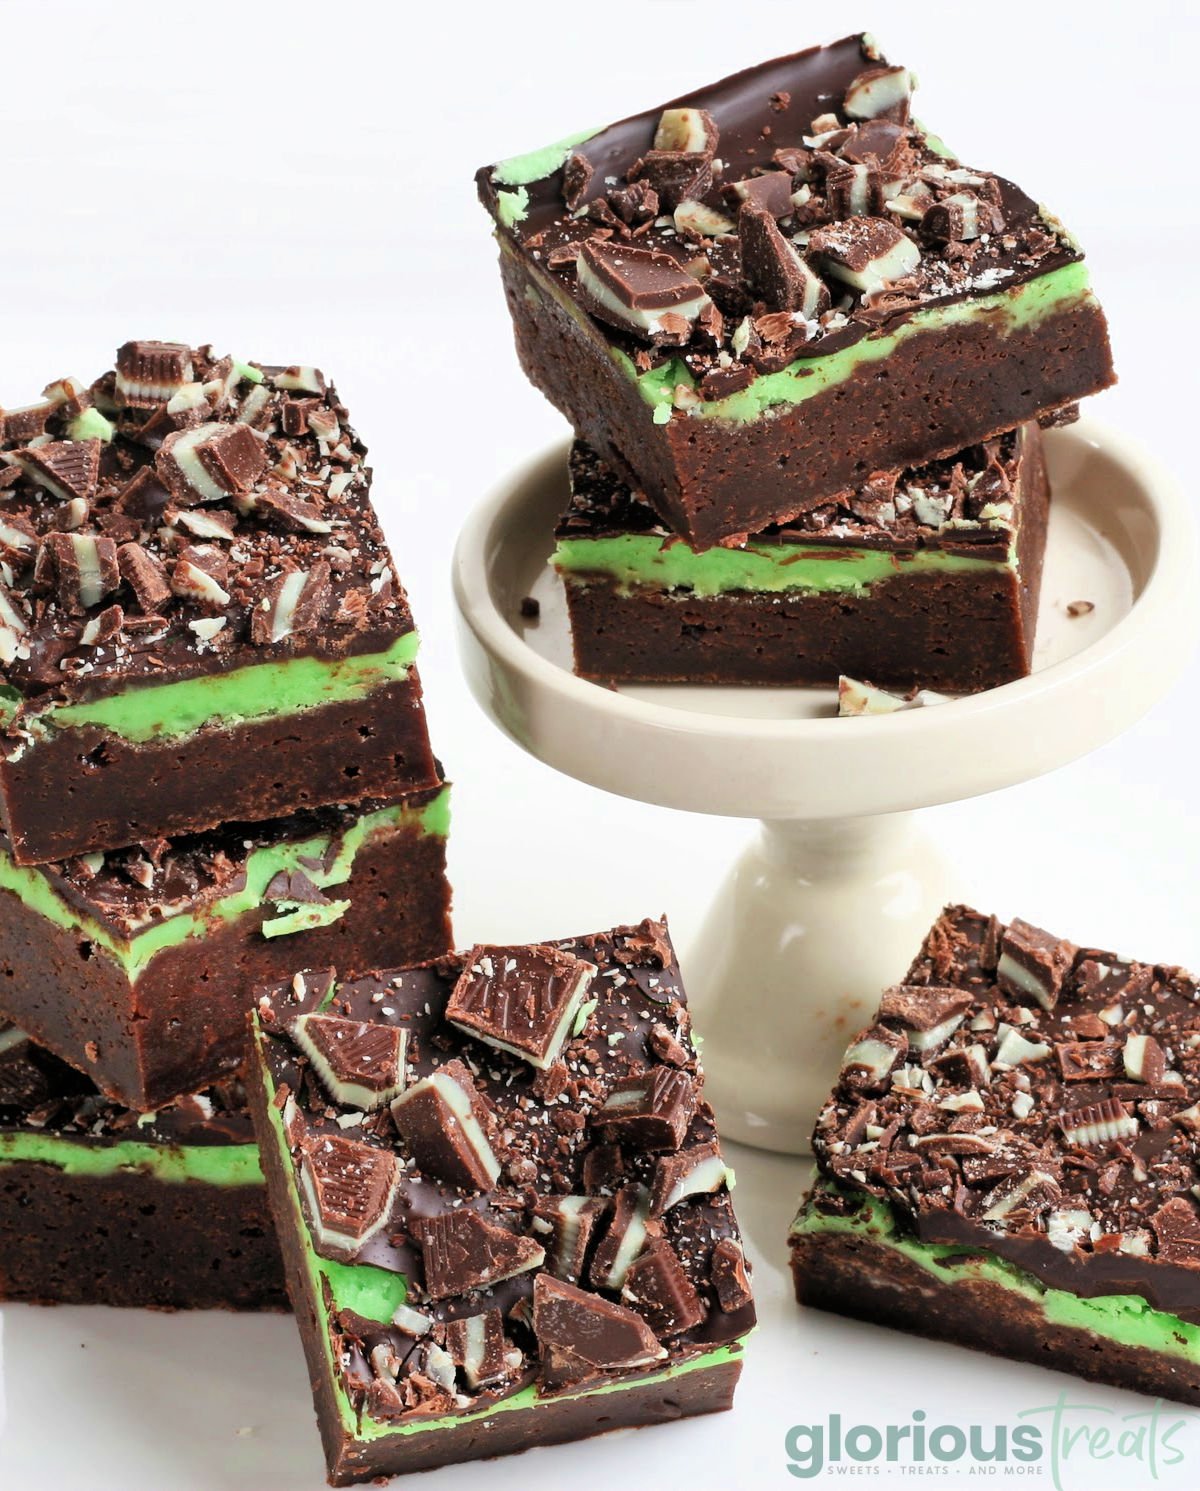
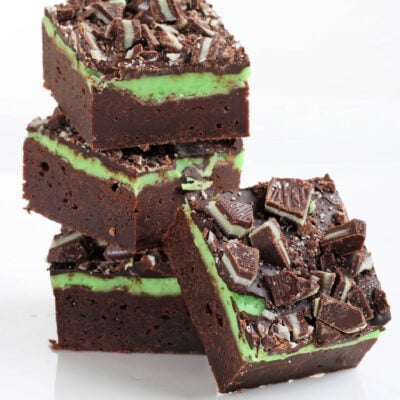
These fudgy Mint Brownies have a rich, chocolate base, creamy, a creamy layer of refreshing mint and are topped with a sweet chocolate glaze. Dense, rich and so delicious! Sure to be a hit with chocolate lovers, these brownies are perfect for the holidays! Cut into small squares for cookie trays, dessert tables or dinner parties!
Love brownies? Make sure to try my Cheesecake Brownies, Homemade Brownies and German Chocolate Brownies!
Mint Brownies Recipe
Fudge Mint Brownies… I think the title pretty much tells you all you need to know! These Mint Brownies are layered dessert perfection that combine rich, dark chocolate with refreshing mint.
I discovered these brownies a couple years ago, adjusted the recipe a bit and have made them dozens of times. I’m actually a bit famous for them in my little world =)
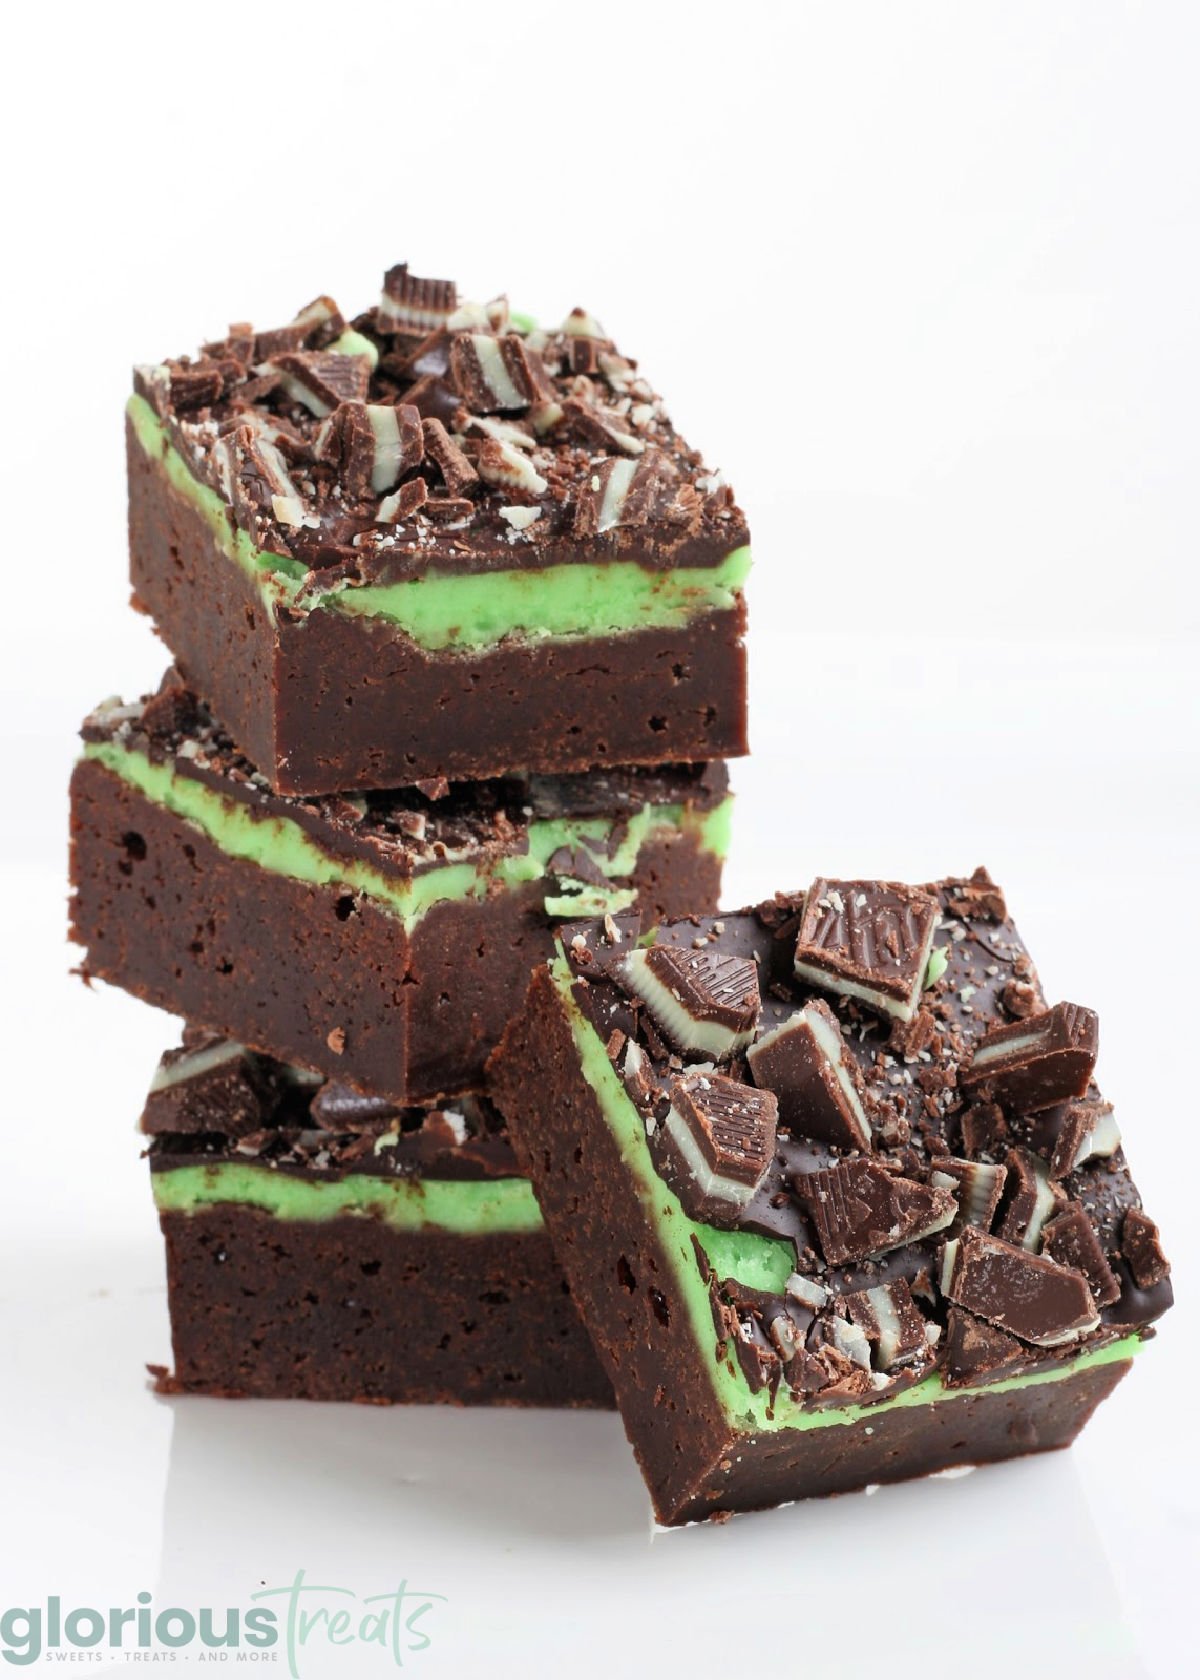
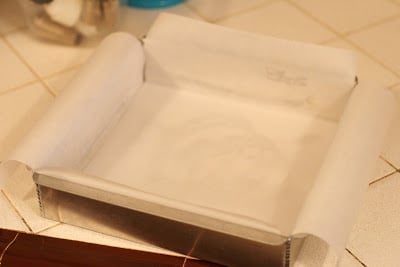
Each layer of these decadent brownies offers a unique texture and flavor: a dense, fudgy base, a creamy mint middle, and a glossy chocolate glaze topped with crunchy mint pieces. Perfect for satisfying your sweet tooth, these decadent brownies are an impressive addition to any gathering.
Why They’ll Love This Recipe
This recipe is designed to impress with its delicious flavors and stunning layers. From the first bite, you’ll understand why this dessert is a crowd pleaser – no one can resist the amazing chocolate and mint combination!
- Rich Flavors: The dark chocolate base is combined with the light, refreshing mint layer which creates a balanced flavor profile that is so rich and decadent.
- Tons of Texture: From the fudgy brownie base to the smooth mint layer and the smooth chocolate glaze – this mint brownie recipe has a wonderful variety of textures.
- Pretty as a Picture: With distinct layers and a vibrant green mint layer, these brownies are as beautiful as they are delicious – perfect for impressing guests.
How To Make Mint Brownies
This brownie recipe consists of three distinct layers: the brownies, the mint layer and the chocolate glaze. You will need to allow time for each layer to cool before proceeding so plan ahead accordingly. You can find the full, printable recipe card at the end of this post.
For the Brownies
- In a stainless steel bowl over a pan of simmering water (or double boiler), melt the butter and chocolate.
- Once melted, remove from heat and stir in the sugar and vanilla. Add eggs, one at a time, beating well with a spoon. Stir in flour and salt and beat with a spoon until the batter is smooth and glossy (about 1 minute). Pour the brownie batter evenly into the prepared pan.
- Bake in preheated oven for 25-30 minutes, or until brownies start to pull away from the sides and a toothpick inserted in the center comes out almost clean. Remove pan from oven and place on a wire rack to cool completely (about 1 hour).
Mint Layer
- In the bowl of your electric mixer, or with a hand mixer, beat all ingredients until smooth. Add 1 or two drops of green food coloring (one at a time, you don’t want it too green). If the frosting is too thick, add a bit more cream (the frosting should be just thin enough to spread).
- Spread the frosting evenly over the cooled brownie layer. Place in the refrigerator for about 5-10 minutes, or until slightly firm.
Chocolate Glaze
- In a heatproof bowl over a pan of simmering water, melt the chocolate and butter.
- Spread over the mint filling, then top with chopped Andes mints.
- Refrigerate for about 30 minutes, or until the chocolate glaze starts to dull.
Serving
- Remove brownies from the pan by lifting the ends of the parchment paper, and transfer to a cutting board. With a sharp knife, cut into apx. 1-1 1/2 inch squares. For best results, rinse off the knife in hot water, then wipe dry after each cut.
- Brownies can be stored in the refrigerator for 2-3 days, best served at room temperature. Makes about 25-30 small squares.
Storage Information
- Make-Ahead: You can prepare these brownies a day or two in advance. Store in an airtight container in the fridge. Set out at room temperature for at least 30 minutes before serving.
- Refrigeration: Store in an airtight container in the fridge for up to 5 days.
- Freezing: Freeze the brownies for up to 3 months. Thaw overnight in the refrigerator before serving.
For clean, professional-looking slices, chill the finished brownies before cutting. Use a sharp knife and clean it after each cut.
More Holiday Treats
- Christmas Tree Rice Krispie Treats
- Chocolate Crinkle Cookies
- Gingerbread Cookies
- Rocky Road Fudge
- Hot Cocoa Cookies
How to Make Fudge Mint Brownies
Fudge Mint Brownies
Ingredients
Brownie Layer
- 1/2 cup butter cut into pieces
- 4 oz dark chocolate apx. 80% cocoa, or use half unsweetened and half bittersweet
- 1 1/4 cups sugar
- 1 teaspoon vanilla
- 2 large eggs
- 3/4 cup all purpose flour
- 1/4 teaspoon salt
Mint Layer
- 3 tablespoons butter at room temperature
- 1 cup powdered sugar
- 1 tablespoon heavy cream or milk
- 1/2 teaspoon peppermint extract or 1/4 teaspoon creme de menthe and 1/4 teaspoon peppermint
- 1 drop green food coloring I use americolor mint green
Chocolate Glaze
- 3 oz semisweet or bittersweet chocolate apx. 70 % cocoa
- 1 tablespoon butter
- 2.5 oz Andes Mints apx. 1/2 package, or 14 whole pieces, about 2.5 oz., chopped
Instructions
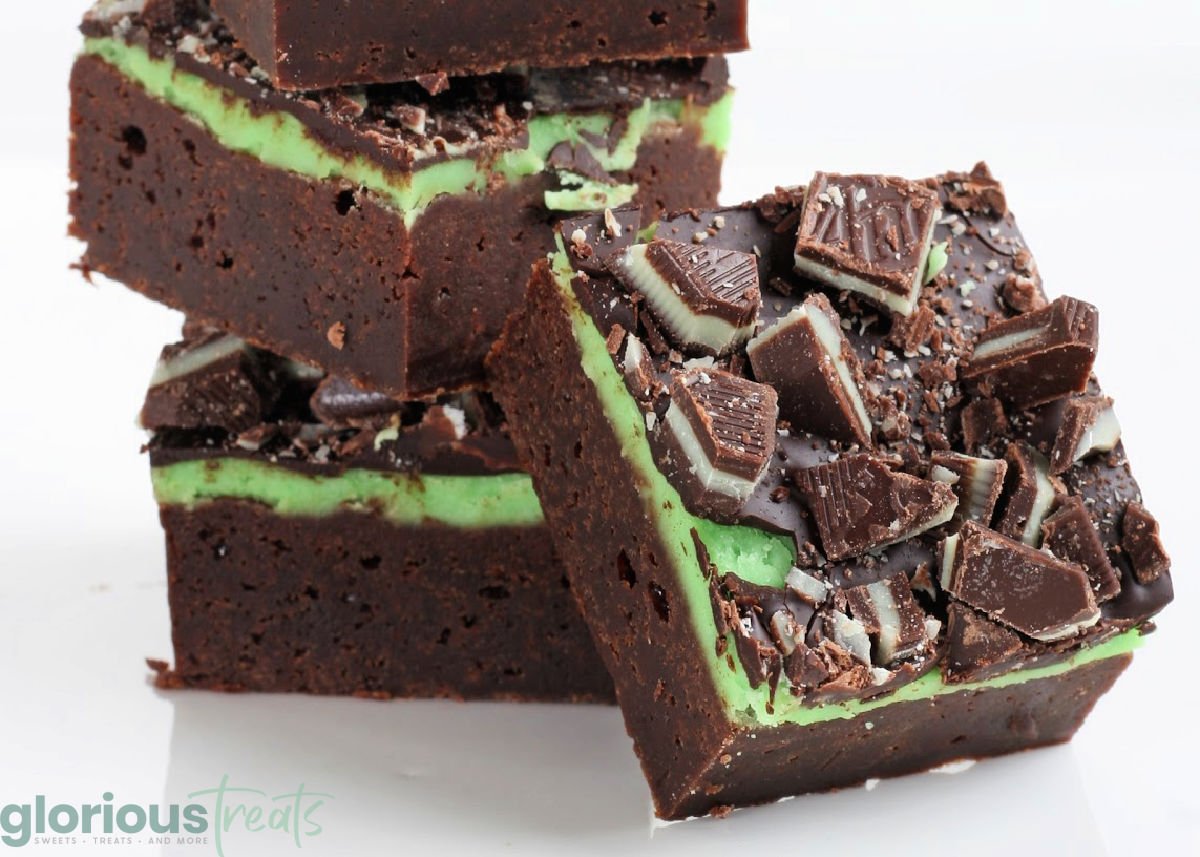
- Preheat oven to 325*F. Prepare a 9″x9″ (or 8″x8″) square baking pan by lining parchment paper across the bottom and sides of the pan, like a sling. You can use a little butter on the pan to help the paper stay in place.
Brownies
- In a stainless steel bowl over a pan of simmering water (or double boiler), melt the butter and chocolate.
- Once melted, remove from heat and stir in the sugar and vanilla. Add eggs, one at a time, beating well with a spoon. Stir in flour and salt and beat with a spoon until the batter is smooth and glossy (about 1 minute). Pour the brownie batter evenly into the prepared pan.
- Bake in preheated oven for 25-30 minutes, or until brownies start to pull away from the sides and a toothpick inserted in the center comes out almost clean. Remove pan from oven and place on a wire rack to cool completely (about 1 hour).
Mint Layer
- In the bowl of your electric mixer, or with a hand mixer, beat all ingredients until smooth. Add 1 or two drops of green food coloring (one at a time, you don’t want it too green). If the frosting is too thick, add a bit more cream (the frosting should be just thin enough to spread). Spread the frosting evenly over the cooled brownie layer. Place in the refrigerator for about 5-10 minutes, or until slightly firm.
Chocolate Glaze
- In a heatproof bowl over a pan of simmering water, melt the chocolate and butter. Spread over the mint filling, then top with chopped Andes mints. Refrigerate for about 30 minutes, or until the chocolate glaze starts to dull.
To Serve
- Remove brownies from the pan by lifting the ends of the parchment paper, and transfer to a cutting board. With a sharp knife, cut into apx. 1-1 1/2 inch squares. For best results, rinse off the knife in hot water, then wipe dry after each cut.
Notes
Nutrition
Originally published March 6, 2011.


It is really mouth watering..even my eyes are struck to this site. i have bookmarked it so that i can learn browni recipe from here whenever i get time.
I made these brownies for our Royal Wedding Tea Party on Friday – they turned out delicious! Thanks for sharing the recipe! Maja x
(I posted a link to your site on my blog)
OMG! wanna try this one.. love the twist of a mint. =)
Just want to say what a great blog you got here!
cialis
Oh God! I'm craving for some brownies and I hope I can eat those next week. I wasn't allowed to eat sweet foods due to my extracted tooth. I went to Goose Creek last Wednesday to visit my dentist for dental check-ups, and that day he extracted my tooth. I hope my mom will cook this recipe for me. I'll show this recipe to her tomorrow.
very informative and cool. thanks for sharing your knowledge.
I made these last night, I have been dreaming of them since I read your post. You give me such cravings here LOL. I just wanted to pass on a tip when cutting these I used an oversized pizza cutter, we learned this in culinary school, and it saved me from having to rinse off my knife and I got a good clean cut without any goop. And these were amazing, worth the effort I think your blog is amazing:) thanks for your work.
Oh, they look so good! I hae to try to make them!
I like my chocolates to be paired with some mint. And this is really something so perfect.
Ohhh goodness! DIVINE!
Great blog; happy I found you!
Mary xx
Delightful Bitefuls