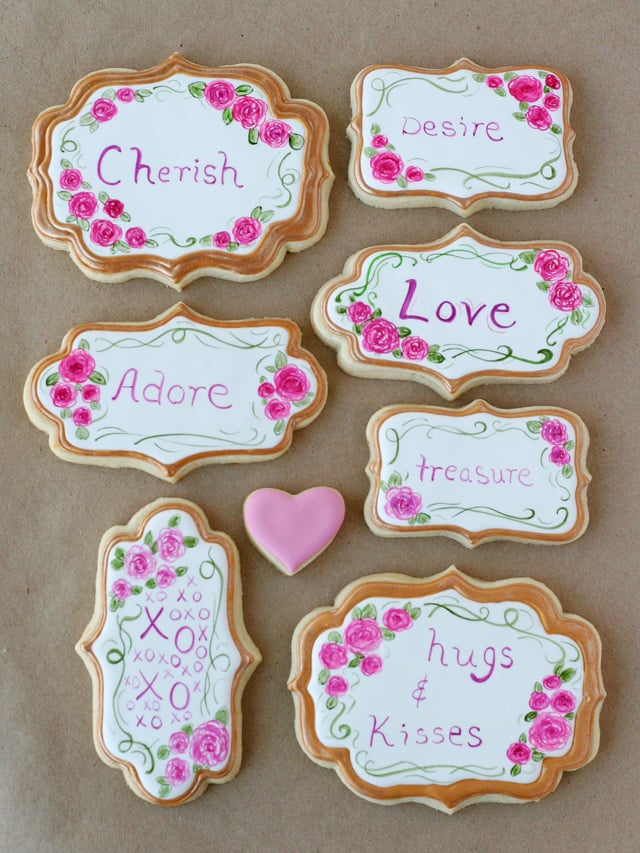
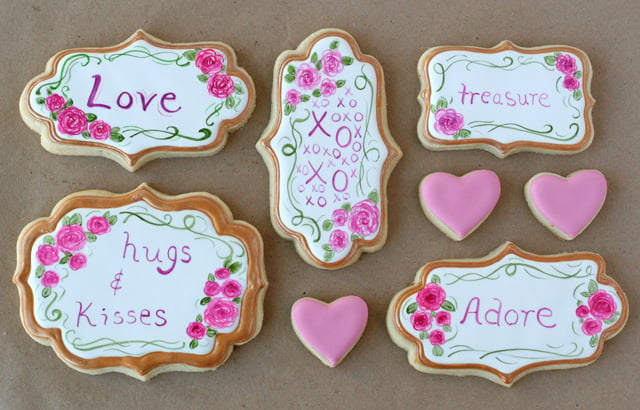
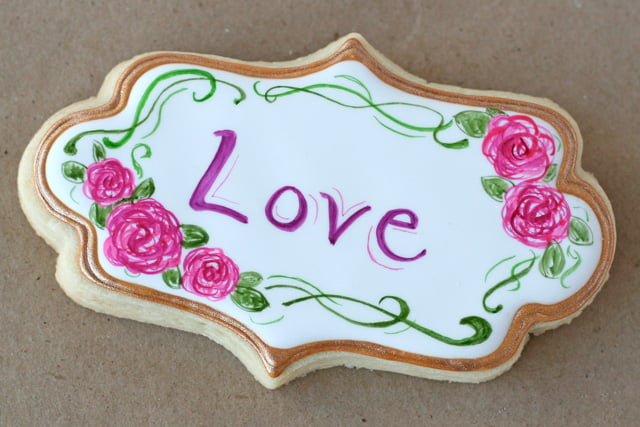
A couple weeks ago I prepared some “cookie canvases” for my youngest daughter’s Art Birthday (which I’ll be sharing soon!). I had an extra cookie and took the opportunity to experiment with painting (with food coloring) on cookies. I was very happy with the results (and shared an image of the cookie on Instagram)! The bit of success with the one cookie gave me the bit of confidence I needed to try a whole set.
Although I’ve seen pretty painted cookies from several cookie artists, it’s the work of Arty McGoo that has captivated me for quite some time! Only after seeing Liz (“Arty”) demonstrate painting on cookies at Cookie Con last fall did I really feel like I might be able to give it a try! Here is a link to Liz’s blog post on Cookie Con, along with a video of her painting on cookies that brought a room of 200 people to the verge of tears (in a good way).
The general design of this set of Valentine’s inspired cookies would certainly work well for other occasions as well. I would love to see a cookie like this as a name plate (and/or favor) at a tea party, and I think they would work beautifully for Mother’s Day as well.
Let’s get started!
First, you’ll need a batch of cookies (here’s my Sugar Cookie Recipe). For these cookies I used a variety of pretty plaque/frame shapes. Two of the three shapes shown are from Copper Gifts, and the largest was a custom made gift from a friend. Karen’s Cookies also sells several pretty plaque shapes.
Once your cookies are baked, prepare a batch of Royal Icing. For this set you’ll only need white icing (in a medium/flood consistency), and a gold/dark yellow color (in a thick, but not overly stiff, consistency).
Outline your cookies with the gold/dark yellow color, creating a frame as thick or thin as you like. Allow the icing to set up a bit (30 minutes or s0).
Flood the cookies with white icing, then allow the icing to dry FULLY (overnight).
Once the icing is dry, then you are ready to paint!
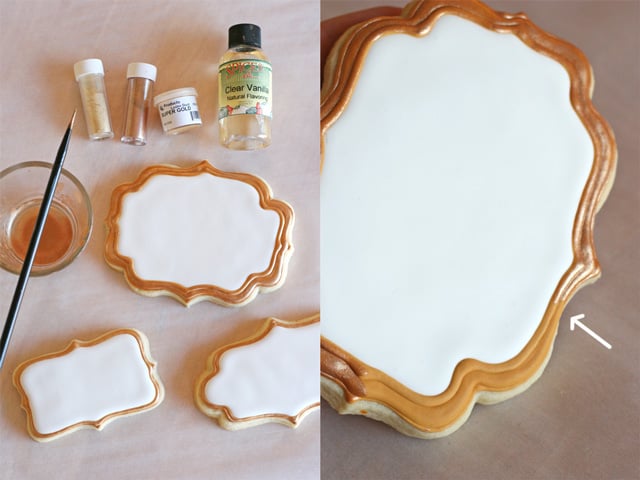
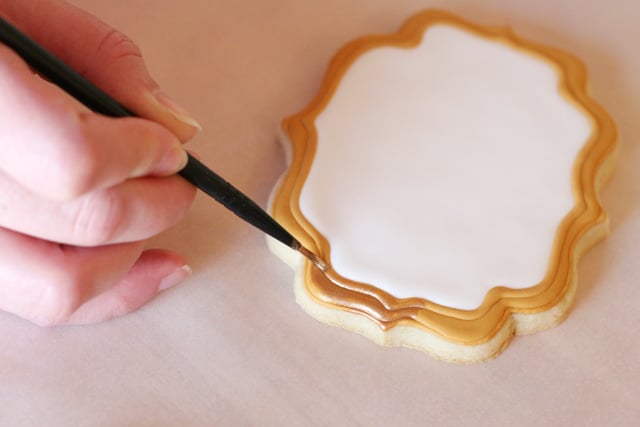
For the gold frame, I mixed a couple different luster dusts (as shown above- the two thin bottles are Wilton Brand, the small bottle labeled “Super Gold” is by CK Products). A note about luster dust… some are labeled as “non-toxic” but not necessarily a food product. Read the labels to chose a product you’re comfortable with. Mix the luster dust in a small bowl with a clear extract, or clear alcohol. Use a small paintbrush (new/used only with food) to paint the luster dust/extract “paint” along the frame, as desired. In the image above (on the right) you can see the difference between the area I had painted and not yet painted.
After you’ve painted the frame (and technically, you could do the frame after the other painting), you’re ready to get creative with the rest of the cookie!
Add some concentrated food coloring (paste, such as Wilton, is best) to a (new/clean) paint pallet. Set up your work area with a few small (new) paintbrushes, a paper towel (or dish cloth) moistened with water, and a small bowl of water.
Use the food coloring as you would water color, by dipping your brush in water, working it into the color of your choice, then lightly dabbing the brush on the moist paper towel before painting on the cookie. You do not want to be adding tons of liquid on top of your iced cookie, or it may deteriorate your icing. With each stroke you should be adding just the tiniest bit of color and moisture.
Again, Arty McGoo demonstrates this technique in her video’s (such as HERE and HERE), so that is place to start if you want to see it done.
Now, let’s paint on a cookie…
Painting on cookies, step by step (as pictured above)
1. Simply add some ‘C’ shapes, creating the outline of some roses.
2. Continue “doodling” simple curves, and some broken circles to fill in the roses.
3. Add a bit of a darker color, using the same “C” shape, and concentrating in the center of each flower (this will be just a few stokes per rose).
4. Begin adding leaves (very simply).
5. Fill in the leaves, as desired. I left some white space, in keeping with the shabby-chic, scribble look I was going for.
6. Add some swirly “vines”, as desired.
7. Complete the cookie with a word, or name. Allow to dry before packaging.
Again, thanks to Arty McGoo for sharing her creative talents and inspiring me to try something new!
Happy baking and happy painting!


Hi! Great tutorial but sadly I haven’t caught on 🙁 when I mix the luster with the clear alcohol or extract and paint on, it spreads out like the liquid isn’t sticking to the base and I end up with a watery look. Any tips? It doesn’t come on like paint, more like a water on parchment paper that beads up if that’s a better example
Hi Nora, It sounds like you may be using too much liquid. You only need a few drops of liquid to create the “paint”.