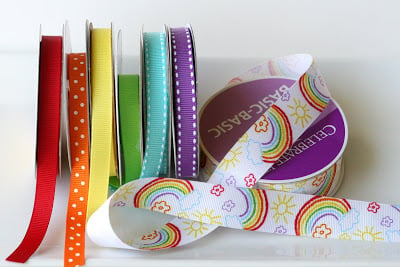
Ribbon was on sale last week at my local craft store. Regardless of the fact that I already own 5 times the amount ribbon any one person should own, I suddenly felt the need to buy more!
I found an adorable ribbon with rainbows on it, and knew I “needed” to buy it for a rainbow themed birthday I’m planning for a little girl turning one in June.
I thought the rainbow ribbon would be the perfect base for some pretty hair bows. I’ve seen hair bows made with ribbon that is in beautiful ringlets, but I’ve never made them. I thought this would be the perfect chance to give it a try. A quick search on the web and I was ready to go (I found the same general information on several different sites).
The process was quite easy, and I was really happy with the results. I think my daughters are going to be wearing lots of hair bows this summer!
Step 1-
Select the ribbon you plan to use (I only used grosgrain ribbons, since that’s what I’ve seen used before. I’m not sure if you could use satin type ribbon as well)
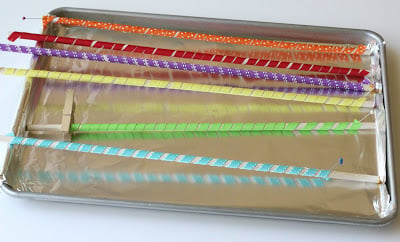
Wrap the ribbon around wooden dowels (available at Wal-Mart, or most any craft store) and secure the ribbon with straight pins (used for sewing) or wooden clothes pins (much easier- too bad I only had one around at the time!)
Step 2-
Preheat your oven to 275 degrees (F).
Lay ribbon wrapped dowels on a foil lined baking sheet.
Bake ribbon for 25 minutes.
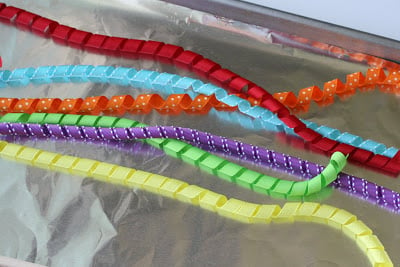
Remove from oven and cool completely.
Step 3-
When the ribbon has cooled, remove the pins and gently remove ribbon from dowels.
At this point, I paused for a moment to admire the fact that it actually worked!
Step 4-
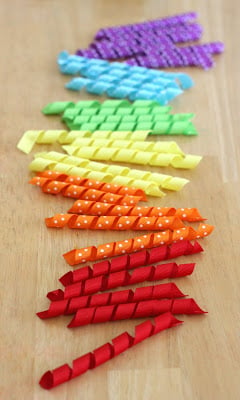
Cut the ribbon into pieces 3″- 4″ long, depending on how large you want your finished bows to be.
Note: If you notice that the ribbon seems to want to unravel at the ends you may “heat seal” the ends. This can be done by using the heat from a lighter to ever-so-slightly melt the end. I was able to do this with no problems, but it obviously has great potential to burn your fingers. Hold the end of the ribbon with one hand, and bring the flame of the lighter up next to the ribbon, but not touching it, until you see the ribbon shrink or melt just the slightest little bit.
Step 5-
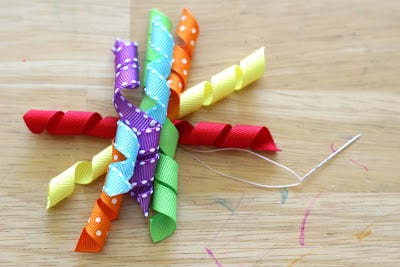
Attach the ribbons by either using a needle and thread to stitch them together, or by using a little dot of hot glue between each ribbon.
Step 6-
Assemble the bow. There are about a thousand and one different ways to put these together.
You can use any number of ribbons to achieve whatever size bow you want.
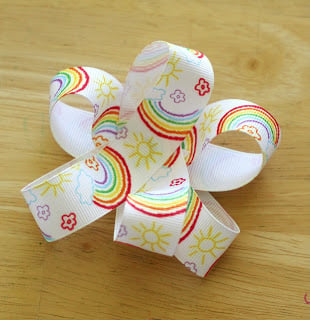
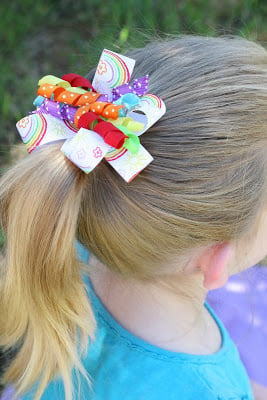
Since I wanted to incorporate the rainbow print ribbon I looped the rainbow ribbon over several times and simply hot glued the loops in place. Then I took the curly ribbons, with the needle and thread still attached, and pushed the needle through the glued rainbow ribbon. It took a bit of effort to get the needle through the area that had been hot glued, and I think I probably could have just hot glued the curly ribbons onto the rainbow ribbon.
Step 7-
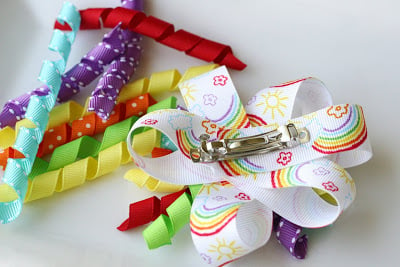
Attach a hair clip (available at most craft stores, sometimes in the beading area). I found that using the hot glue on the high setting worked best to secure the ribbon to the metal clip.
Step 8-
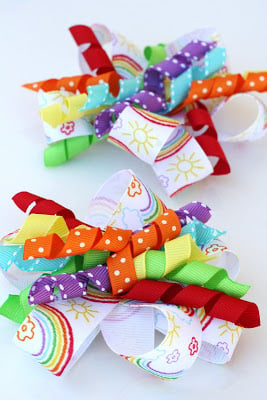
Admire your cute new hair bows!
Step 9-
Find a little girl to model the bow =)
This is a fantastic tut. Thank you!
Do you have any tuts on creating bows?
I’m trying to teach myself with great difficulty. 😉
I love it wow so easy!!!!
So simple and gorgeous, hours of fun too. Love your site Neala
Super cute!Thank you!
Thanks for the great step by step instructions. Who knew they were so easy to make? They were so fun to put together!
thanks for the tut! I can see my granddaughter having some in every color combo! I will post and link back to you.
I make hair bows all the time for every occasion that comes up…one tip that sometimes helps is get the ribbon and dowel wet (after wrapping ribbon run under sink) or even spray with a heavy starch, it helps to keep the curl. Sometimes they will in curl with a lot of wear!! They can also be hit clued or tied ( with very narrow ribbon) to a plain pony tail holder. I have also been known to glue a decorative button with the shank cut off in the middle!!!
I can't wait to try this , Ur step by step was easy to understand … Thank you ! ELL
I like :>)
yes, you can use satin ribbon. I always used knitting needles of different sizes. This works great too.