We don’t usually do much around our house to “celebrate” St. Patrick’s Day… but I figure that any day I can eat something rainbow colored, with a chocolate coin on top is a good day in my book!
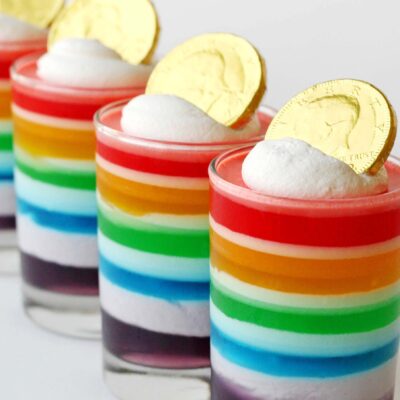
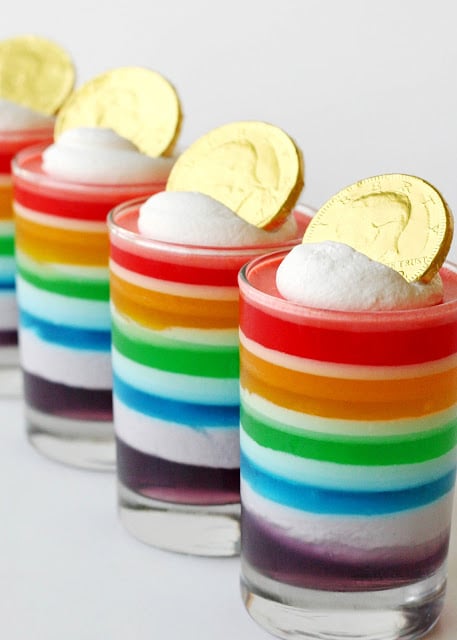
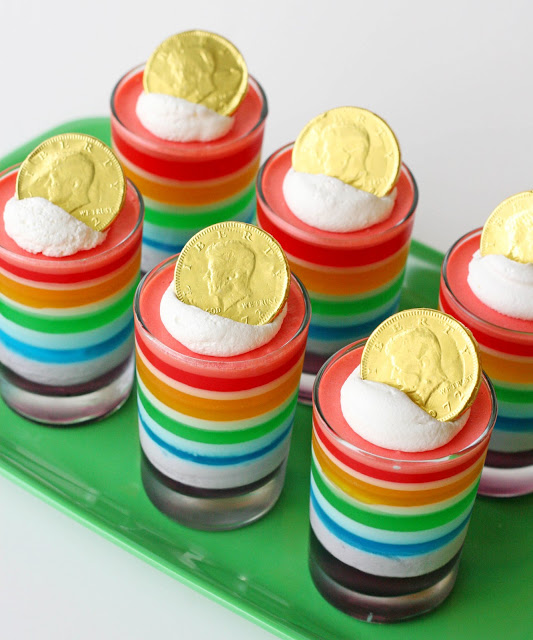
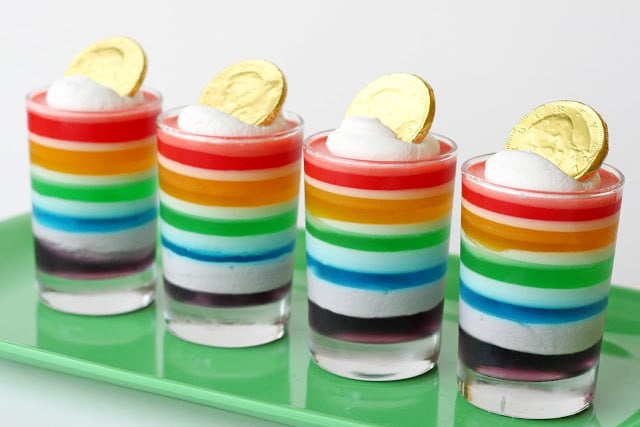
I’ve posted Rainbow Jello before, in fact it’s one of my favorite (and most popular) posts. This is simply a mini version, dressed up for St. Patrick’s Day with a chocolate gold coin.
~ How to Make Rainbow Jello ~
You’ll need 1 small box of jello in each color (red, orange, yellow, green, blue, purple).
1 large container of cool whip (you may use sour cream or yogurt in place of the cool whip).
You might notice I skipped yellow for these because I wasn’t sure I’d be able to fit 6 colors in these small glasses. The glasses shown are 5 oz. juice glasses, you’ll have to make adjustments as needed depending on the size of glasses you use.
Follow these directions for each layer…
Chose the color you want on the bottom (in this case purple). Dissolve jello as directed on the box using the “quick chill” method (which includes some ice). Once dissolved, pour the liquid into your glasses, reserving about 1/3 of the jello liquid. Put all of the glasses in the refrigerator for 15-30 minutes, until jello is slightly set. Mix about 1/3 cup cool whip (sour cream or yogurt) into the remaining jello liquid. Pour cool whip/jello mixture on top of partially set first layer. Place all cups in the refrigerator and allow to set (at least 15-30 minutes) while you mix the next color.
Repeat process with each color, allowing each layer to set 15-30 minutes before adding another layer. The total process will take several hours.
Top the finished rainbow jello with a dollop of cool whip, or whipped cream and add a chocolate gold coin.
How To Make Lucky Rainbow Jello
Lucky Rainbow Jello
Ingredients
- 3 ounces red jello cherry or strawberry
- 3 ounces orange jello
- 3 ounces yellow jello lemon
- 3 ounces green jello lime
- 3 ounces blue jello
- 3 ounces purple jello grape
- 16 ounces cool whip
- 12 chocolate coins
Instructions
- Chose the color you want on the bottom (in this case purple).
- Dissolve jello as directed on the box using the “quick chill” method (which includes some ice).
- Once dissolved, pour the liquid into your glasses, reserving about 1/3 of the jello liquid. Put all of the glasses in the refrigerator for 15-30 minutes, until jello is slightly set.
- Mix about 1/3 cup cool whip (sour cream or yogurt) into the remaining jello liquid.
- Pour cool whip/jello mixture on top of partially set first layer. Place all cups in the refrigerator and allow to set (at least 15-30 minutes) while you mix the next color.
- Repeat process with each color, allowing each layer to set 15-30 minutes before adding another layer. The total process will take several hours.
- Top the finished rainbow jello with a dollop of cool whip, or whipped cream and add a chocolate gold coin.
Nutrition
Have a sweet and colorful week!
We are India’s biggest playground manufactures. Our company is certified with TUV SUD and ISO the standard for quality. We have successfully completed 1000+ project.We follow international safety standards like ASTM, CE and CTI.We are specialized in children’s play area manufacturing, implementing and operations for indoor and outdoor activities. We also provide soft flooring mats and international standard quality Non-Toxic, Attractive and Durable, UV protected, Fire Retardent, Virgin Polymer.
I found that it made it much easier to put make all the jello flavors and then put each in the refrigerator for about 10 minutes before using that color. It partially sets up and makes the process much easier. Then I take some of the partially set up and put the whip cream in it and then let it all set 10-15 min before moving on to the next layer.
What a great way to kick off St. Patrick’s Day ideas, and provide some inspiration for me! I think I’ll feature this on my blog this morning! I hope you’ll stop by, and visit. Thank you for sharing such a fun idea!
Also- for those who asked- I filled 20 plastic cups- the cups flared out at the top so one box of purple and blue at the bottom was enough but I needed two boxes of the other colors since the cups got wider at the top. I also used one large tub if whip cream.
I made these in plastic cups for my preschooler’s snack day. They were a huge hit! I sent in a book about rainbows with the snack too! Some tips for others: #1: mixing the whip cream with some of the liquid jello (a step i skipped at first) makes it easier to spread in between the colored jello layers. I also started using a cake decorating tool for layering the whip cream for the last few layers and those looked a lot better than the first few layers. #2: yes- these do take several hours so I did 3 layers on day one and 3 on day two but don’t forget you can use the quick set method! Just be sure to let EACH layer(including the CREAM layer) to set for at least 20 minutes! #3: be sure the whip cream layer covers the entire jello layer and has chilled for 20 minutes BEFORE adding the next jello layer. My first attempt was not pretty b/c I tried to rush this step! Hope this helps! Thanks for your beautiful pics! They were an inspiration!
Love that PBT is now posting more of your pics AND linking back to you! You must be getting lots more views now, how exciting Glory! Congrats!