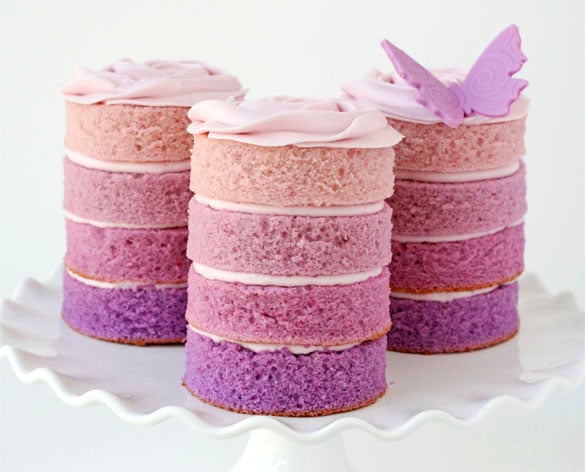
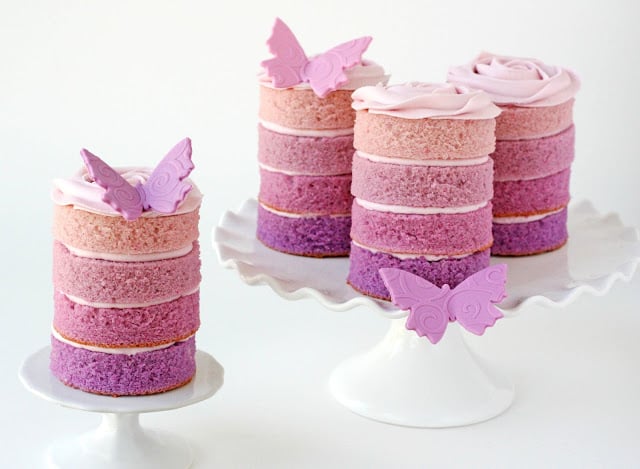
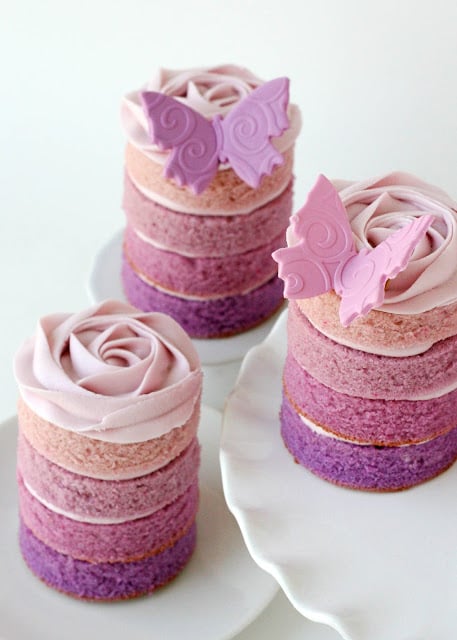
With Mother’s Day just around the corner, I wanted to create a special dessert that would be perfect to honor Moms. I made a Pink Ombre Swirl Cake last summer, and have been wanting to make another pretty ombre (layered color) cake ever since. This time, instead of one large cake, I made several mini cakes. I also left the outside unfrosted, to reveal the pretty layered colors of the cake itself. Purple is often a color I think of for Moms, and it’s one of my favorites as well.
This general ombre (layered color) concept could be done lots of different ways, and with most any color scheme. I’ll lay out the steps I used to make these mini cakes, but feel free to adjust the process for different sized cakes, or according to your ideas and preferences.
~ How to make Purple Ombre Mini Cakes ~
1. Prepare vanilla cake batter, using a box mix or a scratch recipe.
My notes ~ I have a great go-to vanilla cake/cupcake recipe, but this time I used a box mix (Betty Crocker French Vanilla). I mixed up TWO box mixes, and then had enough batter left over for 12 cupcakes. Depending on the size pans you use for the purple layers, you could probably accomplish this with only one box mix (or batter that makes about 24+ cupcakes).
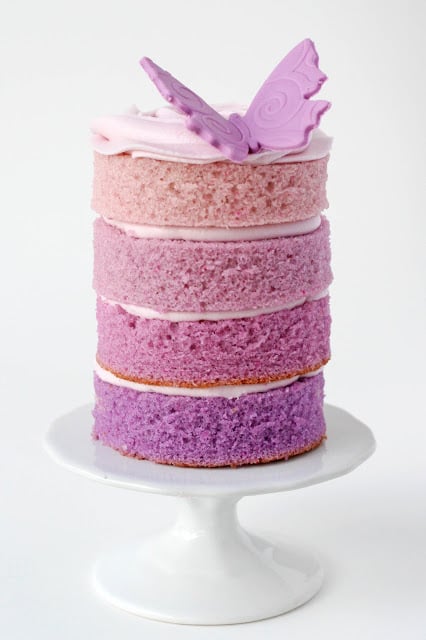
2. Divide the batter into 4 bowls and color as desired.
My notes ~ If you have 4 of the same sized round baking pans, then each bowl of colored batter should have equal amounts in it. I don’t have 4 of the same size, so I used 2-8″ pans and 2-9″ pans. Because of this, I put 1 cup of batter in two bowls, and 1.5 cups of batter in two bowls, colored it as desired, then poured the smaller (1 cup amount) of batter into the 8″ pans, and the 1.5 cups of batter into each 9″ pan. For the colors shown, I used Americolor Regal Purple and Electric Purple. I added one full drop of each color in the darkest batter, and used less than a drop (a small amount on a toothpick) for the other layers.
3. Pour batter into prepared baking pans (pans should be oiled, floured, and lined on the bottom with parchment paper).
4. Bake as directed by recipe. Cool cakes on cooling rack. Remove cake from pans, and move to a cutting surface. Level the cakes (cut off the top dome), as needed.
5. Use a round cookie cutter to cut circles of cake from each layer.
My notes ~ I used a 2 3/4″ cookie cutter and I was able to make 4 mini layer cakes (as shown), with cake scraps left over. I think if you used a 2 1/2″ cutter, and baked all your batter in 9″ (round) cake pans, you would be able to make 5 mini layer cakes.
6. Layer cakes as desired, piping a swirl of frosting between each layer. Frost the tops of the cakes as desired.
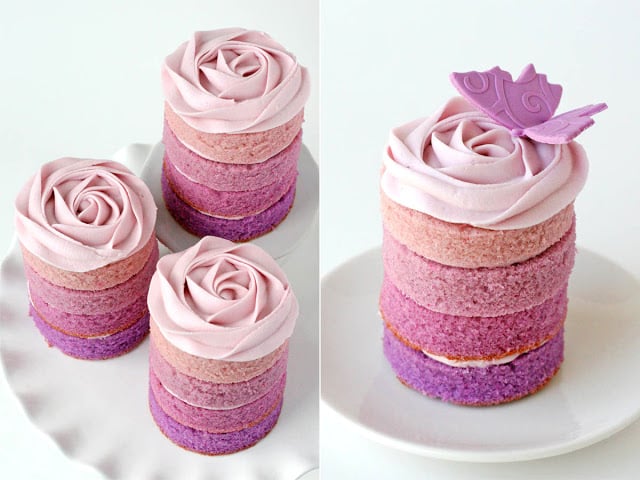
My notes ~ I prepared a batch of my favorite Vanilla Cream Cheese Frosting (you could use simple American Buttercream if you prefer). I piped a layer of frosting (between the cake layers) using a medium sized round tip (a Wilton #12). I finished the cakes with a rosette of frosting, using a 1M tip, frosting from the center of the “rose”, spiraling toward the outside. I have a video showing how to frost cupcakes in this way, in my post on How to Frost Cupcakes. I finished the mini cakes with a fondant butterfly. I will share a post on how I made the butterflies later this week.
Looking for more pretty Mother’s Day ideas? My Hydrangea Cupcakes are a beautiful, and surprisingly simple way to make a statement. Or my original, Pink Ombre Swirl Cake could be a gorgeous gift (to share).
Want to make the pretty fondant butterfly accents? I’ve posted a full tutorial on How to Make Fondant Butterflies.
How far in advance do you make and how do you store them so they don’t dry out?
Sorry I see you posted the colors and brand.
Thanks
You’ve done an amazing job!!!!!!!!!!!
I would like to know coloring did you use?
I would like to know the brand and the name of each shade if you don’t mind?
I have no idea where to get these colors
Please help me!
This is so beautiful! Thank you for sharing your recipes.
Hi!
Love these. I noticed this question above but couldn’t find a response. How do you prevent these from drying out?
This was love at first sight! I am gg to try this for a friend’s wedding but how do I keep the cakes moist .and not dry out.
I loved these and decided to do them for my daughter’s upcoming Sofia the First 5th bday. Did a trial run today using different shades of purple and they turned out great!!! Also made your Cream Cheese frosting which is amazing!
One question though, my cakes were not nice and level like yours, I am guessing that I just didn’t make sure the batter was even in the pans before baking. To call myself a novice baker would be an understatement so forgive me if this is a silly question.
Thanks, I am a new fan of your blog! LOVE your stuff. You have inspired me to shake off the “novice” label!!
Hi Krissy, Good for you for stretching yourself and trying something new! The cakes will likely rise a bit and create a bit of a dome as baking, this is normal. What you’ll need to do is after the cakes have baked and cooled, use a serrated knife and level the cakes as needed. Happy baking!
So gorgeous!!. I’d like to make these for my daughters birthday party next week. My colors came out more pink than purple. Can you clarify how much of the colors you used?
Thanks!
Hi Marian,
I’ve noted in step #2 above the amount of color I used, but this was using the pan sizes listed. In general, the color of the batter before you bake the cakes will be about the same after you bake them, so just add color until it looks good to you before being baked. The color will tend to deepen a bit with time, so if you’re having trouble getting the color you like, I might add the color, then let the batter sit 10 minutes or so before putting it in the prepared pans, and you’ll have a good idea of what it will look like baked.
Happy baking!
Stopping by from Moxie Fab World to say that your work is absolutely amazing. Beauty-full.
Am a big fan of your website.u are my inspiration. I love these look amazing