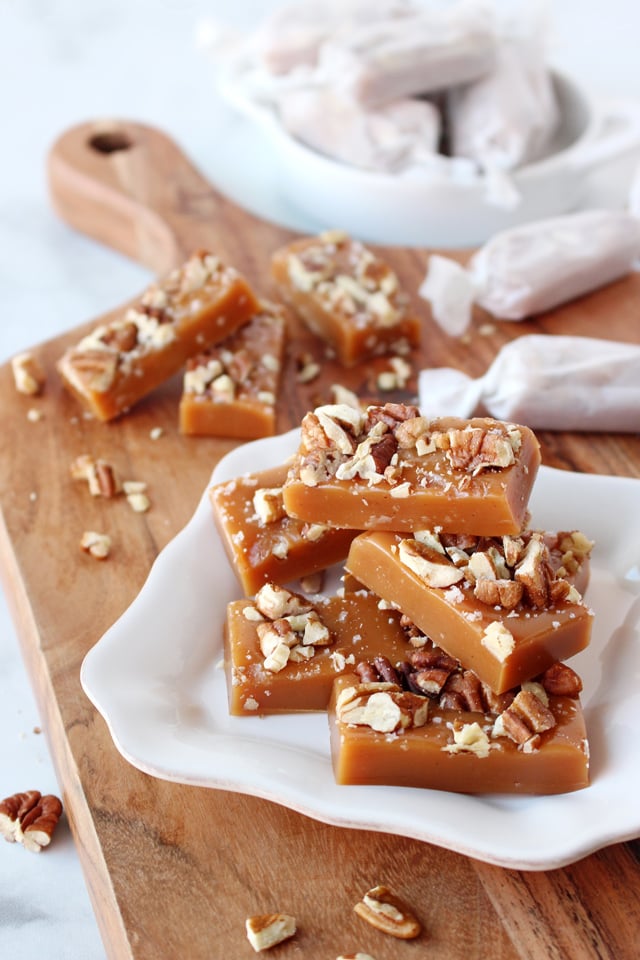
These gorgeous Salted Vanilla Caramels with Pecans are an impressive and delicious homemade treat!
Perfectly chewy and smooth vanilla caramel is topped with sea salt and toasted pecans for a simply incredible treat!
If you’ve never made homemade caramels (or any homemade candy) before, don’t be afraid to give this recipe a try. I’ll walk you though each of the steps, and although this recipe does take some time to make… the results are well worth it!
In addition to simply being delicious, one of my favorite things about these homemade caramels is that they remain perfectly fresh up to 2 weeks… making them perfect to give as gifts, send to family and friends, and enjoy all through the holiday season!
This recipe was created in partnership with Sprouts Farmers Market.
PIN IT NOW to save for later!
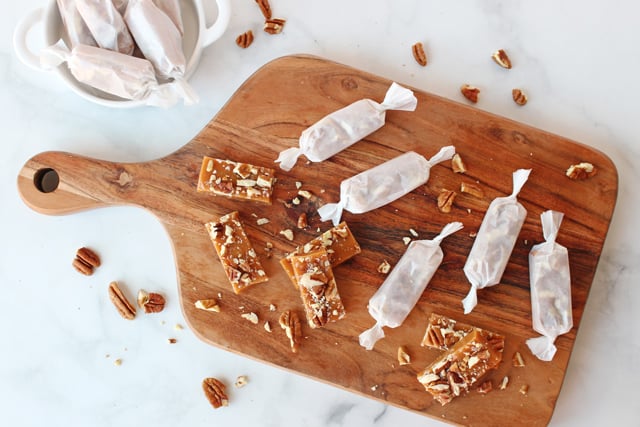
This recipe has a pretty short list of ingredients… so each one plays and important role.
I picked up everything I need for this recipe from Sprouts Farmers Market.
I started in my favorite section, the bulk bins… where I loaded up on lots of fresh pecans.
Buying from the bulk bins is one of the many ways to save money at Sprouts. And because the bulk bins are replenished often, I know the ingredients are always fresh.
After stocking up on pecans, I headed to the baking aisle for sugar, vanilla and sea salt. These are ingredients I like to keep stocked in my kitchen all the time!
Then, be sure to grab the corn syrup, butter and heavy cream, and you’ll be all set!
Once you’ve gathered your ingredients, you’re ready to get cooking!
Be sure to read the recipe carefully, and you’ll be rewarded with a big batch of perfect caramels… better than any candy shop!
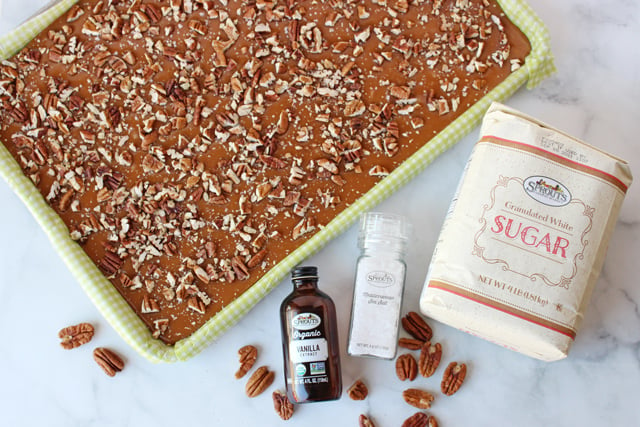
How to make Homemade Salted Caramels
This recipe does require a few special supplies to ensure success…
You’ll need a large stockpot (heavy duty cast iron is a bonus because it holds the heat so well). The pot needs to be at least 6 quart sized, or your mixture will boil over and you’ll have a huge mess! Don’t ask me how I know…
You’ll also need a good quality candy thermometer. I purchase a Thermapen a few years ago and love how quick and accurate they are. Here’s another option for a candy thermometer from Amazon with lots of good reviews and a much cheaper price point.
Additionally, you’ll need a rimmed baking sheet, something like this –> Stainless Steel Baking Sheet.
I also have some baking sheet lids that are perfect for storing the caramels overnight to cool (as you’ll see listed in the recipe).
Finally, for a professional look, you’ll want some Twisting Waxed Paper Sheets. You can use traditional waxed paper or parchment paper, but neither hold the twist nearly as well, and so your caramels will not remain fresh quite as long.
Let’s get cooking…
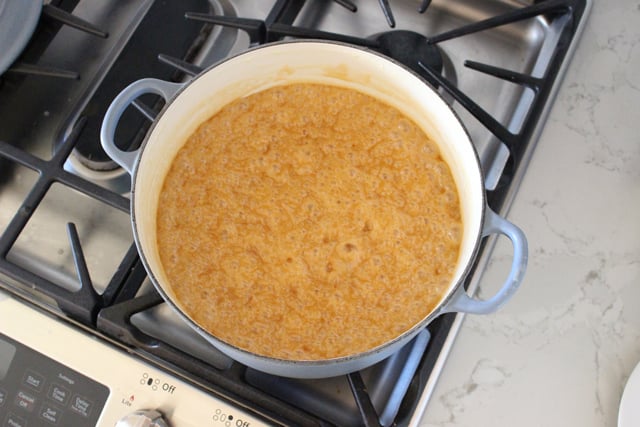
Depending on your stove (and the exact temperature you’re cooking at), and depending on the pot you’re using, the process will vary a bit as to the total time it take for the caramels to reach the desired final temperature of 245°. But I’ve included a few photos so you can see the general look of various stages of the cooking process.
The photo below is after the mixture has been cooking for 10 minutes. It will be light in color, and the ingredients may not be fully combined at this point. Stir gently and regularly.
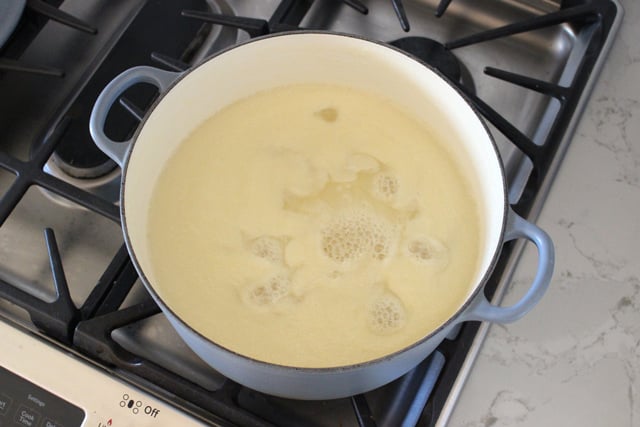
The photo below is after the mixture has been cooking for 30 minute. It will be beginning to take on a caramel color. Continue to stir gently as needed. Watch the pot carefully, so the mixture does not boil over. Adjust the temperature of the stove as needed to make sure the mixture is at a steady boil, but not out of control.
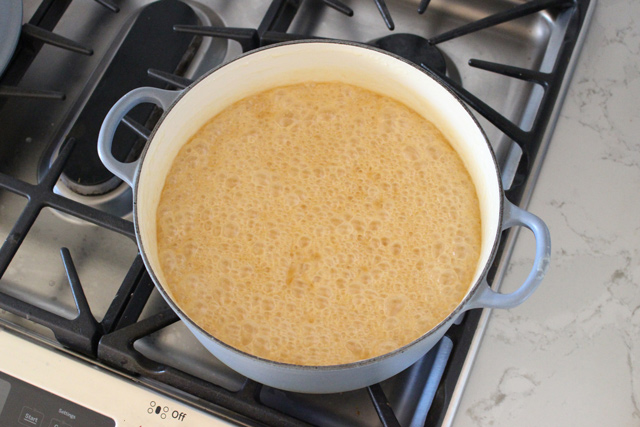
The photo below is after the mixture has been cooking for 1 hour. The mixture will be much thicker, deeper in color and the temperature should be over 200° by now. Continue stirring gently and checking the temperature regularly.
Sometimes it can take quite a while for the temperature to move from the 220° range to the final temperature of 245°. Be patient, and don’t move far from the kitchen.
Make sure your baking sheet is prepared, your pecans are toasted, and salt and vanilla are close at hand. Once the final temperature is reached, you want to remove the pan from the heat and complete the recipe.
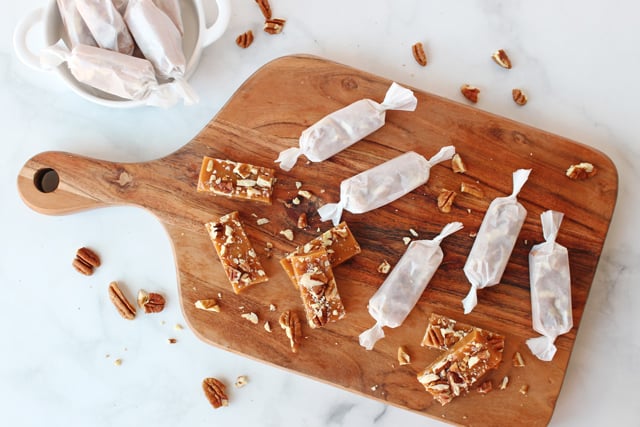
How to Make Salted Vanilla Bean Caramels with Pecans
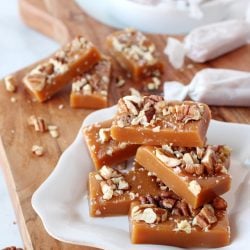
Salted Vanilla Bean Caramels with Pecans
Ingredients
- 4 cups heavy cream also called heavy whipping cream
- 4 cups sugar
- 3/4 cup unsalted butter
- 2 cups light corn syrup
- 1 tablespoon vanilla extract or vanilla bean paste
- 1 tablespoon coarse sea salt
- 1 1/2 cups chopped pecans
- additional coarse sea salt for garnish
Instructions
- Combine the cream, sugar, butter and corn syrup in a large stock pot (at least 6+ quart).
- Bring the mixture to a boil, stirring regularly. Be very careful not to leave the kitchen, the mixture can bubble over very quickly!
- Cook over medium-high heat, stirring occasionally until the mixture reaches 245°-248°F (use a good quality candy thermometer). It can take up to 2 hours to reach this temperature. I usually bring a chair into the kitchen and just sit while waiting and watching (getting up to stir as needed).
- While cooking the caramel, prepare a jelly roll pan (large rimmed baking sheet) by lining with parchment paper. You want the parchment to come up the sides of the pan, with an inch or two of overhang (so you can grab the paper and remove from the pan once the caramels have cooled).
- Additionally, while cooking the caramel, preheat the oven to 300° to toast the pecans. Chop pecans first, then spread onto a baking sheet and bake in pre-heated oven for 3-5 minutes, or until fragrant. Remove from oven and set aside.
- Once your caramel mixture has reached 245°F, remove the pan from the heat and stir in the 1 tablespoon of vanilla and 1 tablespoon of sea salt. Stir quickly to fully combine, then carefully pour the mixture into the prepared pan.
- Top the warm caramel with an additional sprinkling of coarse sea salt, and the toasted pecans. Press the pecans in just a bit if needed.
- Move the caramels to a cool (indoor) location out of the way and allow to cool for 8 hours. Cover the pan loosely with foil (careful not to have the foil lying directly on the caramel) or use a jelly roll pan lid if you have one.
- Once fully cool and set, pick up the edges of the parchment paper to move the caramel slab to a cutting board. Peel back the parchment paper, and use a sharp knife to cut the caramels into small squares or rectangles.
- Individually wrap the caramels in parchment or cello wrappers, then store in an airtight container, at room temperature, for up to 2 weeks.
Notes
Nutrition
PIN IT NOW to save for later!

Looking for even more holiday treat ideas?
Here are a few of my favorites…
Hot Cocoa Cookies – Chocolate, plus marshmallow, plus sprinkles… YUM!
Perfect Sugar Cookie Recipe – Simply perfect for cut out cookies in all of your favorite shapes!
Cranberry Orange Bread – Easy and delicious, and so perfectly festive!
Happy holiday baking!
Disclosure – I created this recipe in partnership with Sprouts Farmers Market. Partnering with brands I love allows me to provide you with high quality content at no cost to you. I only work with brands I use and love. All images, text and opinions are my own.
Leave a Reply