Sewing has been a part of my life almost as long as I can remember. Growing up, my bedroom was right at the top of the stairs in our house, and my mom had a sewing room/closet directly at the bottom of the stairs. To me, one of the sounds of the Christmas season was hearing my mom sewing late into the night. Most every year she would make each of us (myself and my two sisters) something that she had sewn as a gift… a quilt, a stuffed animal, or a dress. Still today, my mom continues to enjoy sewing and quilting and makes lots of beautiful things as gifts and for her (and my Dads’) home.
My sister’s and I each learned the basics of sewing from my mom, and at different times in our lives we’ve enjoyed dabbling with sewing projects. When I was preparing for my wedding (at the ripe old age of 19), I signed up for a sewing class in college and made my own wedding dress as my class project.
My daughter Grace, now 8, has taken quite an interest in sewing, and although I could teach her myself, I knew she would enjoy taking some sewing classes from a “real” teacher. She’s been taking classes at our local quilting store and loves showing off the tote bag and skirt that she’s made so far.
I’ve been wanting to make some sewing and quilt cookies for a while, and when I realized that a (sewing loving) friend’s birthday was coming up, I thought I could make fun cookies for my friend, as well as some for Grace’s sewing teacher.
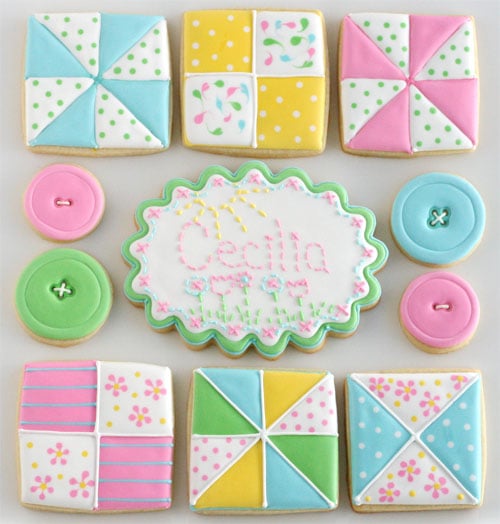
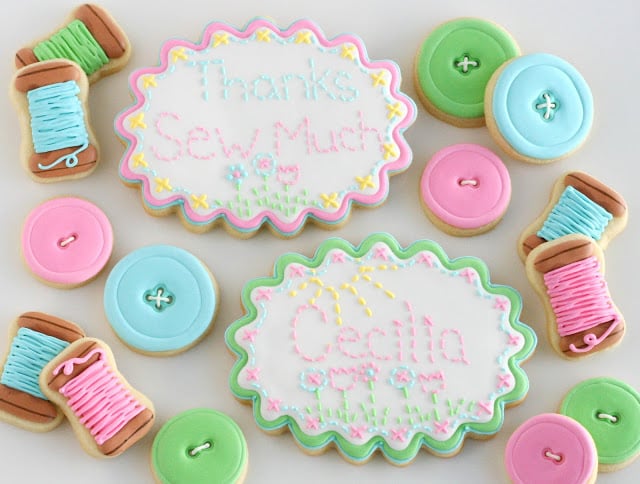
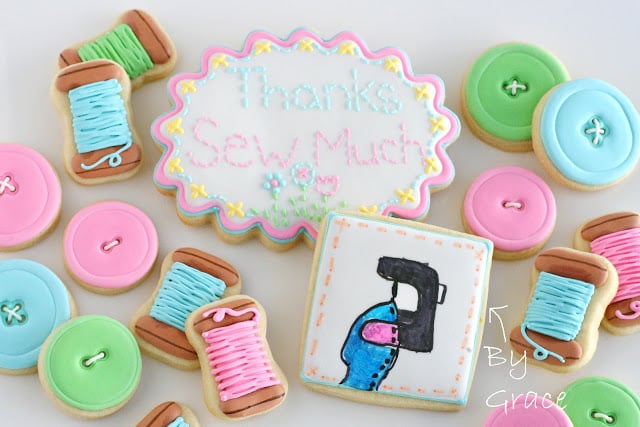
Here’s the collection I came up with…
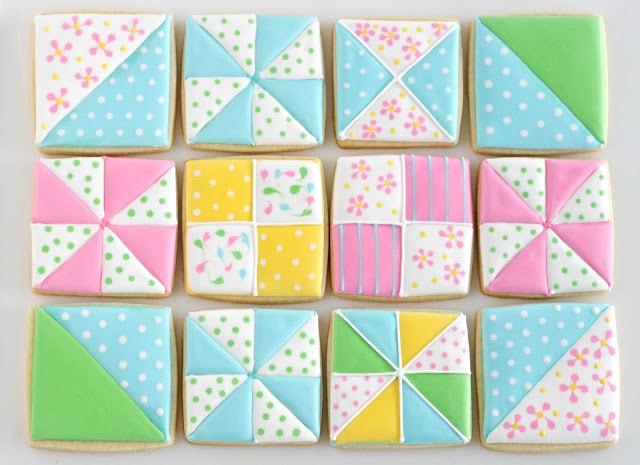
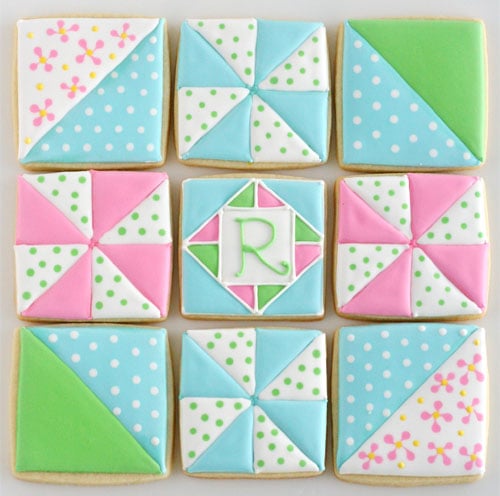
I had a fun time creating several different quilt-inspired designs…
Want to make some sewing and quilting cookies too? Let’s get started!
I started with my go-to Sugar Cookie Recipe and Royal Icing Recipe (the post with the royal icing recipe also includes lots of cookie decorating basics, if you are new to cookie decorating).
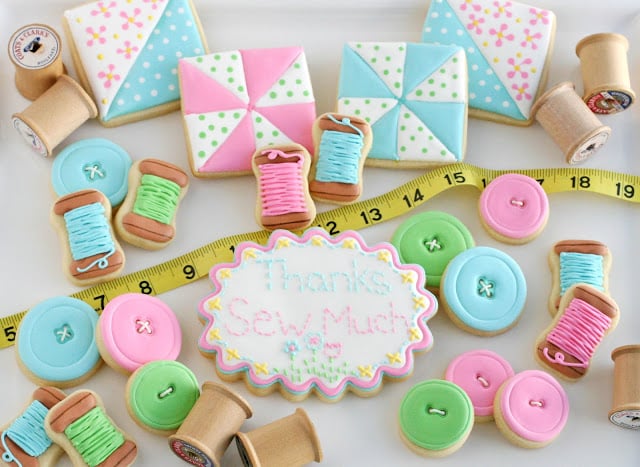
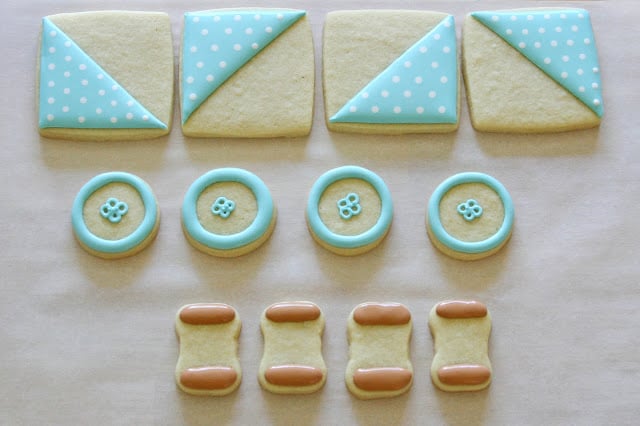
Because each of the cookie designs in this set required some drying time between steps, I began with the first steps on each design, then moved on to another cookie shape/design. By the time I had done one portion of each cookie, it was time to move to the next layer of design. As you can see above, I did the first color on some of the quilts, then I move to some buttons (using a great tutorial from Sweet Sugar Belle), then I started on the spools of thread.
~ How to Make Quilt Cookies ~
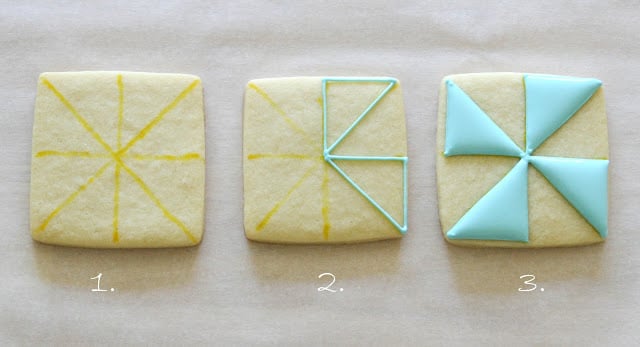
1. Decide on your pattern, and use a light colored edible marker (and a ruler) to mark your desired design.
2. Begin your pattern, using a piping/outline consistency icing to outline the areas for your first color.
3. Fill in the outlined areas (with a medium/flood consistency). Allow this color to set/dry (1-2 hours) before adding the next color, in the remaining space.
~ How to Make ‘Spools of Thread’ Cookies ~
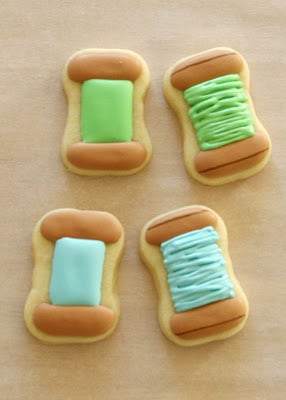
These cute and simple cookies were inspired by Sweet Sugar Belle. I used a mini dog bone shaped cookie cutter, and stretched it open just a bit. Using a medium consistency brown icing, pipe the top and bottom of the “spool” (as shown in an above photo). Allow the brown “spool” area to set/dry (1-2 hours) before adding the “thread” color. Fill in with the “thread” color, in this case blue or green. Allow that section to set (1-2 hours) before adding the final detailing, the top layer of “thread” in a thicker/piping consistency. I also added a thin line on the “spool” with a brown edible marker to add just a bit more definition.
My favorite cookies from this set were the two centerpiece cookies (inspired by Maryann/ Cookie Artisan’s centerpiece cookies). I outlined each cookie in two different colors (allowing a little drying time between colors) then flooded the cookie in white. When that base was dry I used piping consistency icing and a #1 tip to pipe my messages to resemble embroidery.
When I mentioned to my daughter (Grace) that I was making some cookies for her sewing teacher she said that I should make a cookie that looked like a sewing machine. I didn’t think I had the skills to do that in a way that would actually look like a sewing machine, but I said she could do it! So I outlined and flooded a square cookie, allowed it to dry overnight, then let her bring her idea to life using edible markers. I love that she was braver than I was! And I think she did an adorable job (see her cookie below)! P.S. Any comments you have on her cookie I’ll gladly pass along to her.
Do you love sewing and love cookies? Here are some great sewing and quilt cookies from cookie friends around the web…
Sweet Sugar Belle – (Button Cookies and 3-D Sewing Machine Cookies)
Bakerella – Button Cookies
The Bearfoot Baker – Sewing Cookies
Cookie Crazie- Quilt & Sewing Cookie Collection
Sugar and Meringue – Granny Square Cookies (crochet style cookie)
Happy Stitching Piping!

These are adorable! This post made me want to sew and make cookies at the same time!!! (Oh wait, I need a new machine!) The little spools of thread are my favorite! Beautifully done, as always!
Hi Glory! I love these cookies!! They are wonderful!! I know some quilters who would LOVE them. 🙂
I see cookie talent must run in the family! Great job Grace (and Mom)! I'm sure your teacher loved them!
Tus galletas son una preciosidad, bueno todo lo que haces son maravillas. Bss!!
Adorable cookie collection! Love all of the quilt designs, and great job to Grace on the sewing machine! I know I wouldn't have been brave enough 🙂
I LOVE this cookie set! Thanks for the tutorial. What a great idea to let Grace design the sewing machine cookie! She did a fabulous job:)
These are so cute! The spools of threads and button cookies are my favorites 🙂
BEAUTIFUL cookies & colors!
Such cute cookies! I love them all 🙂
I also remember my mother knitting when I was a child and now I love it too. In fact, some weeks ago I made these granny square cookies http://www.ifeelcook.es/post/17257128250/granny-square-cookies 🙂 I hope you like them!
Ha! Sorry Glory! I just triple posted the same comment! :0) But I do triple love them.