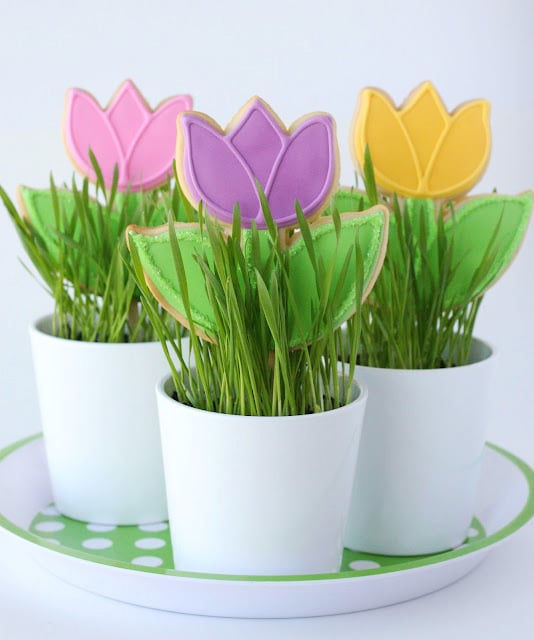
Spring flowers… and pretty cookies, two of my favorite things are even better together!
Kick off spring with this fun project, and then share some spring sweetness with your family and friends.
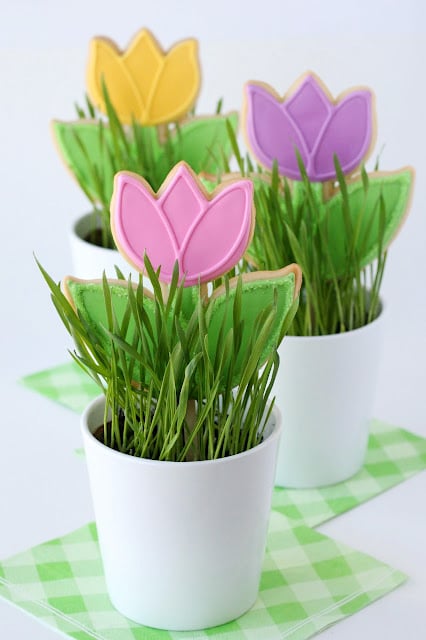
These adorable Spring Tulip Cookies are sure to brighten anyone’s day! With just a few bags of icing, you can create these simple, yet beautiful tulip cookies.
Note – This post was originally published in 2012. A step by step decorating video was added in 2019. You may notice slight differences, but both should be helpful in inspiring you to create some pretty spring cookies!
How to decorate Simple Tulip Cookies
First you’ll need a batch of cutout cookies, made with my Perfect Sugar Cookie Recipe.
The cookie cutter shown was from Crate and Barrel last year, but here is a similar one from Copper Gifts and a cute smaller one from LC Sweets.
Prepare a batch of Royal Icing.
Color the icing as desired (I made green, yellow, pink and purple).
For the cookies shown I prepared just one bag of each color, and thinned it to a medium consistency (a line drawn through the bowl of icing heals in 15-20 seconds).
I used a #2 tip with each color to outline and flood the cookies, then switched tips to a #1.5 for the detail on the tulip petals (this is optional, you could keep the #2 tip on the whole time)
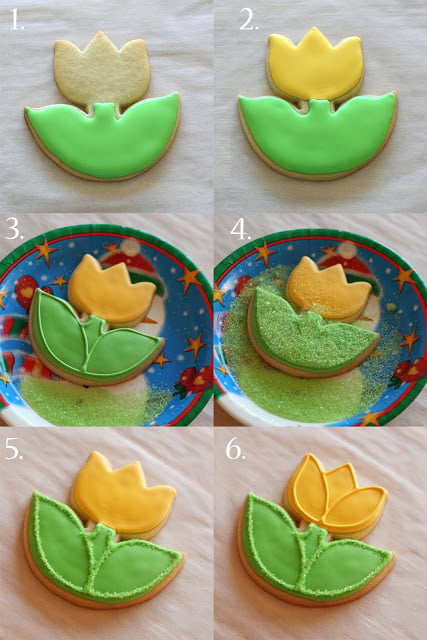
How to decorate Tulip Cookies
1. Outline and flood the stem and leaves. Repeat with several cookies to allow this area to set up a bit before adding the next color.
2. Outline and flood the tulip flower. Allow the green base and colored tulip flower to dry completely before moving to the next steps (6-8 hours).
3.- 4. When the base icing is dry, outline the green leaf and stem. Place the cookie on a paper plate and sprinkle with green sanding sugar.
5. Shake off excess sanding sugar, or use a small, dry paint brush to dust off and excess sugar.
6. Outline the tulip flower as desired. Allow to dry before packaging.
*Note- If you don’t want to wait overnight before finishing the cookies (as is necessary to copy this exact design) feel free to skip the sanding sugar, and simply outline the stem and leaves with green icing. This can be done after the base icing has dried 1-2 hours, and is set.
Spring Tulip Cookies Video
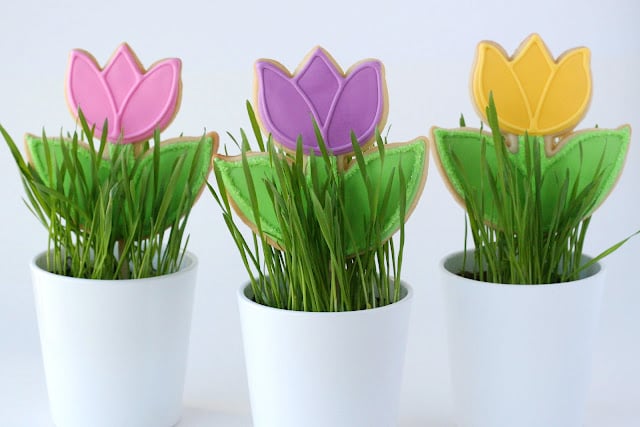
To create cookie “pops” as shown in the photos above, you can bake a cookie stick into the cookies as I’ve shown HERE, or you can simply use a bit of royal icing as glue to attach a wooden coffee stir stick to the back of the cookie.
Below you can see how I packaged some of the tulip cookies to give as little gifts. I’ve done complete posts on this style of decorative cookie packaging HERE and HERE.
Happy Spring Decorating!



I love the cookies, and I love the packaging! So pretty!
So perfect for Spring…love it!!
So pretty and sweet! It has felt like spring for a while in Virginia and what a perfect way to celebrate that 🙂
Those are just beautiful!!!
they are so cute, just adorable, and I think I could even do them. Well with wriggly lines, but still, I could!
These are absolutely stunning! Perfect for spring!
Beautiful cookies! They are perfectly simple, elegant, and springy! Thanks for sharing.
Beautiful tulips!!
Have a nice week
I am always so impressed with the beautiful and precise detail of your decorating. Just beautiful!! 🙂
Lovely!!!