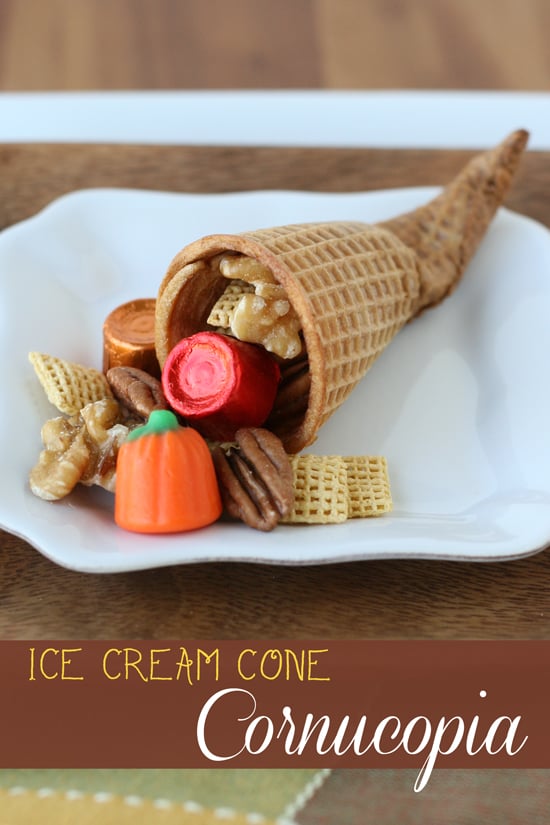
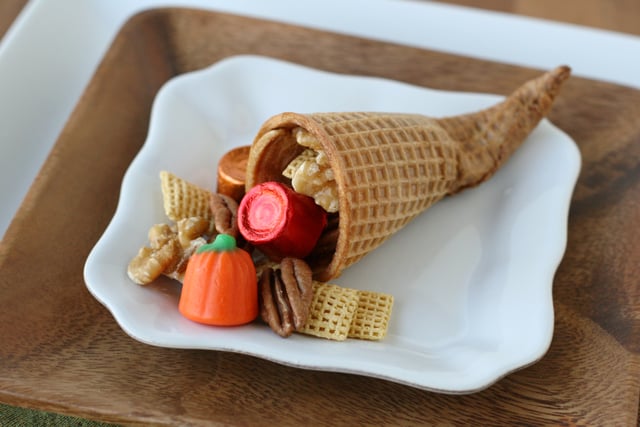
I love when a simple idea makes a big impact! These adorable Sugar Cone Cornucopias are quite simple to make and just perfect for Thanksgiving!
A couple of years ago a crafty friend made these cute ice cream cone cornucopias for her daughter to give out on the last day of school before Thanksgiving break. I had seen the general idea before, but seeing them in person made me realize how truly adorable the idea is! This year, I’ve prepared a batch of these mini cornucopias for the “kids table” at our house on Thanksgiving.
Feel free to mix and match your choice of snacks to fill these cornucopias… cereal, nuts, dried fruit, m&ms or other little treats would be perfect.
How to make a Sugar Cone Cornucopia…
1. Heat a pot of water until boiling, then turn off heat.
2. Use a heatproof measuring cup to scoop up some water and then pour the hot water into a sugar cone, filling it about halfway. Immediately dump the water from the cone back into the pot.
3. Dip the bottom half of the cone into the hot water (just dip and immediately remove), then place the cone in the microwave for 10-20 seconds until the cone has softened a bit.
4. Gently (and carefully, the cone will be hot) use the rounded handle of a wooden spoon (or something similar) to roll/bend the end of the cone up. I held the cone (flat) against the counter and pressed the spoon where I want the cone to bend, then applied pressure to roll/bend the cone. Hold in place 15 seconds or so while it cools to help it retain the new shape.
There is a bit of a learning curve and you will likely break a cone or two. You’ll have to experiment a bit with how much moisture and how much heat is needed to soften the cones just enough, without them becoming totally soggy.
5. Set the cones upright (cone opening on the counter) and allow to dry (this will take an hour or so).
Once fully dry, you can place the cones in an airtight container (such as a ziplock bag) and set aside until you are ready to fill them with goodies.
Fill cornucopia cones with snack mix, cereal, m&m’s, popcorn, nuts, or any assortment of snacks.
(Note – Please be careful! Clearly, working with a pot of hot water can be very dangerous and is not a child appropriate activity.)
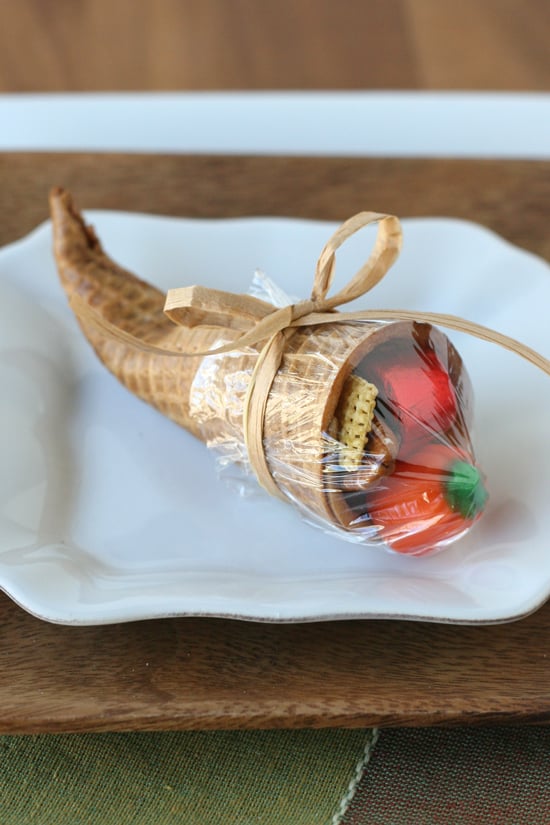
I love the look of the “overflowing” cornucopia as a place setting, but if you want to package the sugar cone cornucopias as little favors or classroom treats, use a bit of plastic wrap to cover the open end, secure with a rubber band, then cover with raffia or ribbon.
Happy treat making!
Prop Note – Wooden plates pictured are from Pacific Merchants.
This is such a sweet idea, I love it. I invite you to share at my blog hop today ( you can link up through Sat. midnight) Hugs
Love this!
Thanks so much Heather!
This is a very cool idea for Thanksgiving! Have you tried those candy corn pumpkins yet? I’m still afraid to try it…
Thanks Linda! Yes, I’ve eaten the little pumpkins, I like them even more than candy corn (although they’re basically the same thing).
I was trying to think how to bend these the other day to make a cornucopia. Thank you, thank you for sharing your creative idea! Hope you will bring this over to What’d You Do This Weekend at Tumbleweed Contessa.
Linda
such a cute idea Glory –
Good idea, but I think I.ll skip the hot water part so the kids can help.
These are so cute. You are a treat making genius.
Thank so much Ashley!
These are super adorable!
Very cool.
This is genius – I love it! : )
Thanks so much Monica!