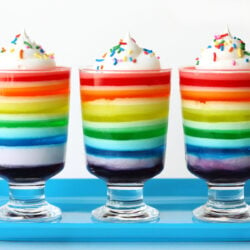
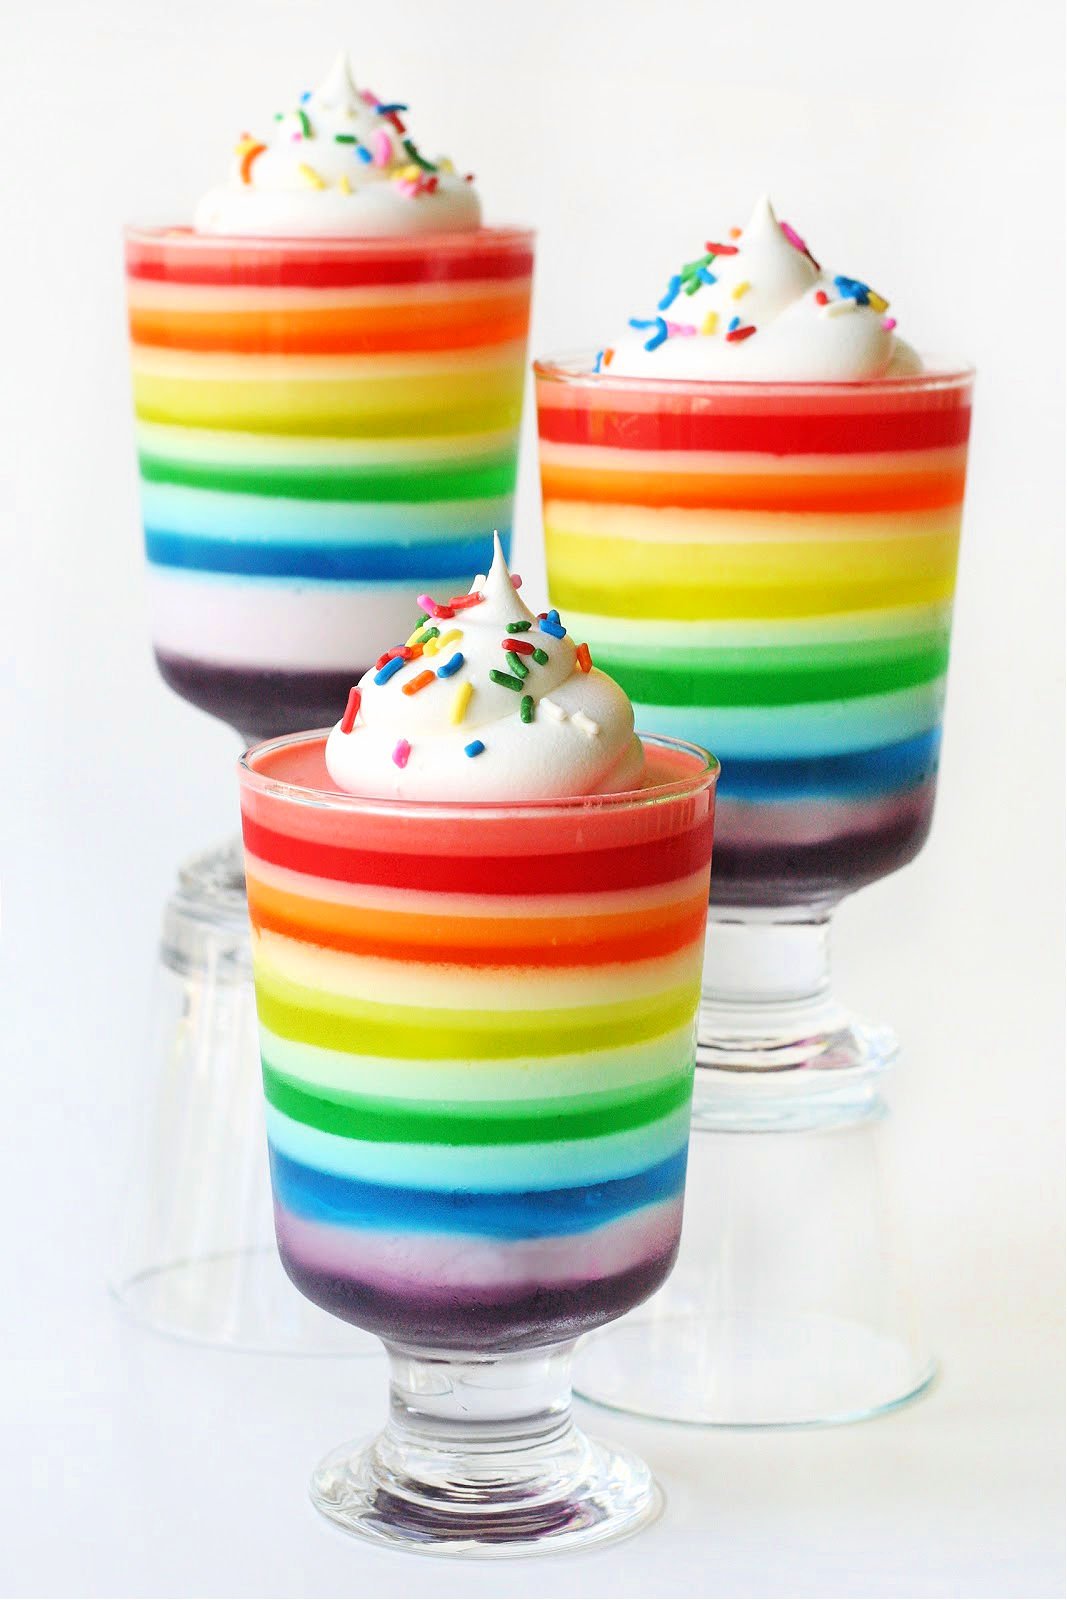
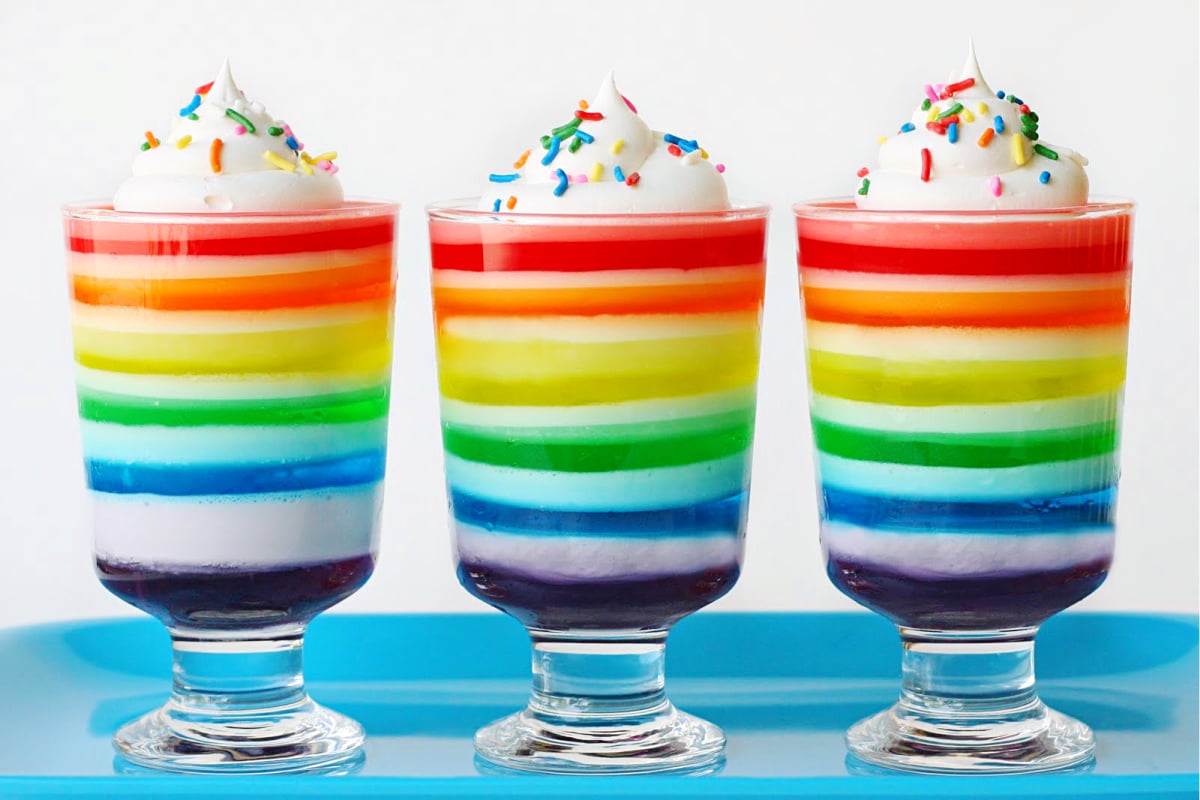
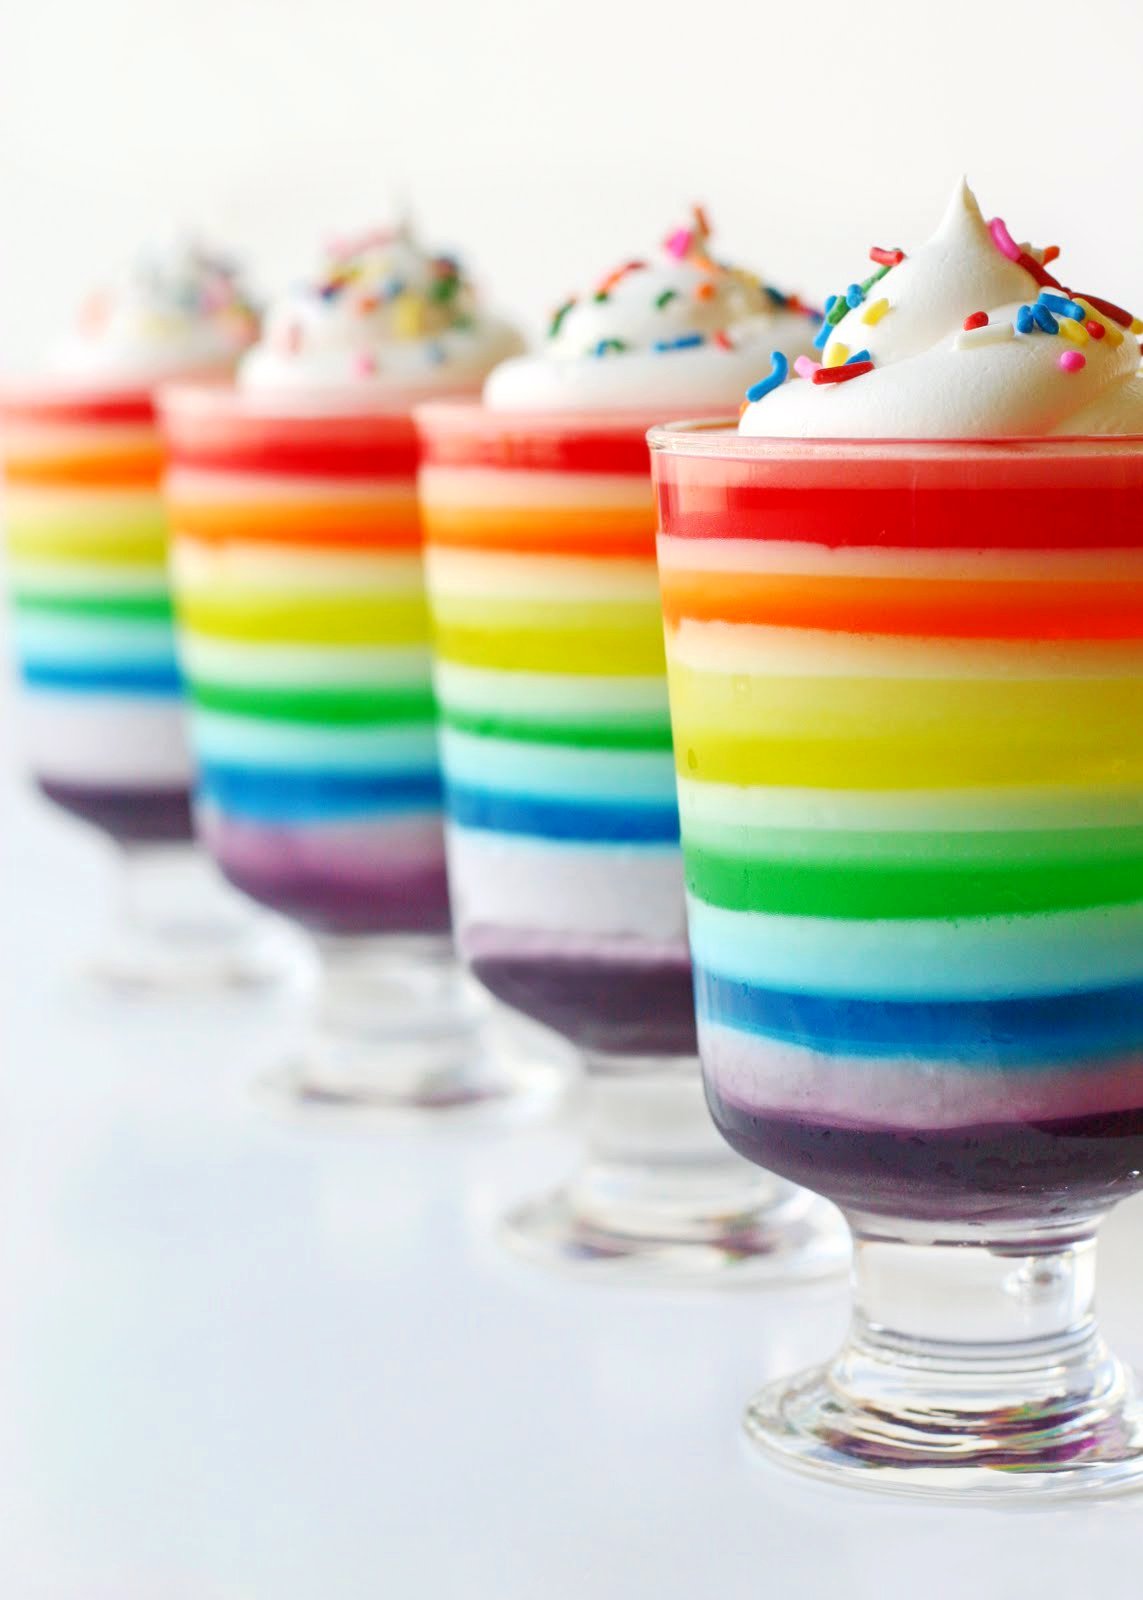
This colorful Rainbow Jello is pretty enough to brighten anyone’s day! Great for parties and summer get togethers! Kids absolutely go CRAZY for this fun no bake treat!
Hot where you are? Try these refreshing treats: Watermelon Krispie Treats and Lemon Raspberry Trifle!
Rainbow Jello
For quite some time I’ve had a rainbow cake on my “to bake” list, but so far I haven’t found the time or right excuse to make it. But after the ridiculously weird and rainy weather recently, I just needed to make something fun and colorful. So I headed to the store, and bought six boxes of jello and some cool whip, and made rainbow jello!
This is a bit of an all day project, but in general is quite easy and produces an eye catching dessert!
Obviously, the same general concept could be use with other color combinations… red, white and blue, school colors, team colors, you name it! If you want to do red “white” and blue, since there is no white jello, use lemon jello mixed with cool whip as the “white” layer, as I did with these 4th of July treats.)

How to Make Rainbow Jello
Rainbow Jello does take a little bit of time to make but the hands on time is actually really very minimal. Each layer has to chill and set before moving on so you’ll want to pick a day where you can be in the kitchen on and off.
If you need to, you can split up the work over two days. It’s totally fine to have the jello set up over night and start in on the second half the following day.
- You’ll need one small box of jello for each color you want… so in this case, red, orange, yellow, green, blue, and purple. And one large tub of cool whip.
- Prepare purple (or whatever color you want on the bottom) jello as directed, using the “quick chill” method, meaning add some ice.
- Pour jello into glasses, (or a 9’x13′ baking dish sprayed lightly with cooking spray), reserving about 1/3 of the liquid jello.
- Put glasses, or dish in the refrigerator and chill for 15-30 minutes, or until slightly set. Mix about 1/3 cup of cool whip into the remaining purple jello.
- Pour the jello/cool whip mixture on top of the slightly set purple jello already in the glasses (or dish).
- Repeat process for each color.
Variations To Try
- I’ve seen recipes that use sour cream, or yogurt in place of the cool whip, so feel free to do that if it saves you a trip to the store =)
- Try different color combinations for different holidays or party themes.
- Serve in smaller dishes or make in a 9 by 13 baking dish – it’s really up to you!
To Finish It Off
Once set, top with some additional cool whip and sprinkles if desired. You can absolutely eave the rainbow jello as is, it’s beautiful no matter how it’s served.
Have a delicious and colorful day!
More tasty no bake treats!
- Magnolia Bakery Banana Pudding
- Pina Colada Cheesecake Mousse
- No Bake Cherry Cheesecake Recipe
- Banana Split Cheesecake
- Strawberry Yogurt Fruit Dip
How to Make Rainbow Jello!
Taste the Rainbow Jello
Ingredients
- 3 ounces red jello cherry or strawberry
- 3 ounces orange jello
- 3 ounces yellow jello lemon
- 3 ounces green jello lime
- 3 ounces blue jello
- 3 ounces purple jello grape
- 16 ounces cool whip
Instructions
- Prepare purple (or whatever color you want on the bottom) jello as directed, using the “quick chill” method, meaning add some ice.
- Pour jello into glasses, (or a 9’x13′ baking dish sprayed lightly with cooking spray), reserving about 1/3 of the liquid jello.
- Put glasses, or dish in the refrigerator and chill for 15-30 minutes, or until slightly set.
- Mix about 1/3 cup of cool whip into the remaining purple jello. Pour the jello/cool whip mixture on top of the slightly set purple jello already in the glasses (or dish).
- Repeat process for each color.
- Once set, top with some additional cool whip and sprinkles if desired.
Nutrition
Originally published May 29, 2011.
PS… forgot to clarify that she used Vanilla Ice Cream – – not sure how it would taste with other flavors.
Just to add another variation, my grandmother made this for us and would make up each layer of jello using the 1 cup of boiling water, but instead of using the ice/cold water, she would use 1 cup of ice cream. Then in between each layer she would use a very small amount of sweetened sour cream. She made it in an extra large (10×15?) pyrex baking pan which made each layer very thin. I love the idea of the individual glasses! This treat is a family favorite and worth the extra effort it takes!
turned out beautifully! It actually would save a bit of time to use cool whip over the sour cream (that is the method I do). There is something about the taste of the sour cream layer that the kids really love. I'll have to try it this way and see what they think. Oh and for sure I will be making it in individual glasses next time as well. Much more of an eye candy that way!
What a beautiful dessert! I'm a new follower. 🙂
Anna
http://www.askannamoseley.com
Love this! It is so pretty! We are an online magazine for women and our next issue- (July/Aug) is about the colors of summer. Would you let us publish this awesome post as a story with links back to you? Let me know please. Our readers would love it!
~Debbie
I love it and it is just beautiful!
Gonna give it a try. Thanks :>)
pretty pretty pretty!
These are so summery and I can just imagine how much fun it would be to eat through each one of those delicious flavors! What a fabulous summer dessert!
Grace
http://gracenotes4today.blogspot.com
I love it! A must-make for the munchkins!
Those are so pretty!