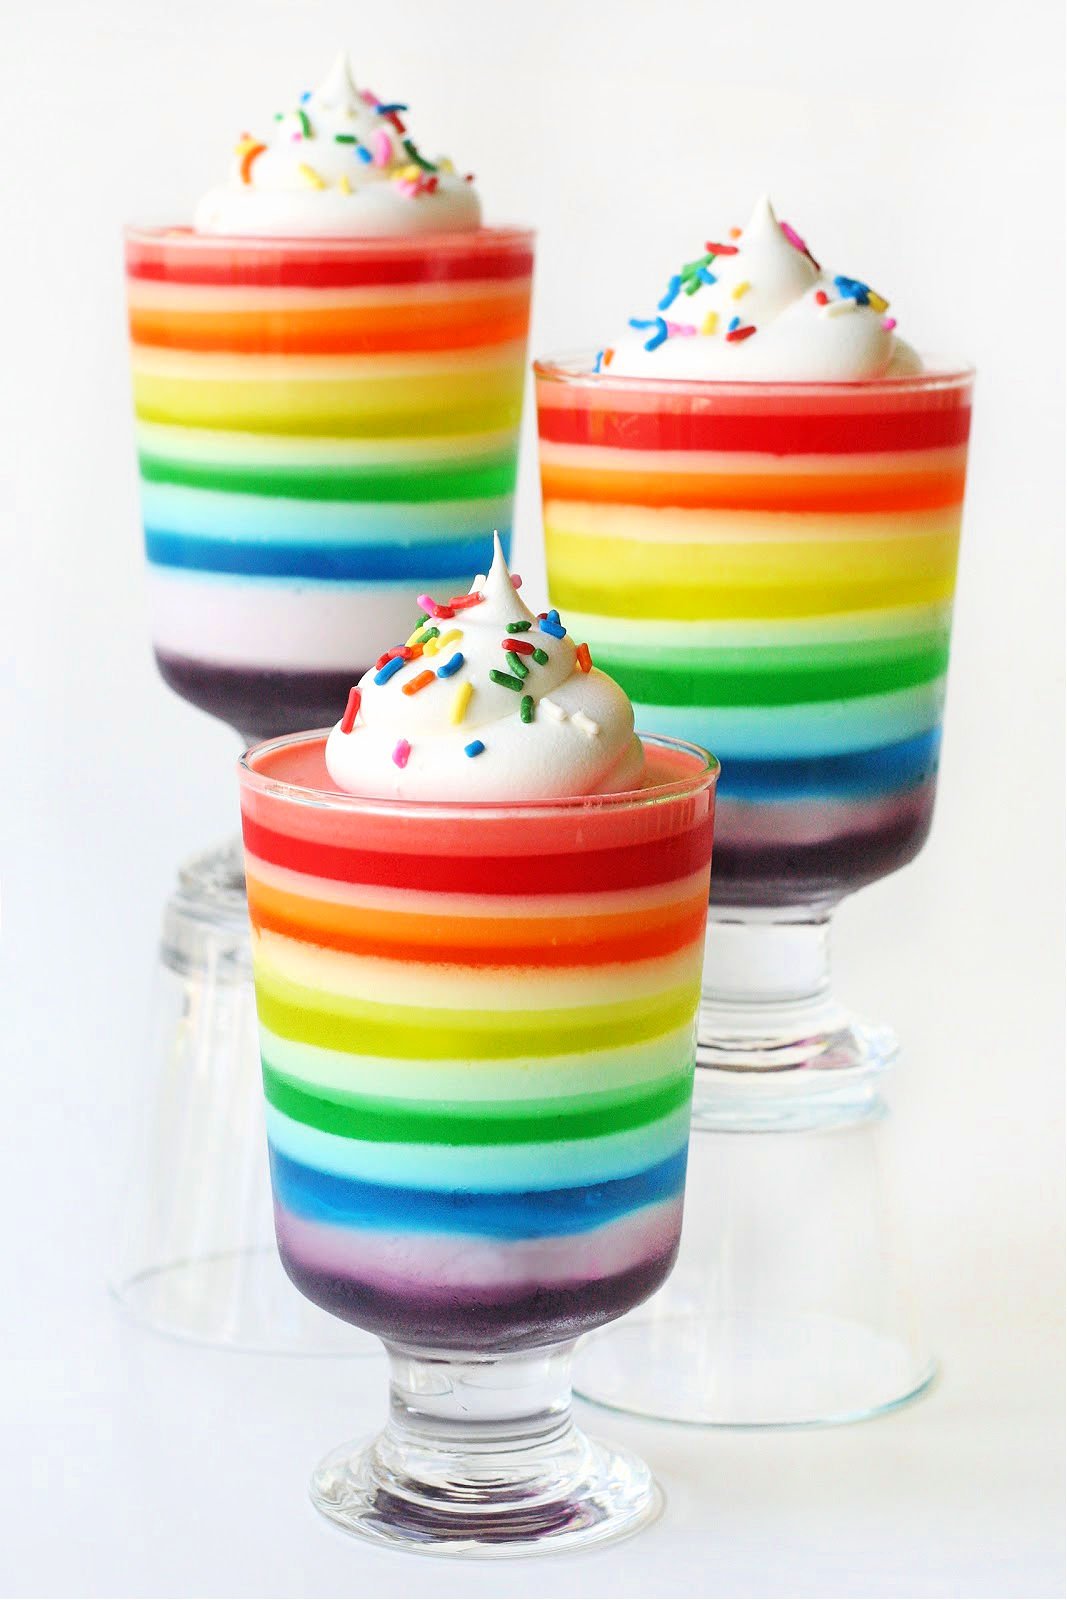
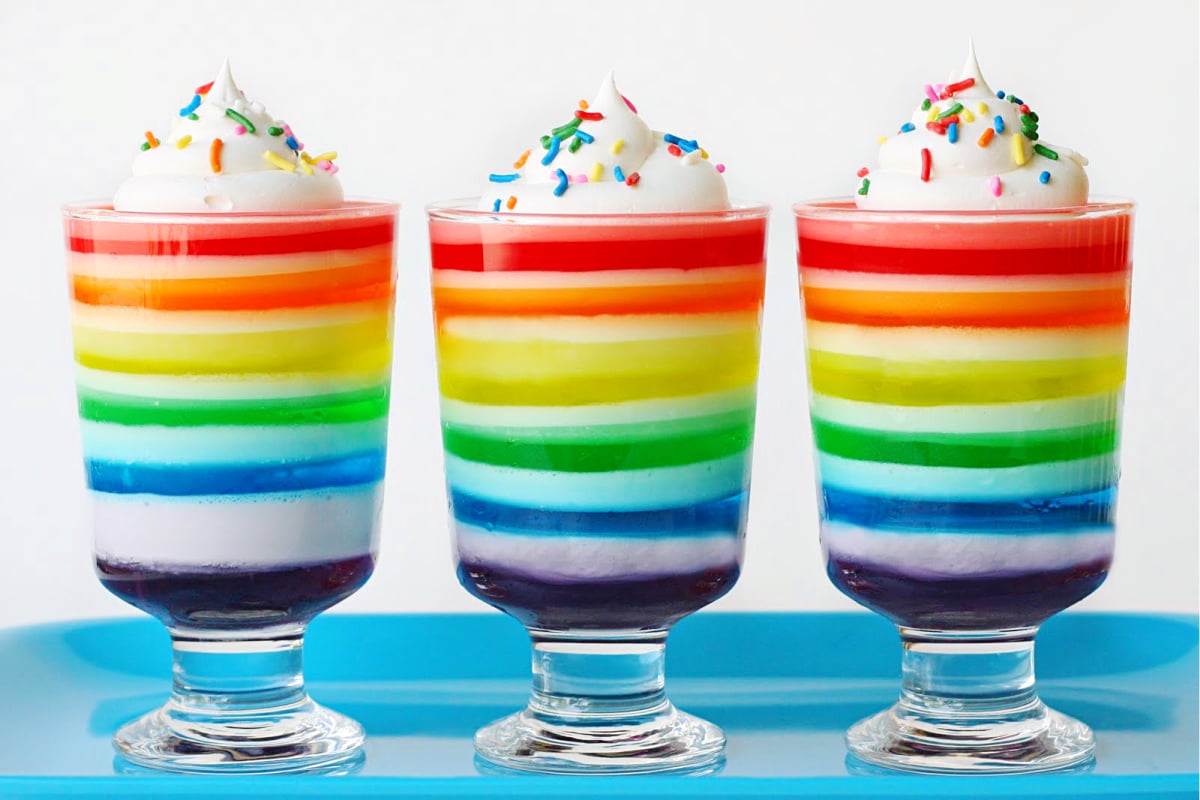
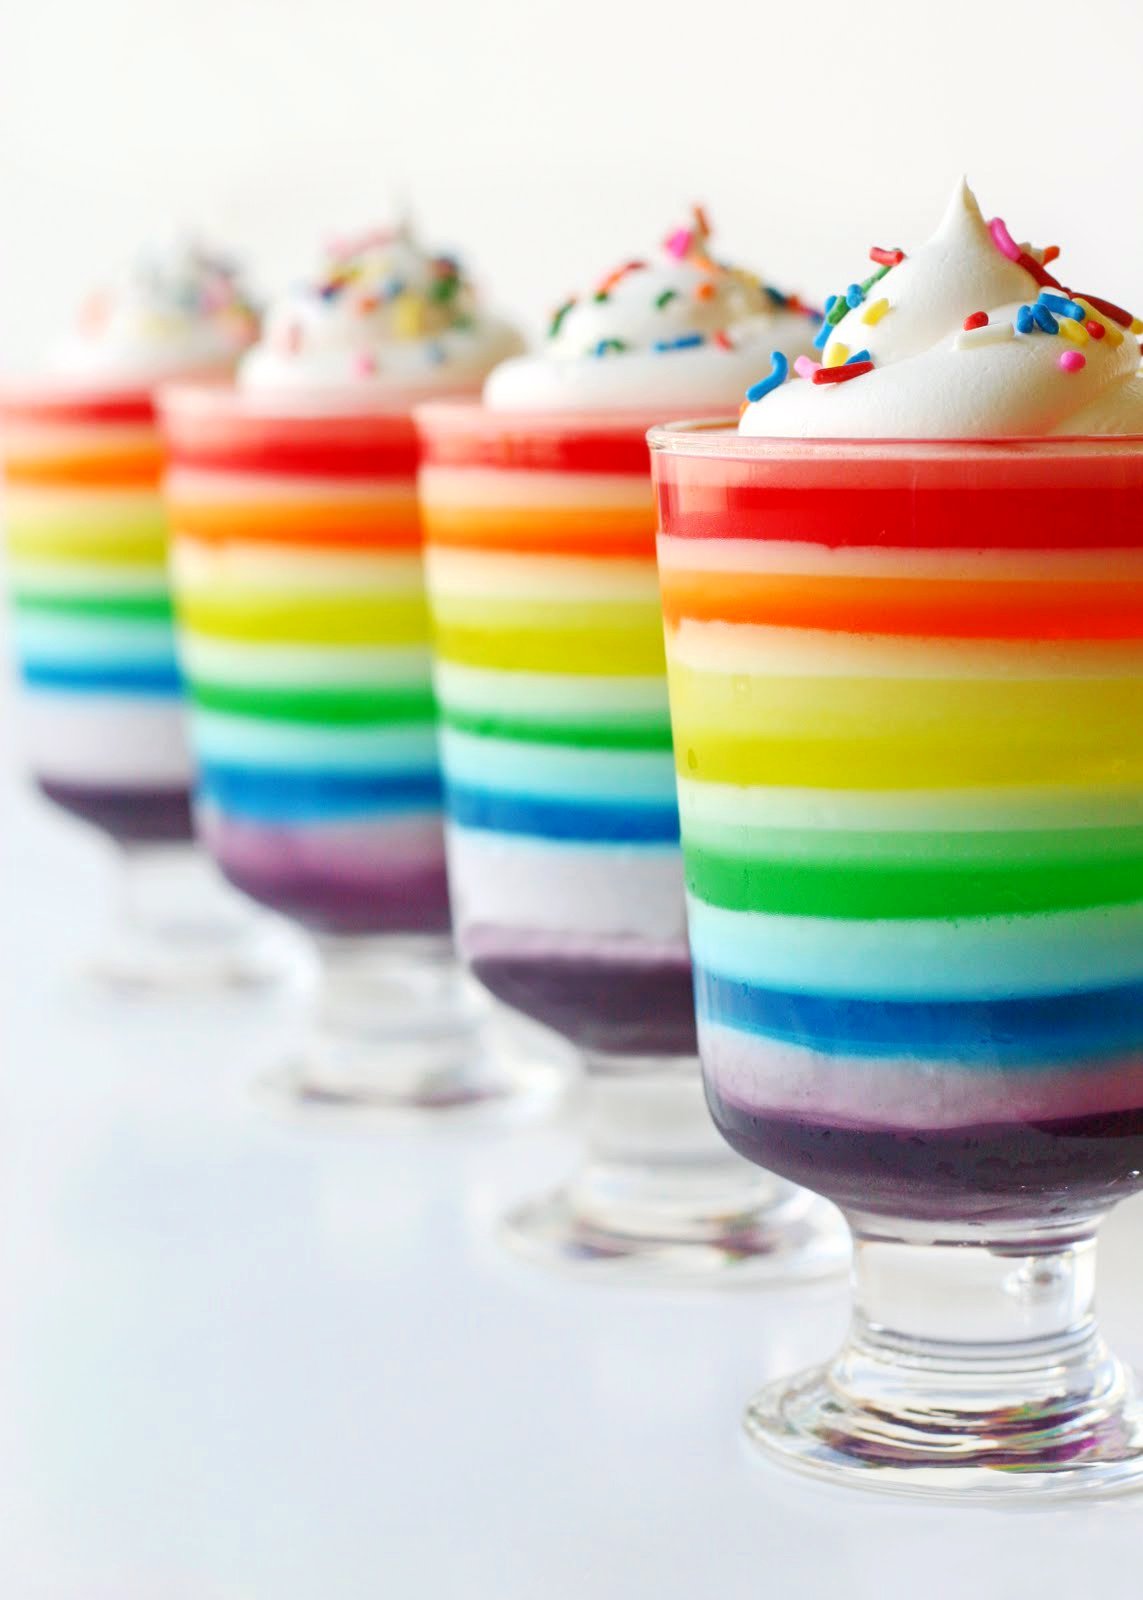
This colorful Rainbow Jello is pretty enough to brighten anyone’s day! Great for parties and summer get togethers! Kids absolutely go CRAZY for this fun no bake treat!
Hot where you are? Try these refreshing treats: Watermelon Krispie Treats and Lemon Raspberry Trifle!
Rainbow Jello
For quite some time I’ve had a rainbow cake on my “to bake” list, but so far I haven’t found the time or right excuse to make it. But after the ridiculously weird and rainy weather recently, I just needed to make something fun and colorful. So I headed to the store, and bought six boxes of jello and some cool whip, and made rainbow jello!
This is a bit of an all day project, but in general is quite easy and produces an eye catching dessert!
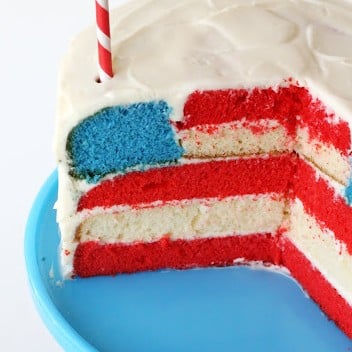
Obviously, the same general concept could be use with other color combinations… red, white and blue, school colors, team colors, you name it! If you want to do red “white” and blue, since there is no white jello, use lemon jello mixed with cool whip as the “white” layer, as I did with these 4th of July treats.)

How to Make Rainbow Jello
Rainbow Jello does take a little bit of time to make but the hands on time is actually really very minimal. Each layer has to chill and set before moving on so you’ll want to pick a day where you can be in the kitchen on and off.
If you need to, you can split up the work over two days. It’s totally fine to have the jello set up over night and start in on the second half the following day.
- You’ll need one small box of jello for each color you want… so in this case, red, orange, yellow, green, blue, and purple. And one large tub of cool whip.
- Prepare purple (or whatever color you want on the bottom) jello as directed, using the “quick chill” method, meaning add some ice.
- Pour jello into glasses, (or a 9’x13′ baking dish sprayed lightly with cooking spray), reserving about 1/3 of the liquid jello.
- Put glasses, or dish in the refrigerator and chill for 15-30 minutes, or until slightly set. Mix about 1/3 cup of cool whip into the remaining purple jello.
- Pour the jello/cool whip mixture on top of the slightly set purple jello already in the glasses (or dish).
- Repeat process for each color.
Variations To Try
- I’ve seen recipes that use sour cream, or yogurt in place of the cool whip, so feel free to do that if it saves you a trip to the store =)
- Try different color combinations for different holidays or party themes.
- Serve in smaller dishes or make in a 9 by 13 baking dish – it’s really up to you!
To Finish It Off
Once set, top with some additional cool whip and sprinkles if desired. You can absolutely eave the rainbow jello as is, it’s beautiful no matter how it’s served.
Have a delicious and colorful day!
More tasty no bake treats!
- Magnolia Bakery Banana Pudding
- Pina Colada Cheesecake Mousse
- No Bake Cherry Cheesecake Recipe
- Banana Split Cheesecake
- Strawberry Yogurt Fruit Dip
How to Make Rainbow Jello!
Taste the Rainbow Jello
Ingredients
- 3 ounces red jello cherry or strawberry
- 3 ounces orange jello
- 3 ounces yellow jello lemon
- 3 ounces green jello lime
- 3 ounces blue jello
- 3 ounces purple jello grape
- 16 ounces cool whip
Instructions
- Prepare purple (or whatever color you want on the bottom) jello as directed, using the “quick chill” method, meaning add some ice.
- Pour jello into glasses, (or a 9’x13′ baking dish sprayed lightly with cooking spray), reserving about 1/3 of the liquid jello.
- Put glasses, or dish in the refrigerator and chill for 15-30 minutes, or until slightly set.
- Mix about 1/3 cup of cool whip into the remaining purple jello. Pour the jello/cool whip mixture on top of the slightly set purple jello already in the glasses (or dish).
- Repeat process for each color.
- Once set, top with some additional cool whip and sprinkles if desired.
Nutrition
Originally published May 29, 2011.

When I was little, long before pinterest and blogs, I wanted this. I asked my mom for a jello cake in rainbow layers. The white really helps preserve the colors nicely. Great job!
The recipe as written doesn’t allow for enough coolwhip/jello to add a layer evenly in between all cups. This measurement seems to work better, and helps prevent coolwhip layer from floating up as much:
After prepping quick set method, split jello evenly into two bowls. Pour one of them into the cups. Refrigerate for 20 min. Mix 1/4 c of cool whip into the other 1/2 and pour into cups when the previous layer has set after 20 min. Let the cool whip/jello layer set for 30 min in refrigerator and then move on to next color.
Reminds me of the jello my Grandma made for me when i was a kid back in the 50’s & 60’s. Cool!!!
Hello, thank you for a great recipe! I am attempting to make it now and am running into a problem. When I pour the next color of Jello in, the Cool Whip floats to the top and is making it look somewhat sloppy. Is there anyway I can get the Cool Whip to not float up? Thank you.
Where do I get those glasses?
Approximately how much liquid jello should be mixed with the whipped cream? I think that’s where I went wrong!
It’s quite clear in the recipe. 1/3 of the liquid.
Ok, these are amazing! I made them yesterday for St. Patrick’s day, but they didn’t look very beautiful AT ALL! How do you make perfectly leveled whipped cream layers? If you want, check out my instagram to see how mine turned out! Instagram name: gerstkat
These look delicious and perfect! I’d love for you to share them at Mix it up Monday:
!I made this using a 9X13 glass dish and it turned out fine. I spooned the additional layers instead of pouring so they would be smooth and the tip to make sure they are set is important. I used 45 min in the fridge instead of 30 and also make sure the pan is set level or they won’t be ! I put the left overs in the fridge at an angle and they all slid in one corner. Still tasty, though. I will making this for family for Easter.
My family requests rainbow Jell-O for special occasions. We love it! I layer mine in a 9 x 13 pan but love the idea of making it fancier with goblets.