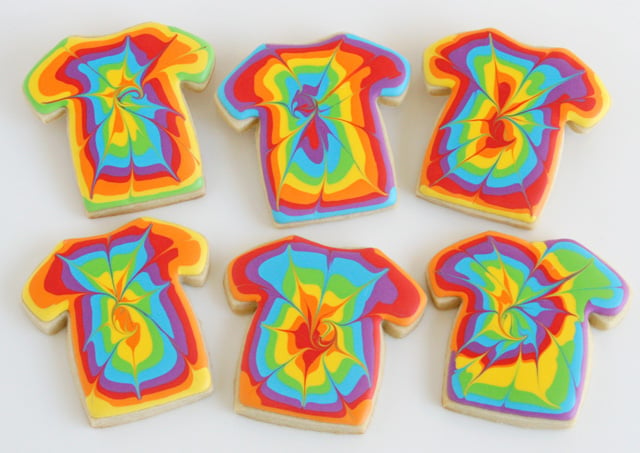
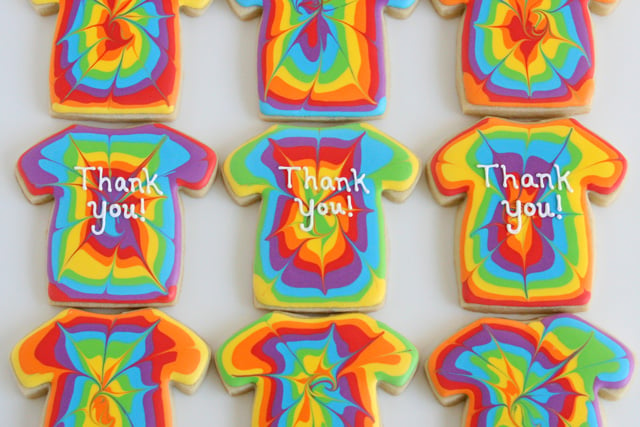
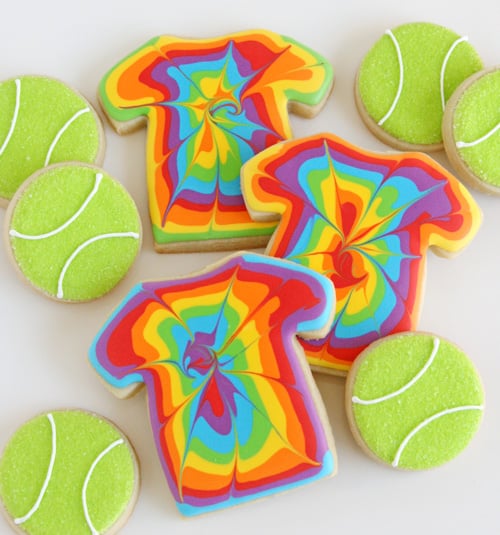
Earlier this summer, my oldest daughter attended a week long Tennis Camp/Vacation Bible School. Before the week of camp, I had planned that I might make some Tennis themed cookies as thank yous for all the teachers/volunteers. My plans changed a bit when I saw the rainbow tie-dye camp shirts and realized what fun cookies could be made to match the shirts!
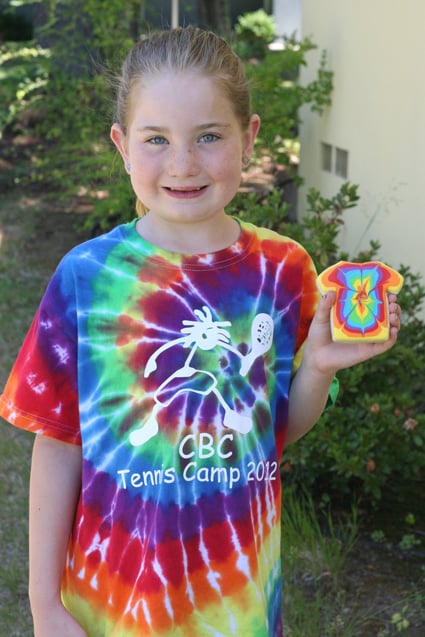
Here is my cutie Grace, in her colorful camp shirt, with matching cookie!
I had so much fun with these cookies… it would be almost impossible to not be happy while working with such fun, rainbow colors! The general technique for these cookies is quite simple, but they have lots of wow factor! The camp teachers were thrilled with their colorful cookies!
Ready to tie-dye cookies?
You’ll need a batch of cookies made with my Sugar Cookie Recipe.
Also, prepare a batch (or two) of royal icing, using my Royal Icing Recipe.
Prepare one bag (or bottle-which ever you like) of icing in each color you need… in this case, red, orange, yellow, green, blue, purple. The icing should be thinned to a medium/flood consistency- just thick enough not flow off the edge of the cookie, but thin enough to fill in on it’s own- about the consistency of shampoo.
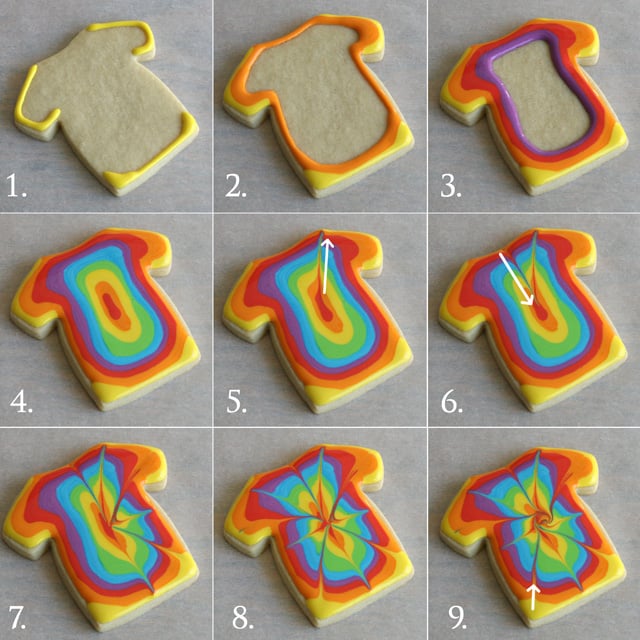
1.-3. Start on the outside of the shirt, adding the first color to just the edges, not all the way around. Begin filling in with the next colors, in rainbow order, or reverse rainbow order (as shown).
4. When the shirt is totally flooded with color, you’re ready to add the tie-dye look.
5. Use a toothpick to drag a line from the center of the cookie, toward the outside edge, as shown.
6. Wipe off the toothpick, and now drag a line from the outside edge of the cookie, toward the center (as shown).
7.-8. Continue around the shirt, dragging the toothpick from the center, out, then from the outside toward the center, cleaning the toothpick as you work.
9. Once all the lines have been drawn with the toothpick (as shown in photo 8), drag the toothpick again through one of your lines that went from the outside to the center, and as you get toward the center, swirl the toothpick into a ‘C’ or 3/4 circle. This will give the final, true tie-dye effect.
Allow the cookies to dry fully (6-8 hours) before packaging.
Since I had initally planned to make tennis themed cookies, I wanted to try some simple tennis balls. I flooded small cirlces with a fun, bright lime green icing, then added white sanding sugar. When the icing and sugar were dry, I added some curved white lines.
Love tie dye… and cookies? Check out Sweet Sugar Belle’s Rainbow Tie Dye Cookies.
Happy Decorating!


those are great, and way easier than tie dying a t-shirt for sure! Great colors!
So fun. Much different from the traditional white tenis outfits. So cute.
Adorable cookies! So fun and easy.
Great cookies, and what an adorable toothless smile your daughter has!
These look absolutely adorable! You are so crafty!
So cute and fun!
Beatifull and amazing!!..
These are awesome! Great job Glory, how fun!
These cookies are ALL kinds of awesome! Fantastic! :0)
LOVE them! Such a fun cookie! I wish I had the energy to make these for a tye dying party we are going to soon. Hmmm…. maybe I will give it a go!