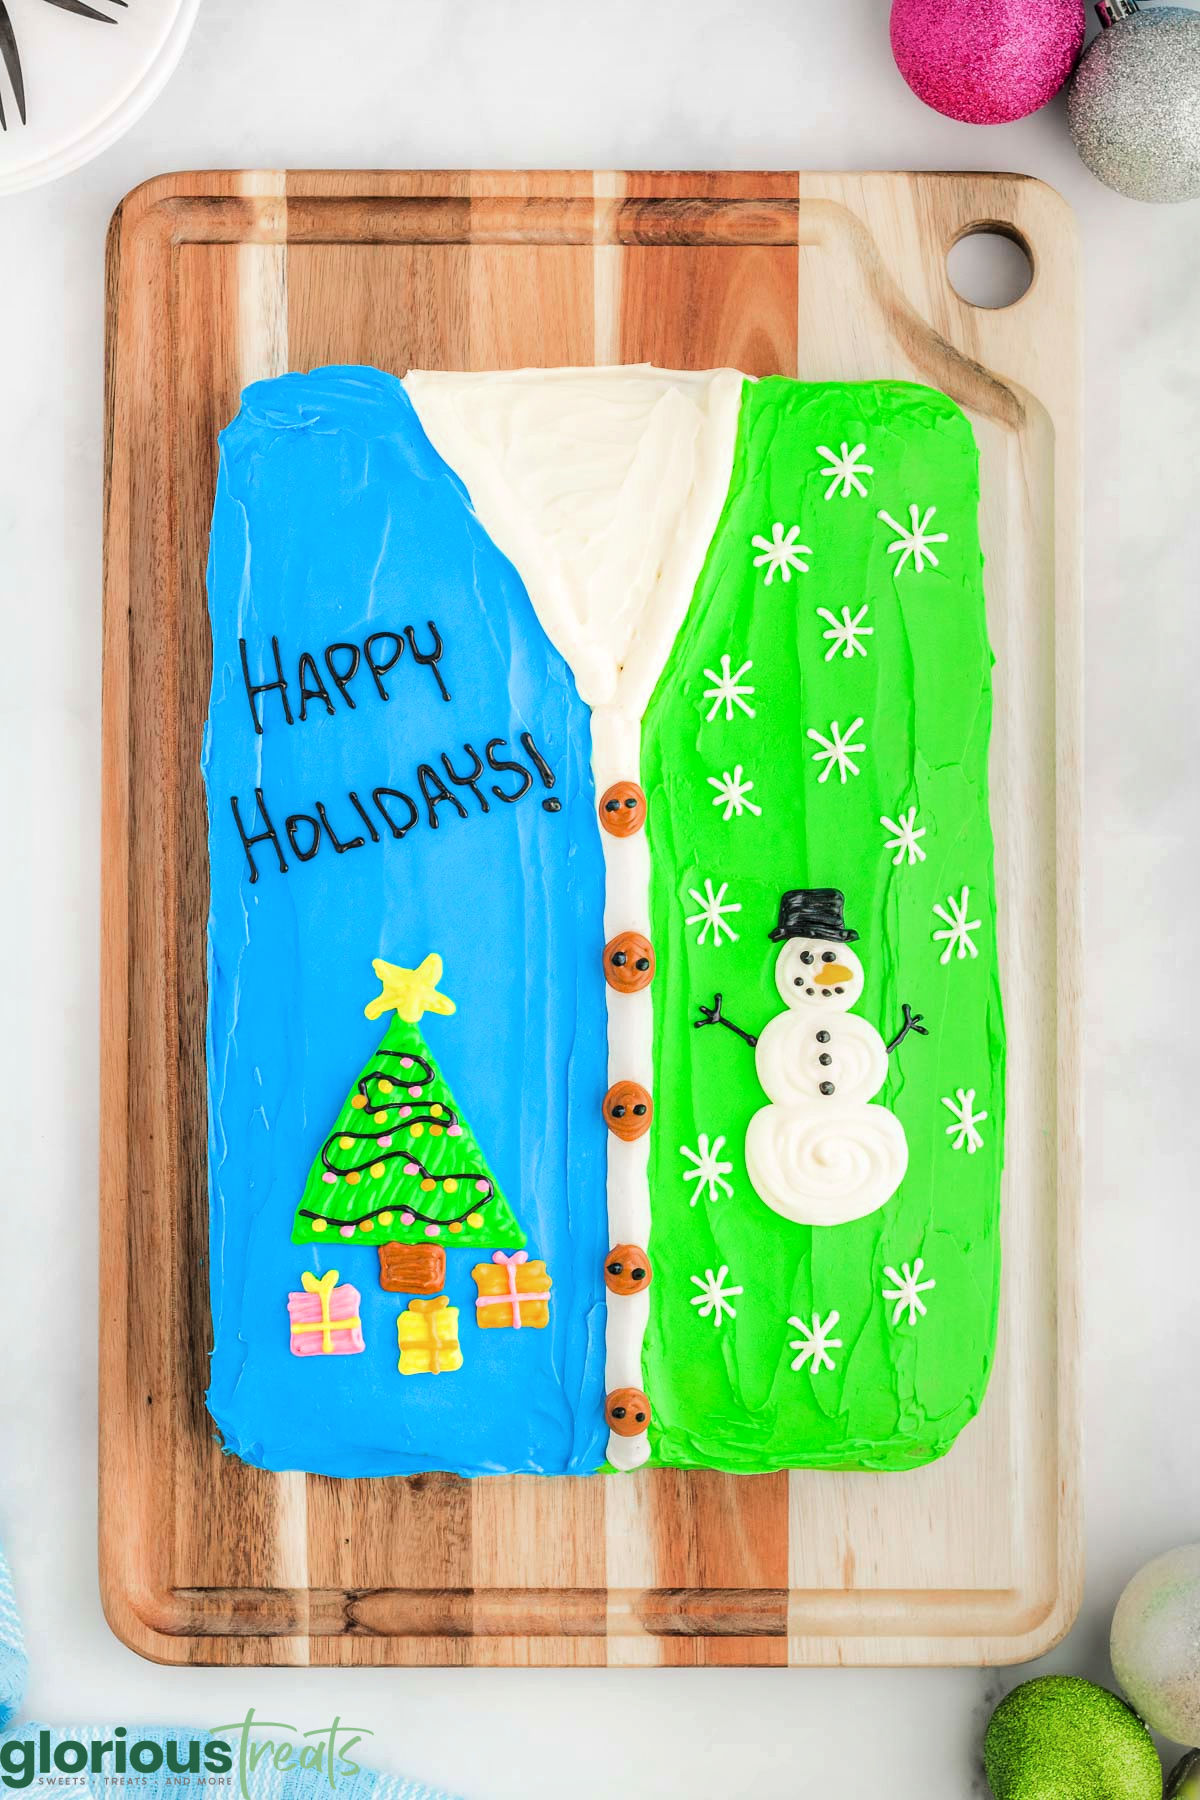
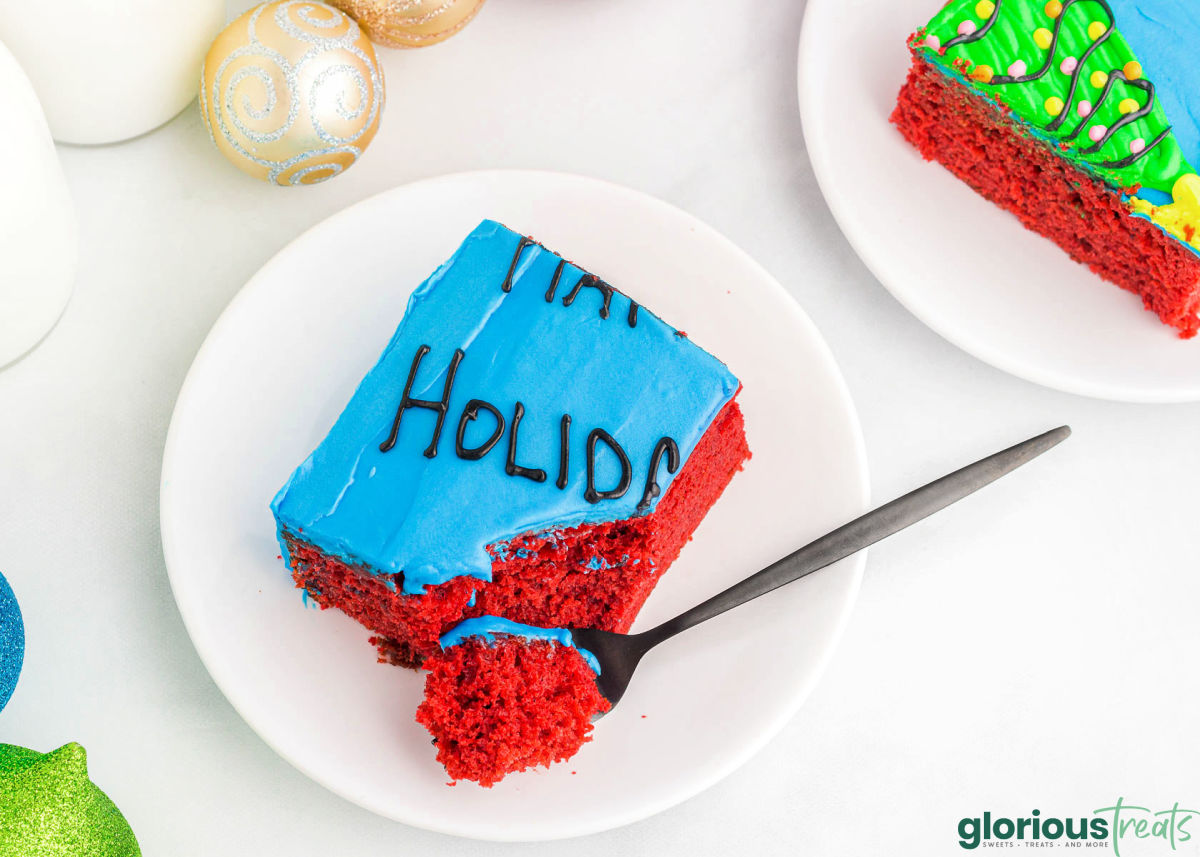
This festive Ugly Christmas Sweater Cake is the perfect centerpiece for your holiday festivities! Rich and moist red velvet cake topped with decadent cream cheese frosting and decorated to look like an ugly Christmas sweater! Fun, festive and so delicious!
Looking for more holiday cakes? Make sure to check out my Chocolate Peppermint Bundt Cake, Pastel Snowflake Cake and this stunning perfect Red Velvet Cake with decadent cream cheese frosting!
Christmas Cake
Inspired by the playful tradition of wearing festive “ugly” Christmas sweaters, this cake transforms our favorite red velvet cake into a festive Christmas dessert that is sure to be the talk of your Christmas celebration. Perfect for any one looking to add a unique touch to their holiday dessert table.
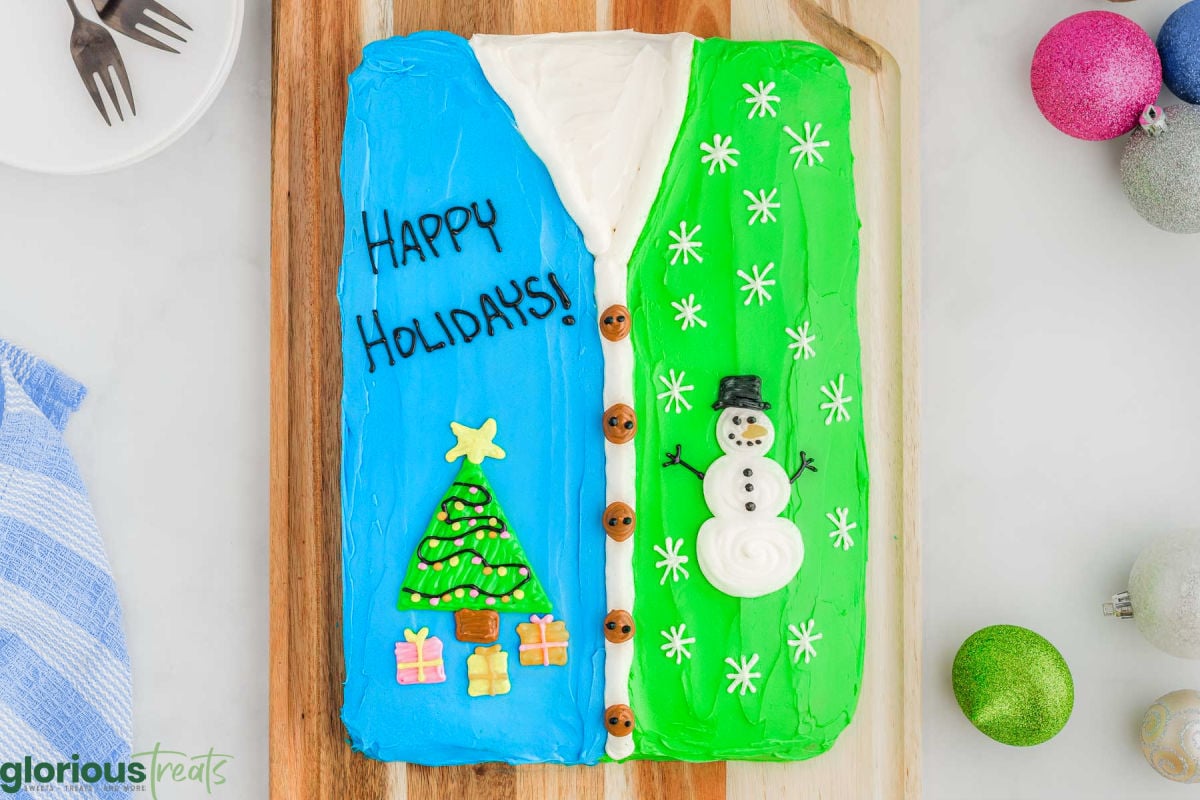
The cake is frosted with colored, cream cheese frosting. I’m providing instructions for the design above but feel free to go crazy with this fun and adorable cake. Any thing and every thing is welcome! I think adding a Christmas tree, snowman, snowflakes, reindeer, ornaments, Christmas stocking, etc. are all great options!
Why You’ll Love This Recipe
- Festive and Fun: Starting with the vibrant red cake, this colorful Ugly Sweater Cake is perfectly festive and light hearted – ideal for holiday celebrations.
- Customizable: You can decorate this cake however you want! Have fun getting creative and turn this “ugly” sweater into something amazing.
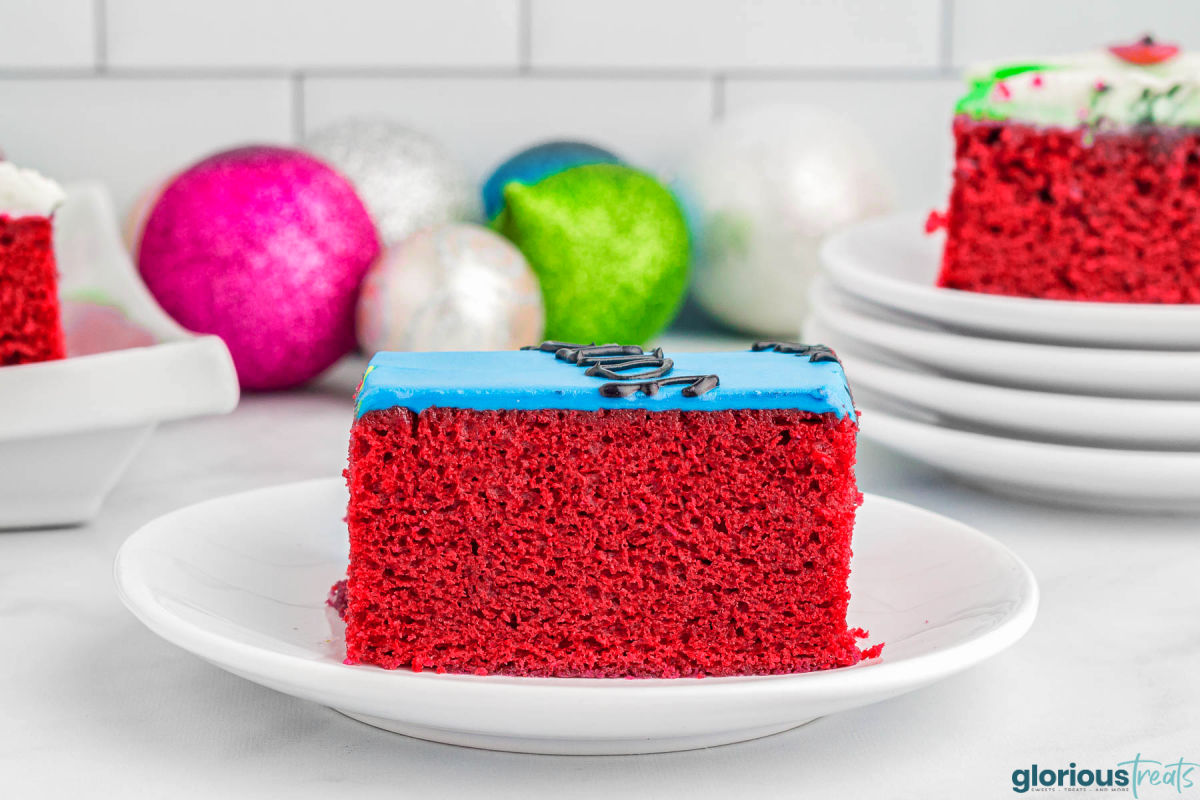
- Fabulous Flavor: You just can’t beat the combination of red velvet cake and cream cheese frosting – always a crowd pleaser!
How To Make An Ugly Christmas Sweater Cake
For the Cake
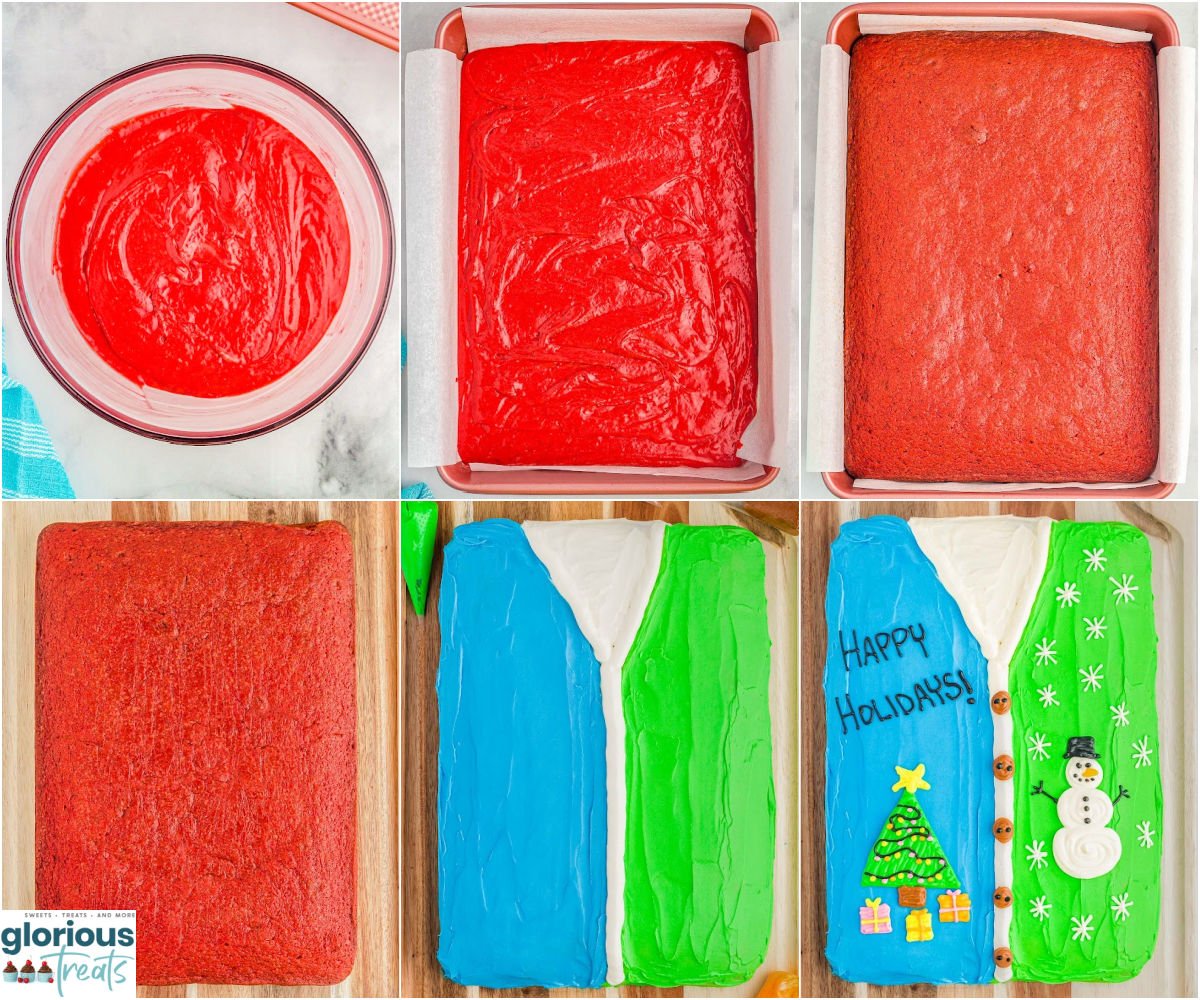
- Spray a 9” x 13” cake pan with non-stick cooking spray. Line the pan with parchment paper so the edges of the paper come up higher than the pan.
- Whisk together cake flour, cocoa and salt, and set aside.
- Beat oil and sugar until well blended.
- Add eggs one at a time, and continue beating.
- Add food coloring and vanilla and mix well.
- Mix in flour and buttermilk alternately, in two batches.
- Combine baking soda and vinegar and add to cake batter and beat for 10 seconds.
- Pour into the prepared cake pan and bake for 25 to 35 minutes.
- Remove cake from oven and let cake cool in pan for 30 minutes, cover with plastic wrap (keeping cake in pan) and refrigerate for 1 hour.
For the Cream Cheese Frosting
- Place butter in a large mixing bowl and beat until smooth.
- Add cream cheese and blend until fully combined, about 30 seconds.
- Add vanilla extract and powdered sugar (one cup at a time) while mixing. Increase to medium speed and beat until it begins to get fluffy.
- Slowly add the heavy cream, a little bit at a time until desired consistency is met. Beat until fluffy, about 1 minute.
Decorating
- Gently lift cake out of the pan and onto a flat cake board. Place a small amount of frosting on the cake board before setting the cake on it.
- Place about 1 cup of white frosting into a tipless icing bag. Start by piping a white V at the top of the cake in the middle. This will be the v-neck area of the sweater.
- Use that white frosting in the icing bag to pipe a line down the middle of the cake starting at the bottom point of the V and going all the way down the cake in a vertical line.
- For the sweater, transfer a small amount of the white frosting to a bowl and add the food color of your choice and mix well.
- Frost one side of the sweater in one color and the other side in another color.
- Decorate your Ugly Christmas Sweater Cake however you’d like coloring small amounts of the frosting as you need it.
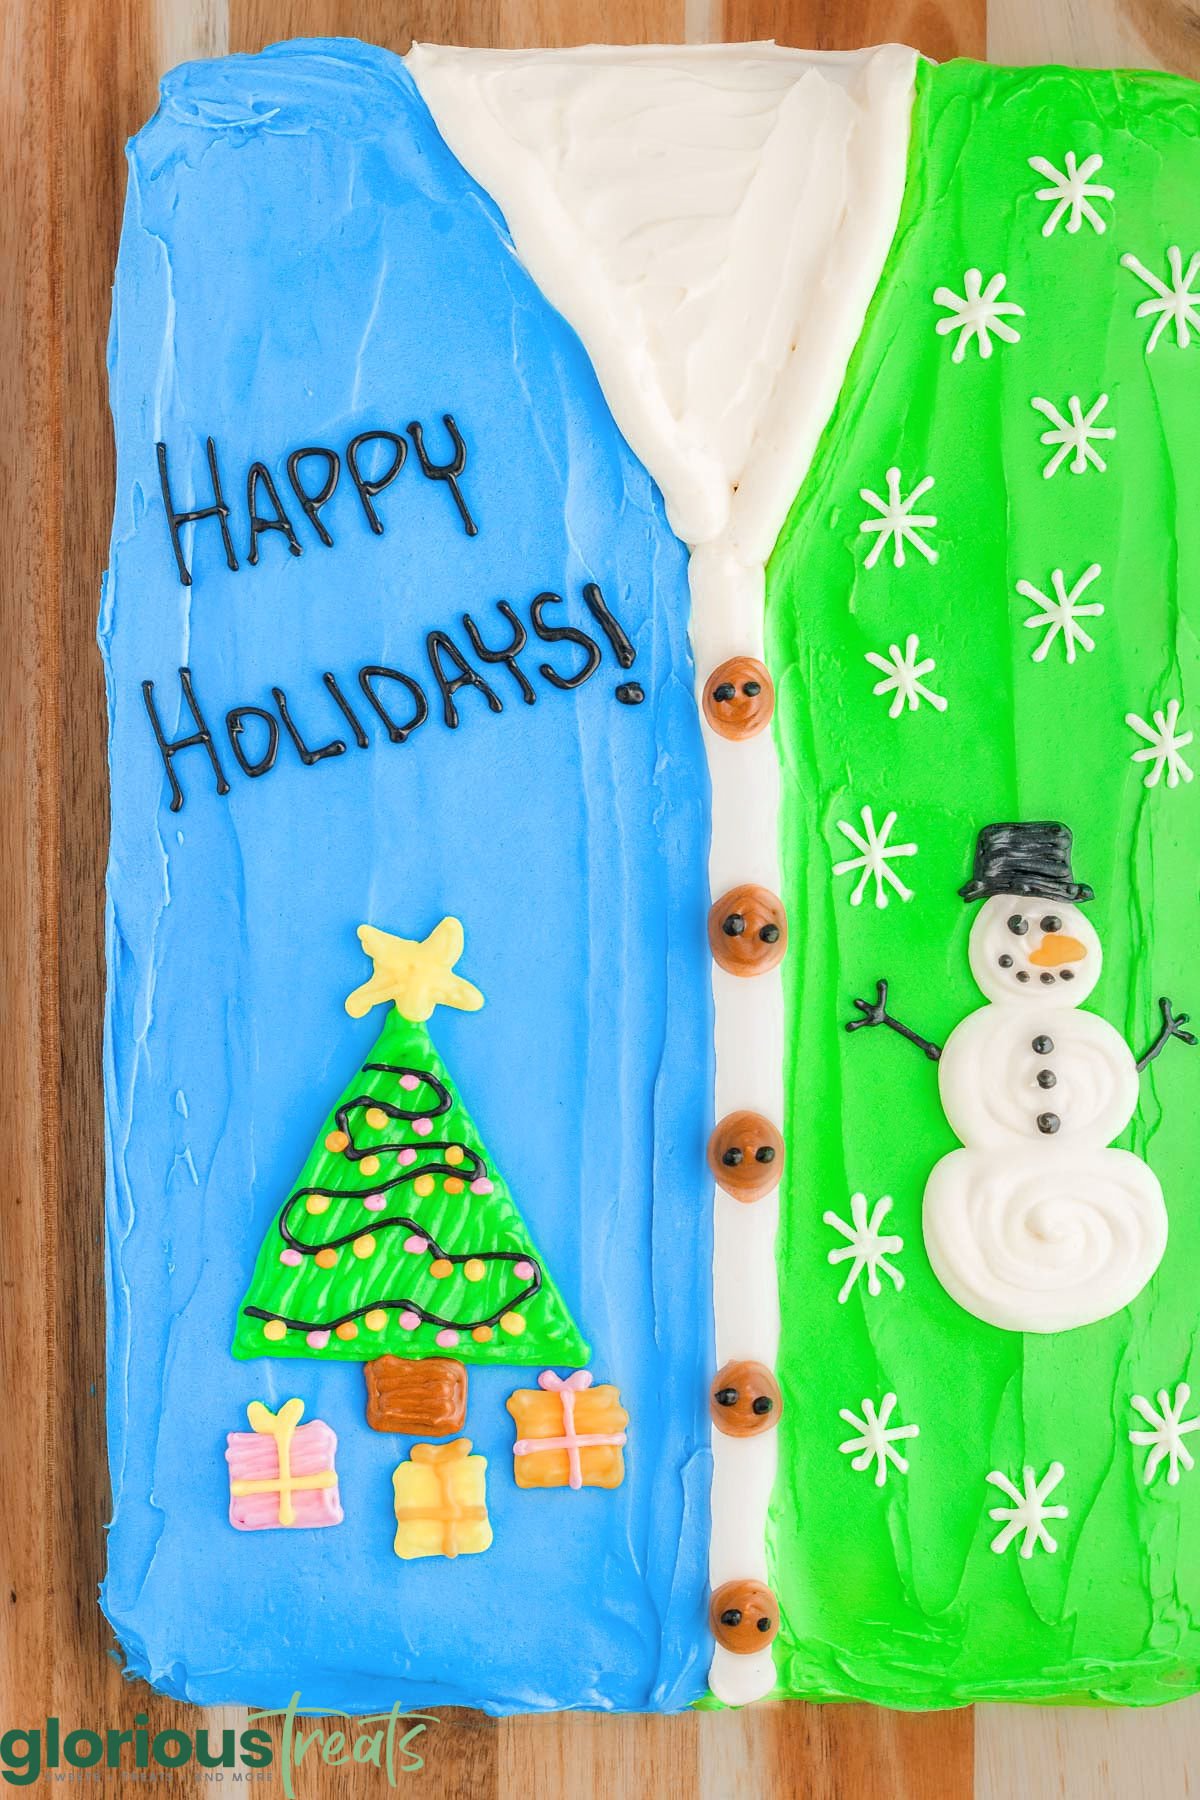
- You can add a Christmas tree, snowman, snowflakes, reindeer, ornaments, Christmas stocking…anything you’d like! Be sure to add frosting “buttons” down the middle white line of the sweater.
Storage Information
- Storage. Store any leftovers in an airtight container in the refrigerator for up to 5 days. The cream cheese frosting requires refrigeration.
- Freezing. The unfrosted cake layers can be wrapped tightly and frozen for up to 3 months. Thaw in the refrigerator before frosting and decorating.
- Make Ahead. The cake can be made in advance and either refrigerated or frozen depending on your needs.
Variations To Try
- Try a different flavor combinations. Vanilla or chocolate cake with a peppermint buttercream would be delicious.
- Use lots of Christmas candy and sprinkles to help decorate the cake.
- Experiment with lots of sweater designs. Think all things Christmas: reindeer, elves, snowman, penguins, etc.
- To create a textured sweater effect, use a small star tip in your piping bag. Piping rows or swirls can mimic the knit pattern of a sweater.
- Try adding peppermint extract to your frosting for a minty twist, or mix in some melted chocolate for a chocolate cream cheese frosting.
Trish’s Tips
- Do not over mix the batter.
- Add food coloring to the frosting gradually to achieve your desired color. I do recommend gel food coloring – you’ll need less and the colors are more vibrant.
- Make sure to let the cake cool completely before frosting.
- Use a piping bag for detailed decorations and an angled spatula for smoothing frosting.
- Use cake flour instead of all purpose flour for a lighter texture and finer crumb.
- If your cake domes during baking, simply level it with a serrated knife to create a flat surface for easier decorating. You can also invert the cake and decorate the bottom of the cake.
Can I use a box mix instead?
Absolutely! Time is hard to come by during the busy holiday season so using a box mix to speed up the process is a great idea. You can use any flavor you like!
What other cake flavors can I use?
That’s entirely up to you! You can use your favorite cake recipe and flavor in this recipe because it’s all about how you decorate the cake that matters.
Do I need to refrigerate the cake?
I do because of the cream cheese frosting. Just cover and chill until ready to serve.
How do I get that perfect red color?
Use a really good quality gel food coloring. Start with a small amount and add more as needed. The color will deepen as the cake bakes.
Can I make this cake in advance?
Absolutely! I would bake the cake, cool, wrap and refrigerate or freeze. Save the frosting and decorating for the day you plan to serve it.
More Christmas Desserts We Love
- Italian Christmas Cookies
- Christmas Tree Rice Krispie Treats
- Christmas Marshmallow Pops
- Snowball Cookies
- Chocolate Crinkle Cookies
Ugly Christmas Sweater Cake
Ingredients
- 2 ¼ cups cake flour
- ⅓ cup unsweetened cocoa not Dutch process
- 1 teaspoon salt
- 1 ⅓ cups vegetable oil
- 1 ½ cups granulated sugar
- 2 large eggs room temperature
- red gel food coloring amount will depend on brand of food coloring and desired color (start with a few teaspoons and go from there)
- 1 teaspoon vanilla extract
- ¾ cup buttermilk can use powdered buttermilk – just follow the directions
- 1 ½ teaspoons baking soda
- 2 teaspoons white vinegar
Cream Cheese Frosting
- ½ cup butter 1 stick/8 tablespoons – set at room temp about 10 minutes, but should still be cool
- 8 ounces cream cheese directly from fridge
- 1 teaspoon vanilla extract
- 4 cups powdered sugar
- 1 to 2 tablespoons heavy cream
- gel food coloring in a variety of colors for decorating cake
Instructions
Red Velvet Cake
- Preheat oven to 350°F.
- Spray a 9” x 13” cake pan with non-stick cooking spray. Line the pan with parchment paper so the edges of the paper come up higher than the pan. This will help you lift the cake out of the pan once it’s cooled. Set aside.
- In a large bowl whisk together cake flour, unsweetened cocoa and salt, and set aside.
- In the bowl of an electric mixer (fitted with the whisk attachment), beat oil and sugar until well blended. Add eggs one at a time, and continue beating. Add food coloring and vanilla and mix well. (Start with a few drops of red food color and continue to add a drop at a time until the color you desire is achieved)
- Add flour and buttermilk alternately, in two batches. Scrape down the sides of the bowl as needed. Mix just enough to combine.
- Place baking soda in a bowl or cup, add vinegar and stir (it will foam and expand). Add to cake batter and beat for 10 seconds.
- Pour cake batter into the prepared cake pan and bake for 25 to 35 minutes. An inserted toothpick should come out with a few moist crumbs when the cake is done.
- Remove cake from oven and let cake cool in pan for 30 minutes, cover with plastic wrap (keeping cake in pan) and refrigerate for 1 hour. (If this step is skipped, the cake will fall apart when trying to lift out of the pan. You can, of course, invert the cake onto a cutting board and decorate the bottom of the cake if you wish.)
Cream Cheese Frosting
- Place butter in a large mixing bowl and beat until smooth. Add cream cheese and blend until fully combined, about 30 seconds.
- Add vanilla extract and powdered sugar (one cup at a time) while mixing. Increase to medium speed and beat until it begins to get fluffy.
- Slowly add the heavy cream, a little bit at a time until desired consistency is met. (Don’t add too much if you want the frosting to stay in place when piped on cupcakes.)
- Beat until fluffy, about 1 minute.
Assembly
- After cake has cooled in fridge, gently lift cake out of the pan (using the parchment paper) and onto a flat cake board. Place a small amount of frosting on the cake board before setting the cake on it. This thin layer of icing helps to secure the cake to the board.
- Place about 1 cup of white frosting into a tipless icing bag. Start by piping a white V at the top of the cake in the middle. This will be the v-neck area of the sweater. If you want to be extra creative, the inside of the V could be a skin color frosting.
- Use that white frosting in the icing bag to pipe a line down the middle of the cake starting at the bottom point of the V and going all the way down the cake in a vertical line. This will be the middle of the sweater where you’ll later add frosting buttons.
- For the sweater, transfer a small amount of the white frosting to a bowl and add the food color of your choice and mix well. Frost one side of the sweater in one color and the other side in another color. For this cake, I chose blue and green. Use an angled icing spatula to smooth this icing out. It doesn’t have to be completely smooth. The cake is meant to look like a sweater so some lines and texture in the frosting is perfectly fine.
- Decorate your Ugly Christmas Sweater Cake however you’d like coloring small amounts of the frosting as you need it. You can add a Christmas tree, snowman, snowflakes, reindeer, ornaments, Christmas stocking…anything you’d like! Be sure to add frosting “buttons” down the middle white line of the sweater.
Leave a Reply